Category Archives: Blog Post

“Loving Pink” VSC Challenge #43

Good evening everyone. I’m super late with my challenge post and I am really sorry but I’m here to show you my projects I created for this month. So I have running my challenge blog for almost two years and even though I had lots of fun creating projects and also looking at all the beautiful creations everyone have shared,  I have decided to give the challenge blog a break. I will be doing this month and next months challenge and that’s it. Hopefully once things settle I will start the challenges again.

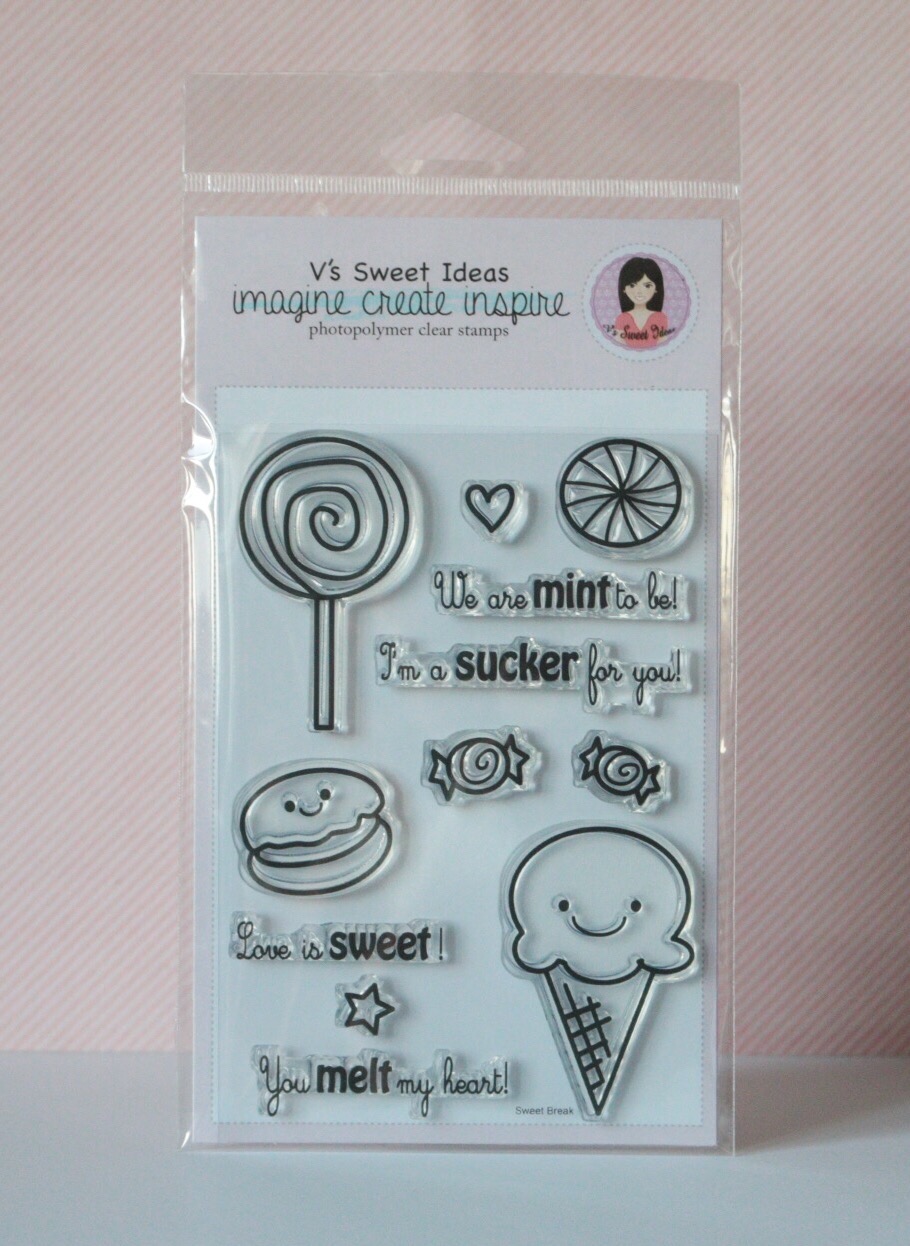
Ok guys back to this months challenge. So this months theme is “Loving pink” and we want to see everything (or almost everything) in pink. I decided to play around with my new “Sweet break” stamp set for all my projects this month.

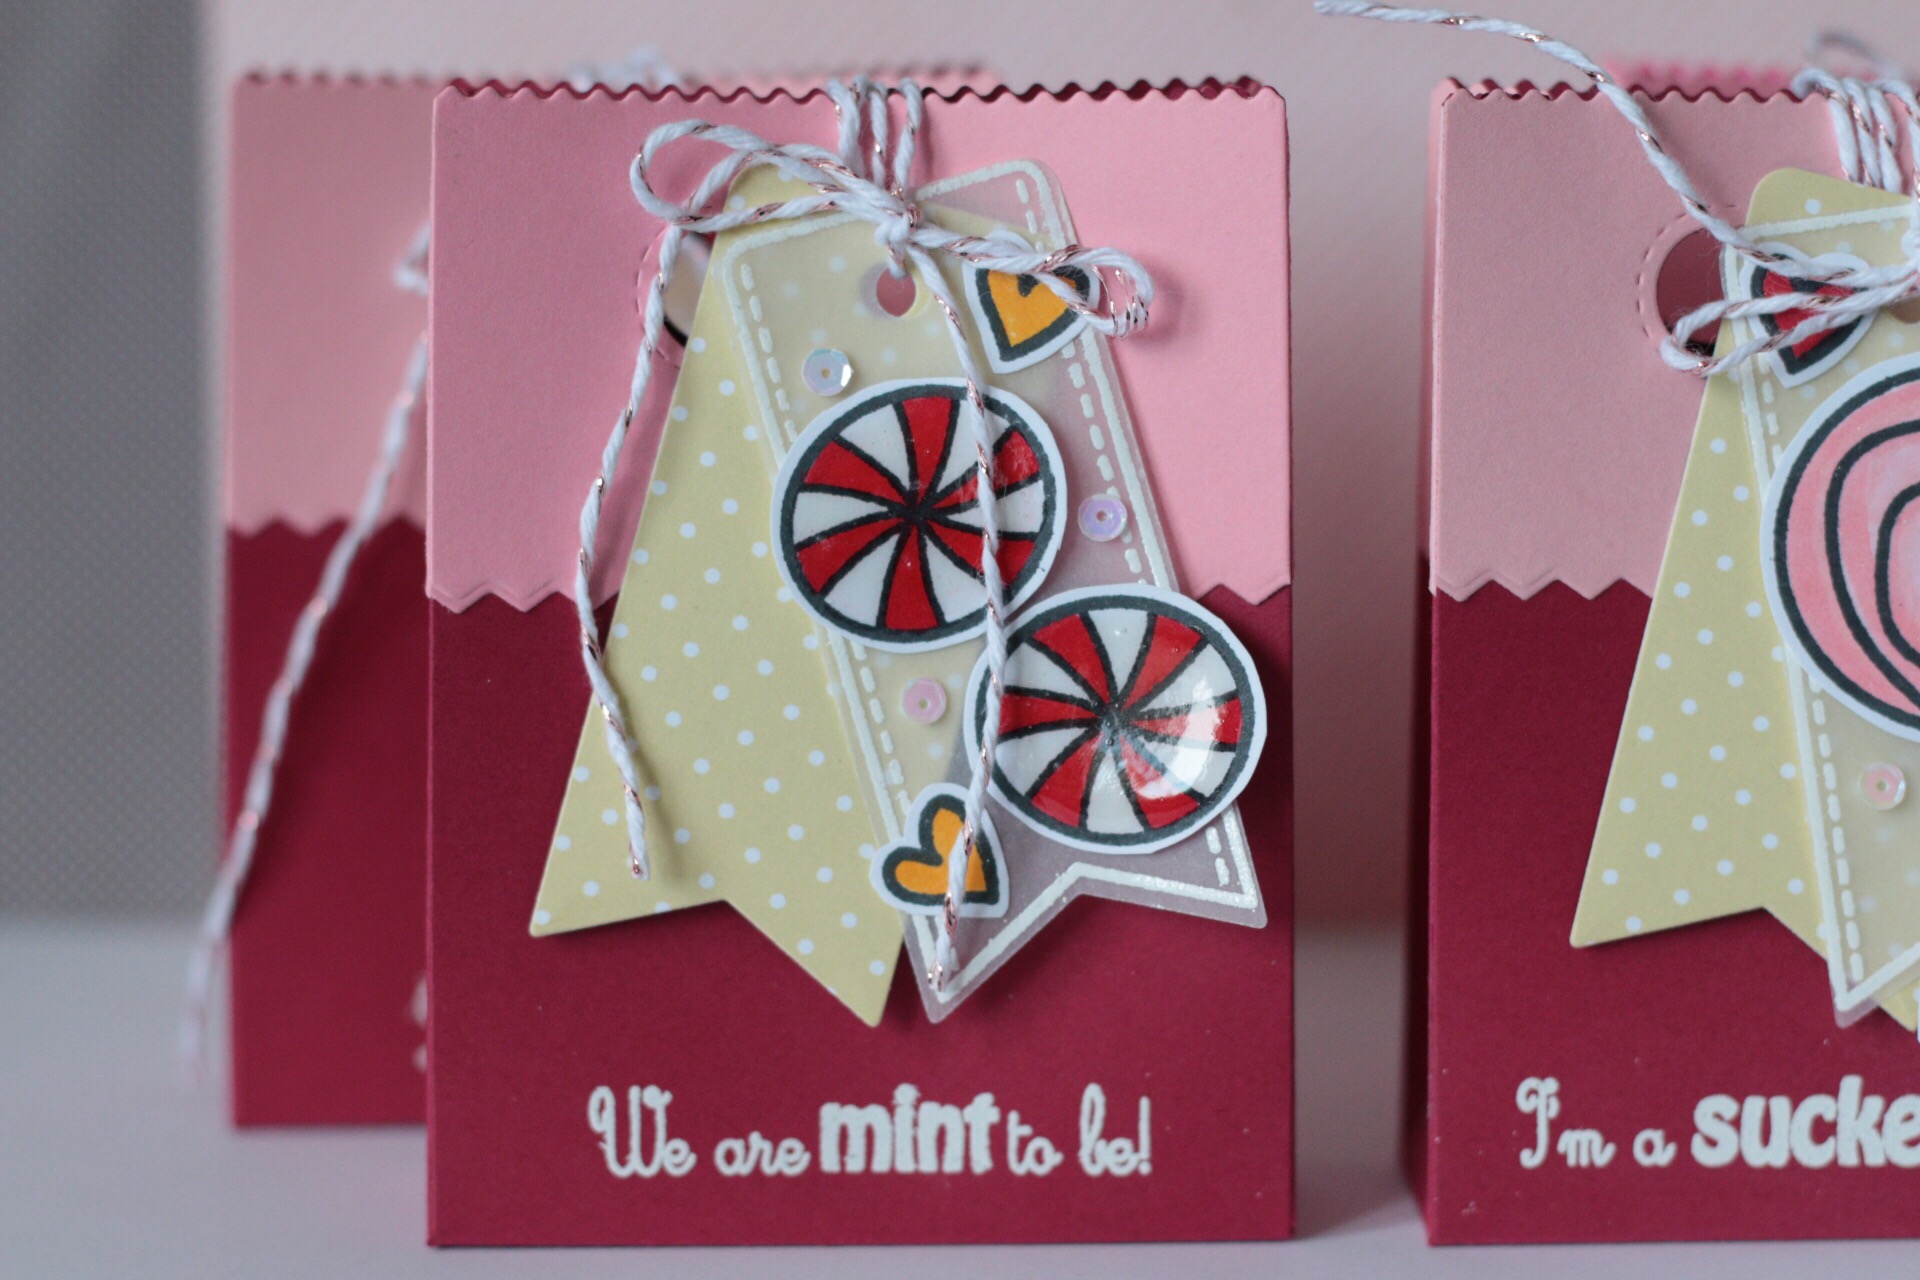
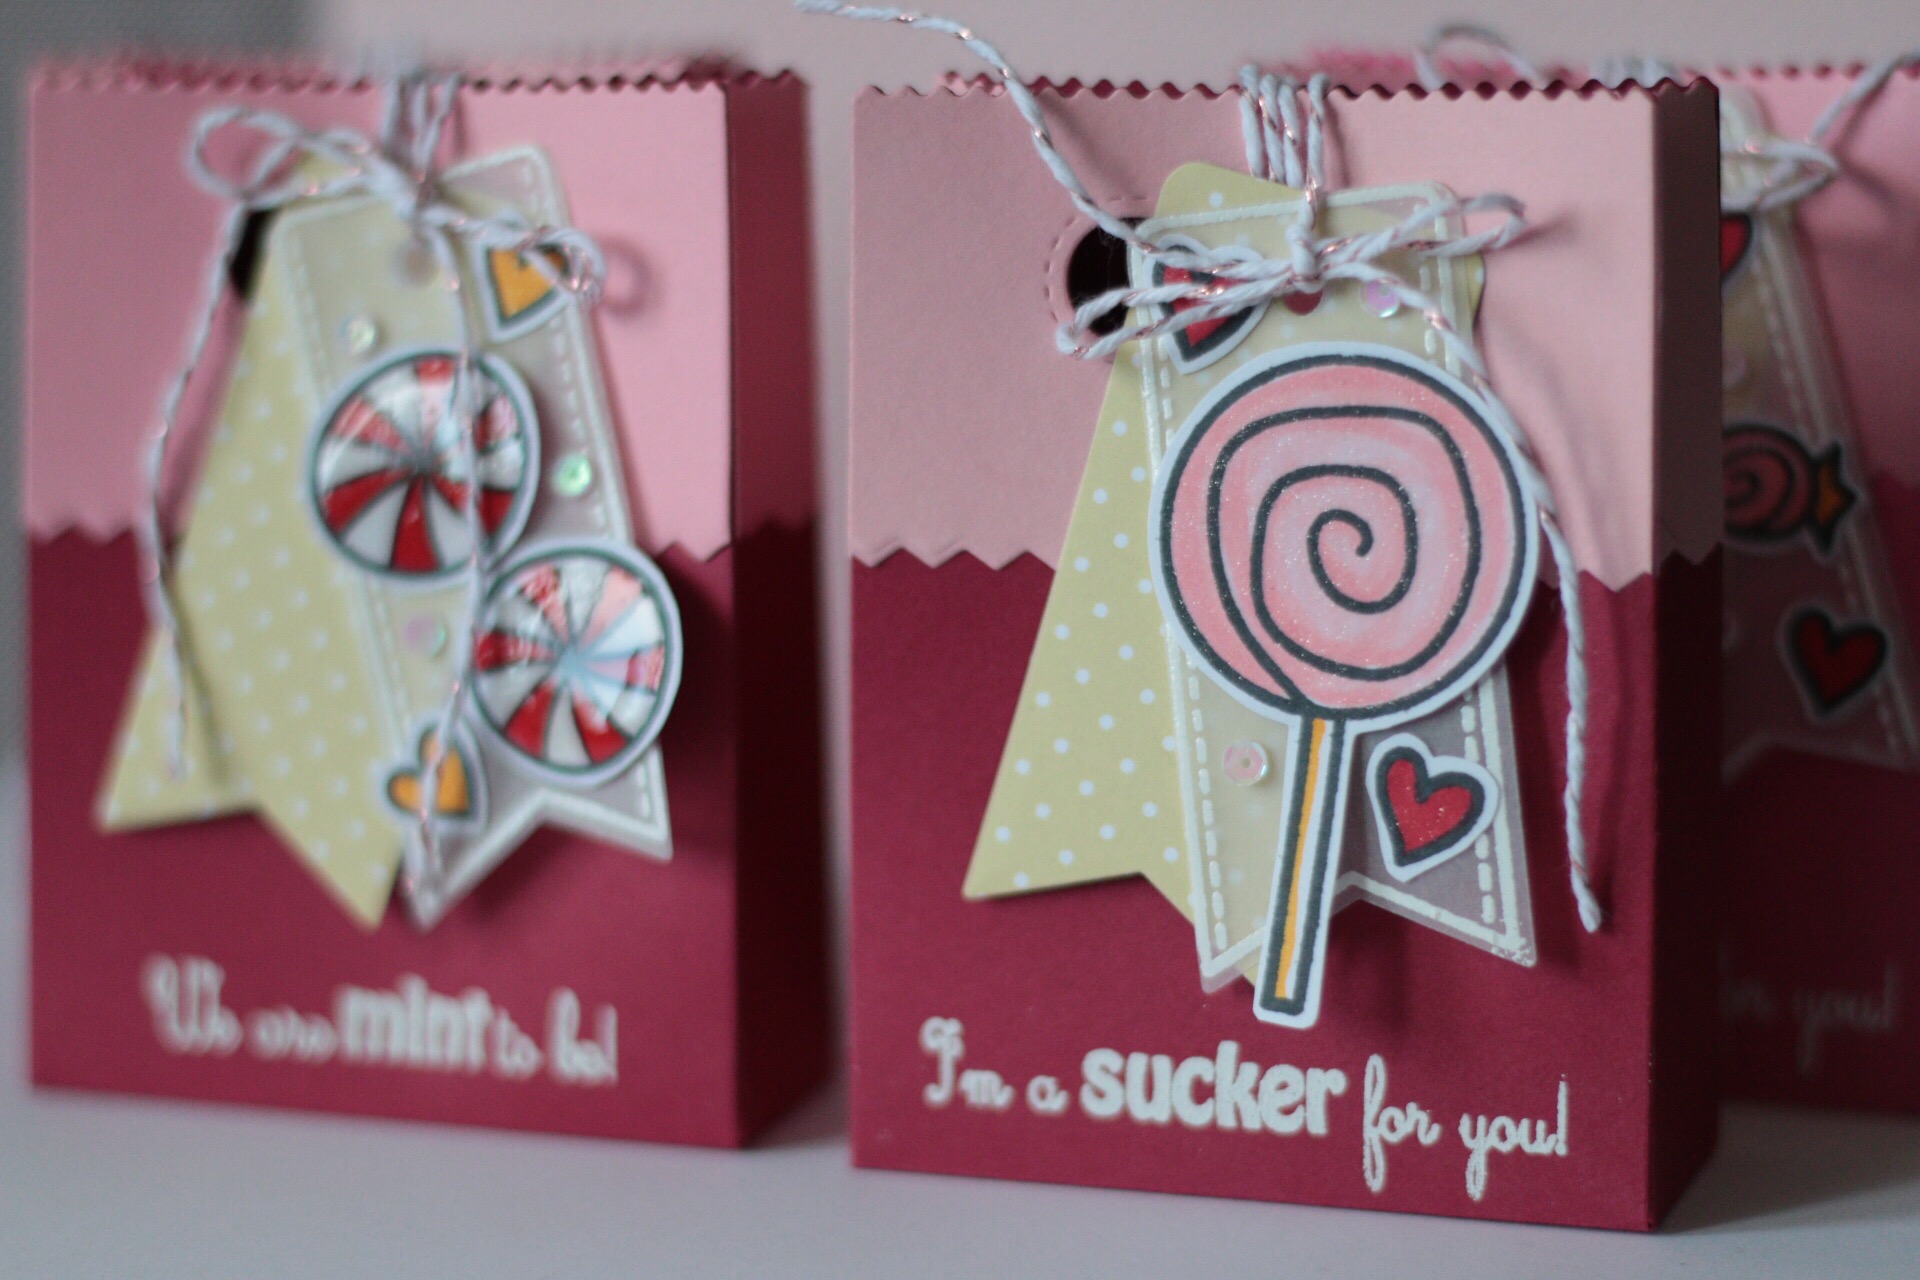
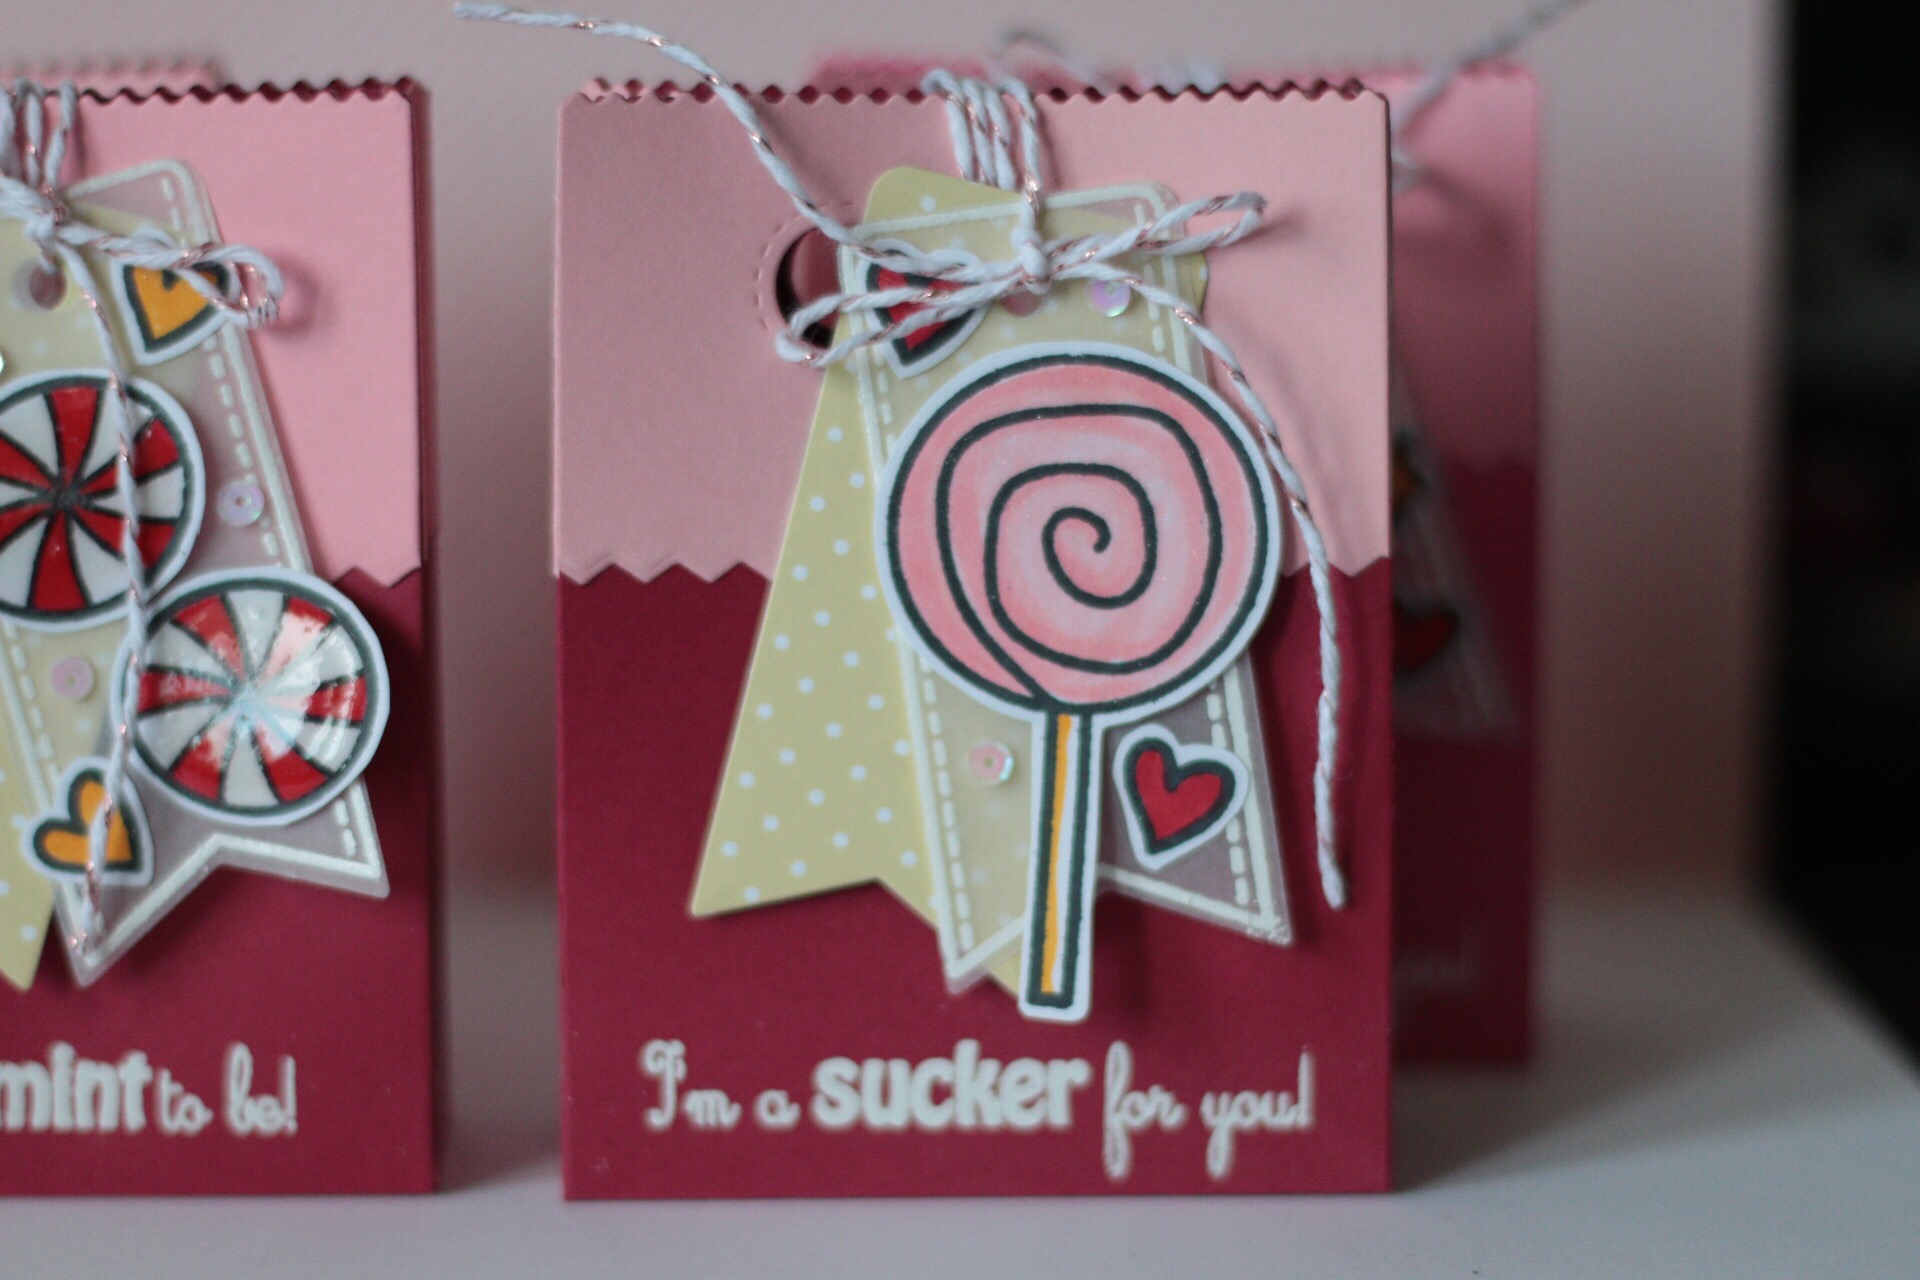
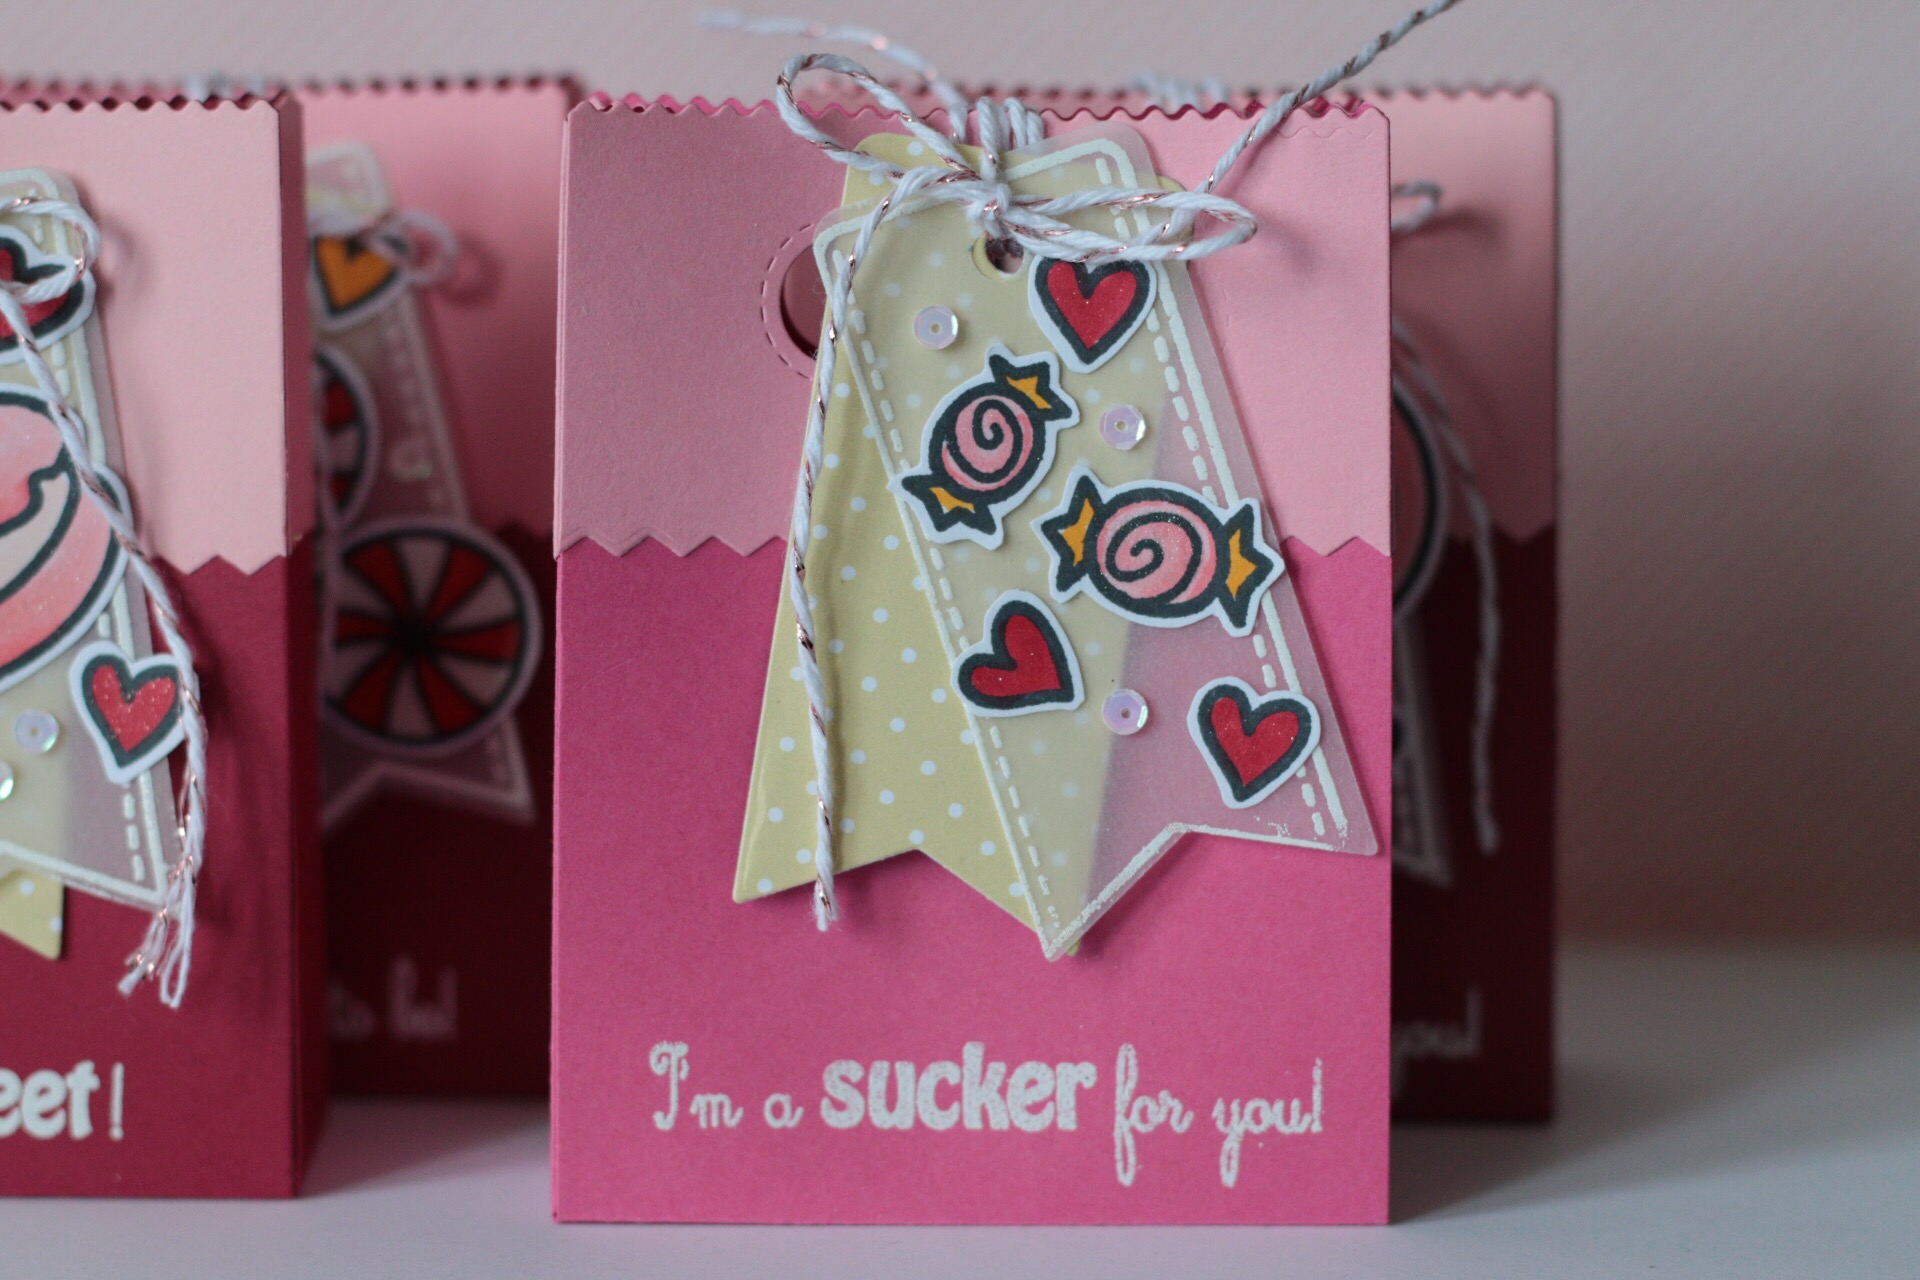
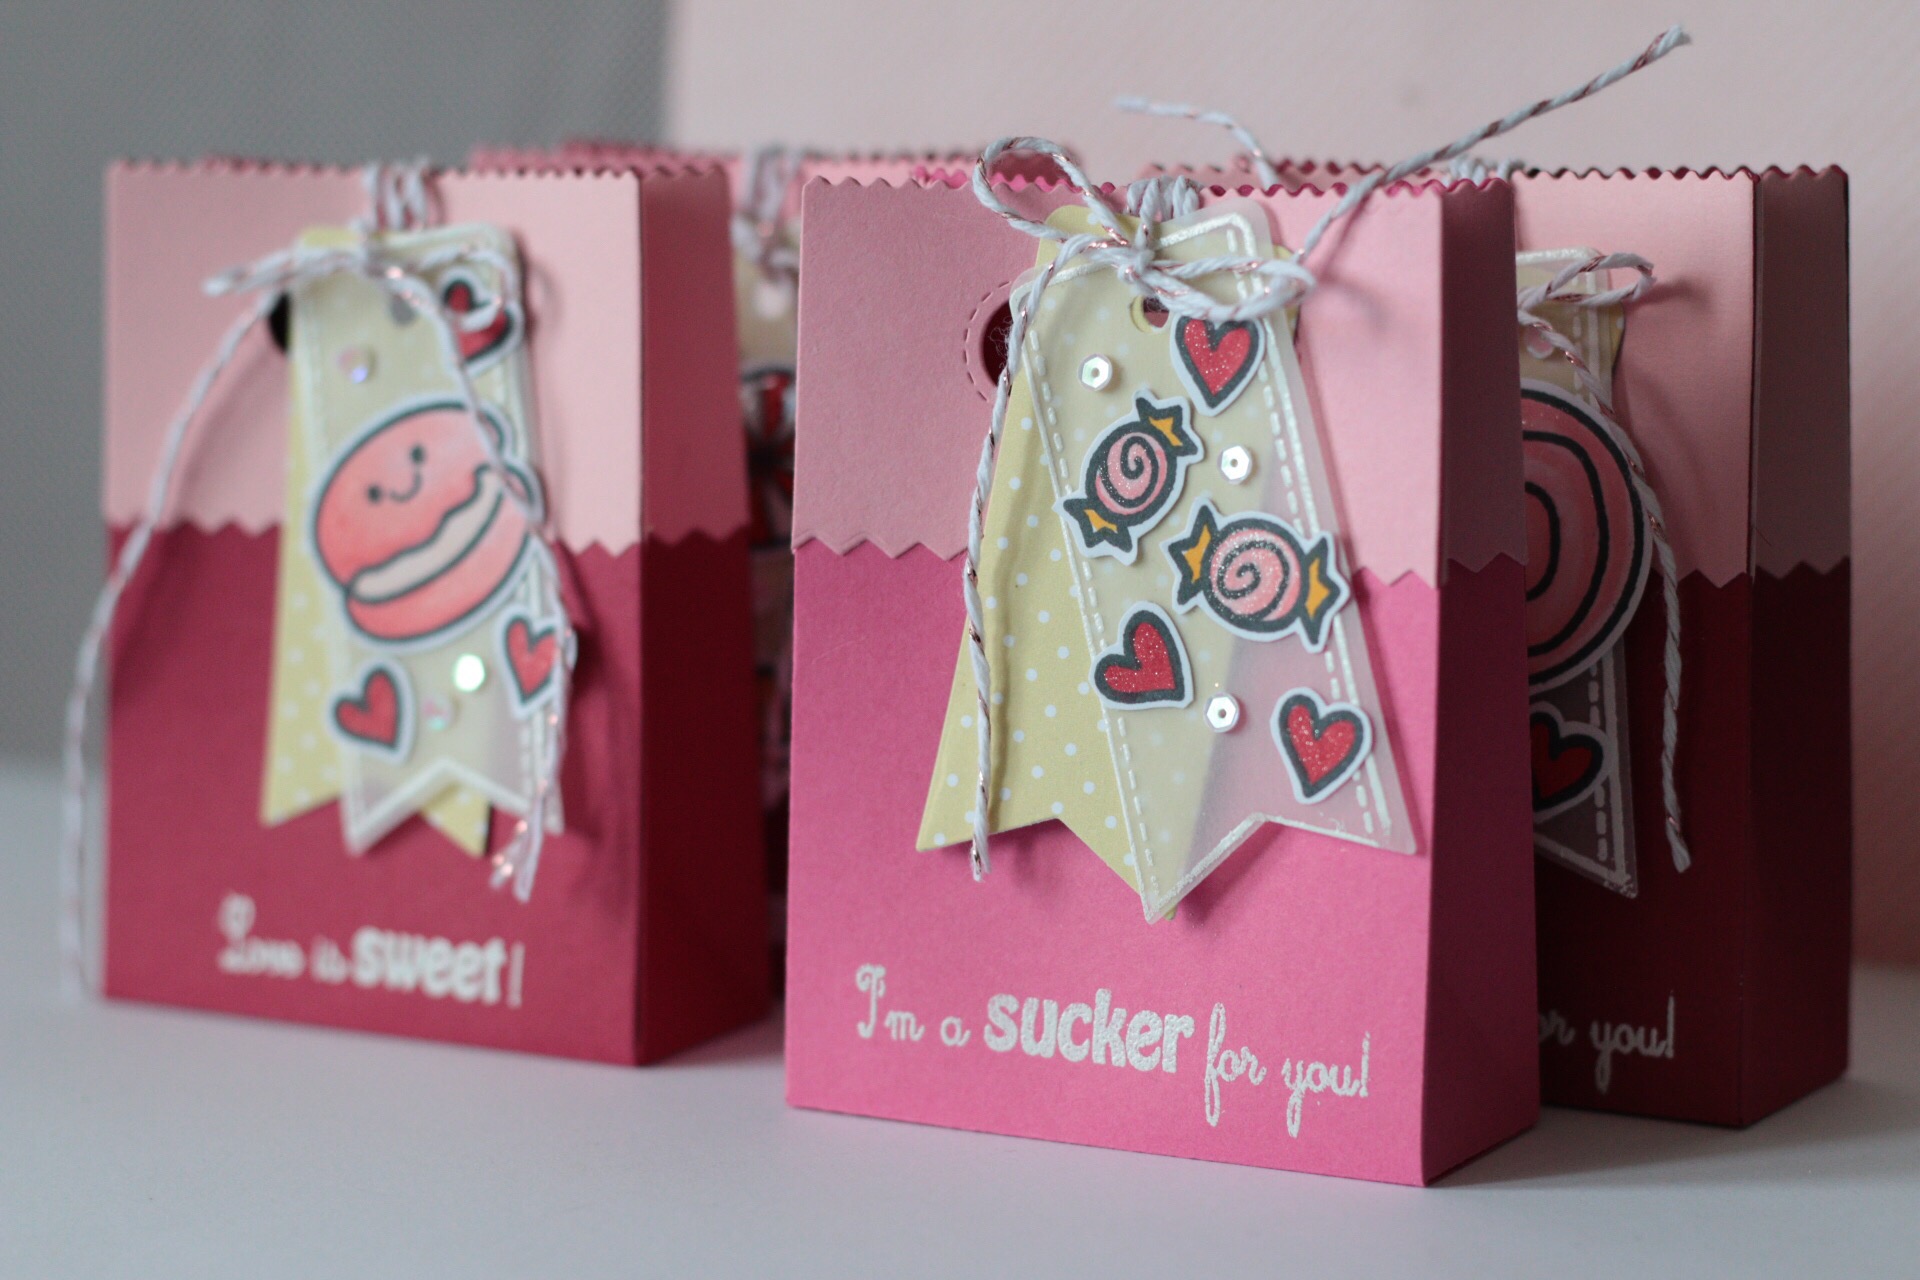
For the first project I made a few goodie bags for the kiddies. I used lawn fawns goodie bag die and decorated using my V’s sweet stamp set. I really loved how they came out. These bags were inspired by Nichol Magouirk.


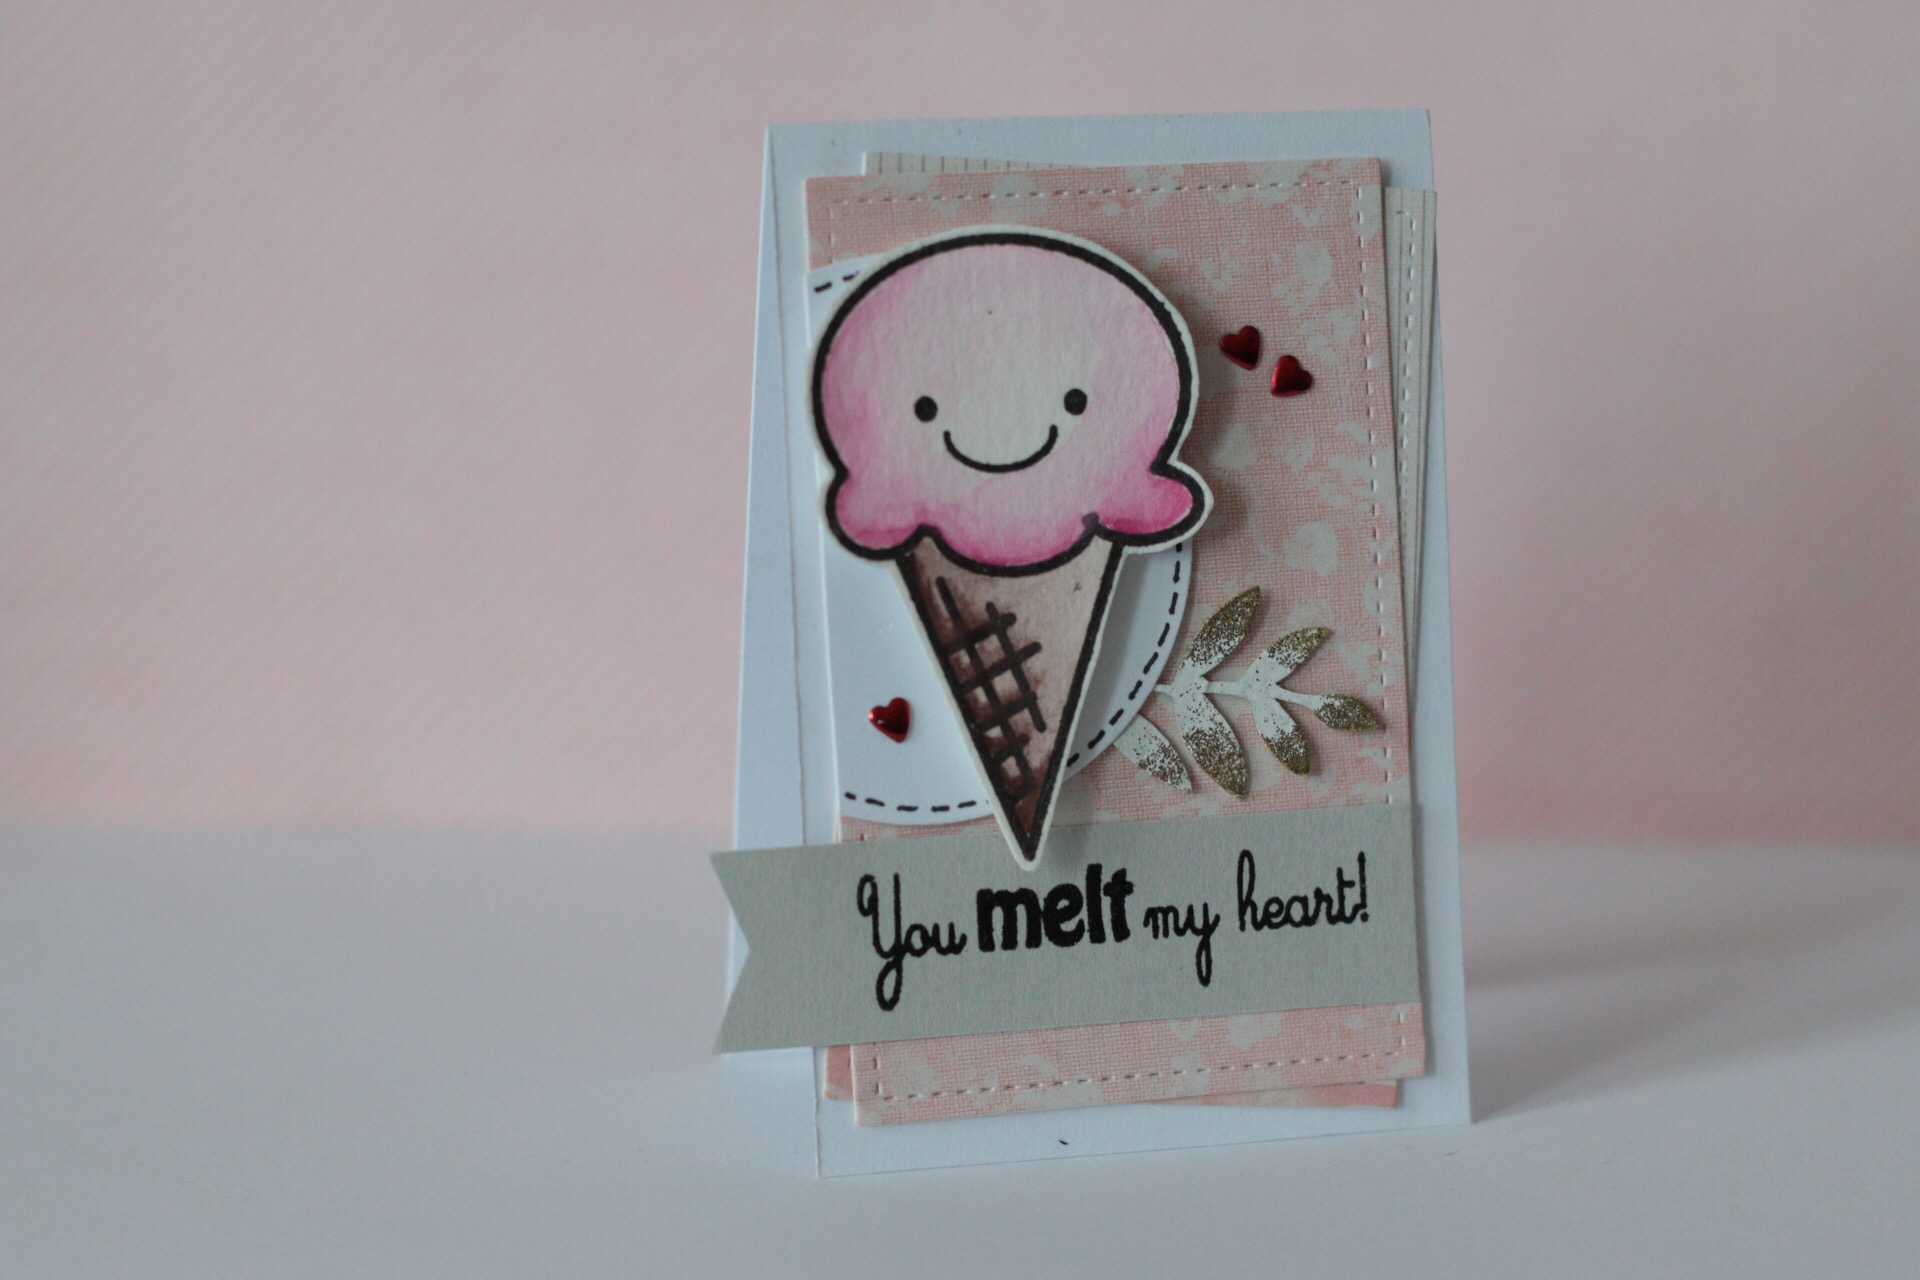
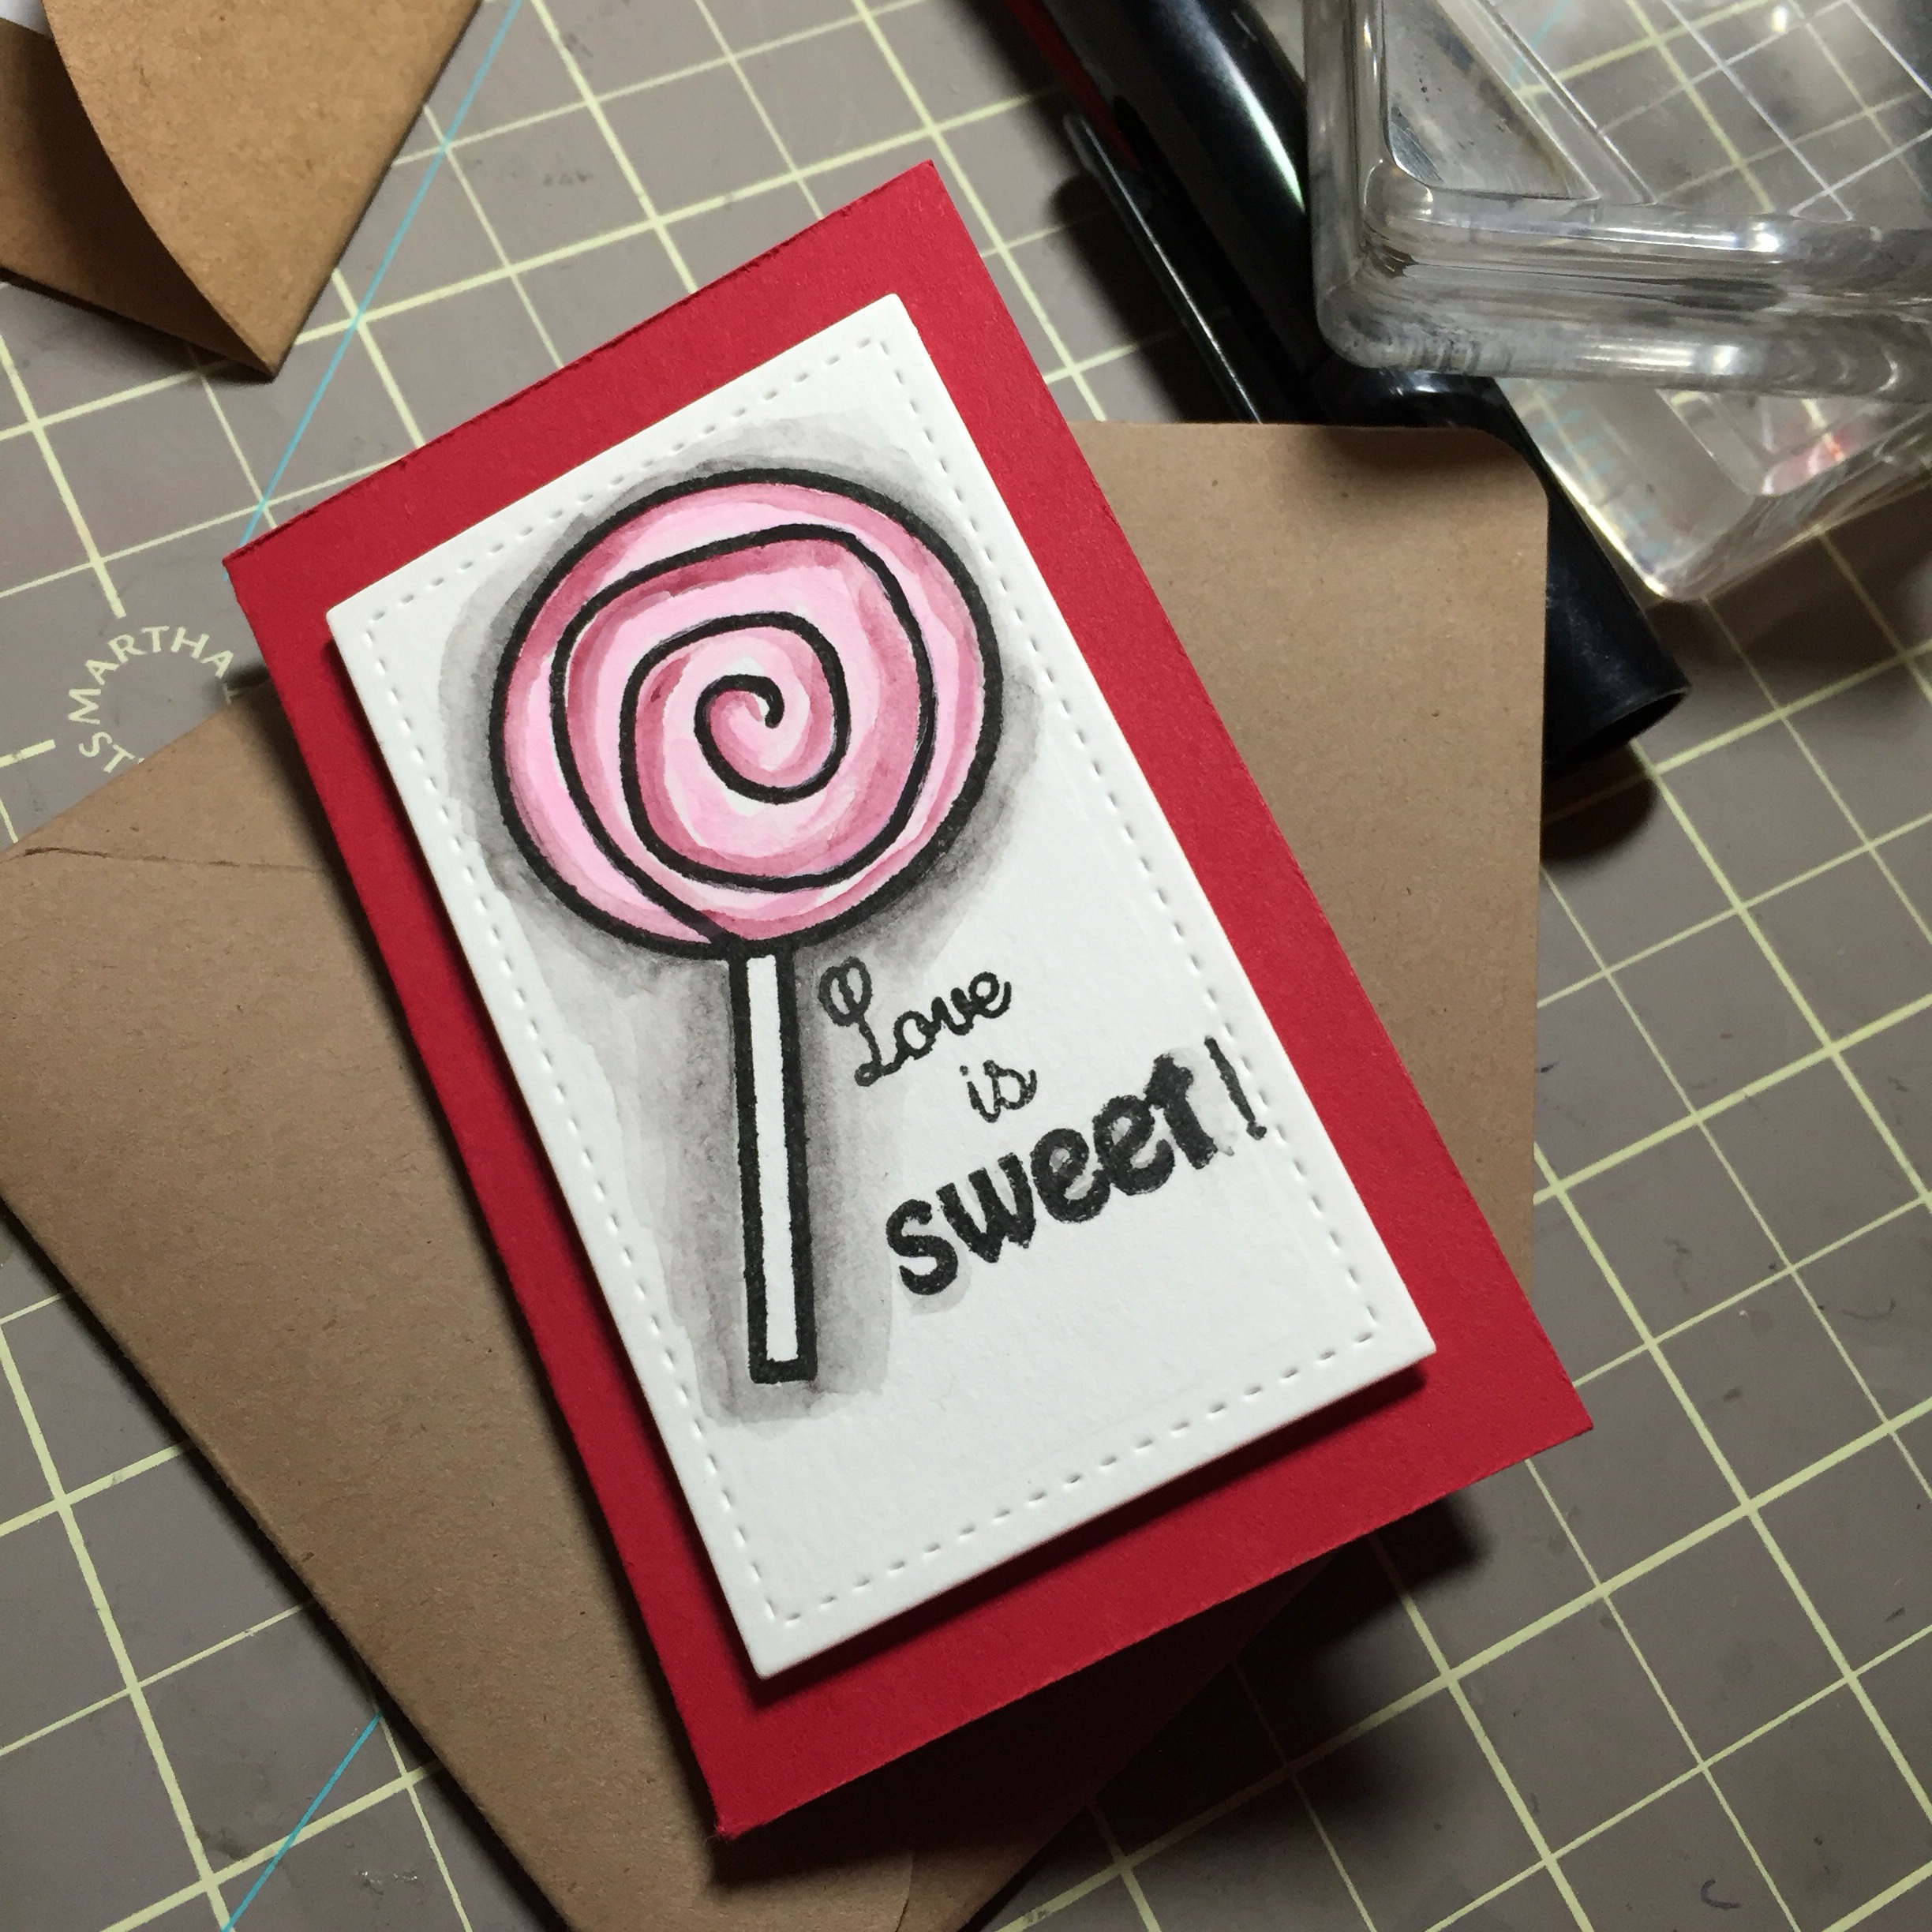
For my second project I made a mini card


  • I was also inspired by a very talented crafter for this card. I love that it’s small but very detailed.

I also made another mini card but I had made this card to go with a small pre Valentine gift for the hubby.

Well that’s all the projects I have for you today. Thanks for stopping buy and don’t forget to upload your projects for a chance to win $10 off towards our shop. Thanks and happy crafting!!!!!

blinkie2

Silhouette Mint – My thoughts about it

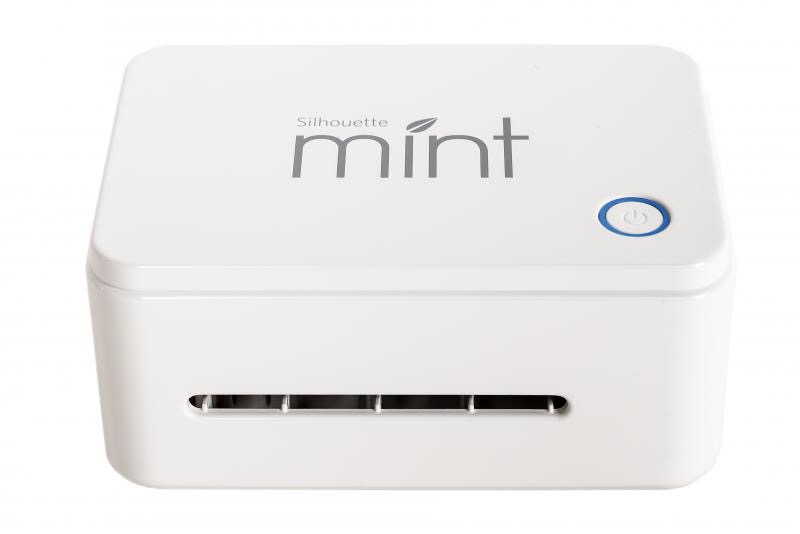
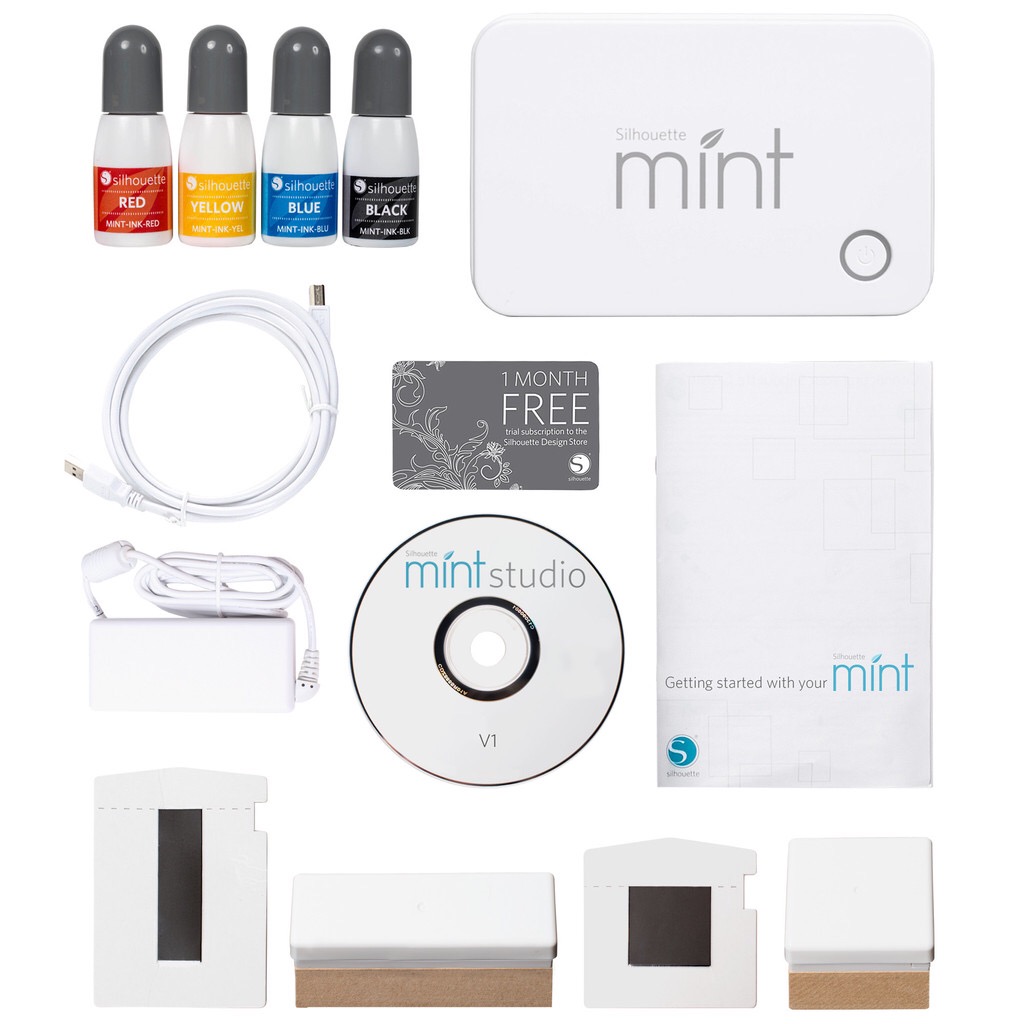
Good evening guys. On today’s post I want to talk a little about the Mint which was on my wish list. Why I decided to put it on my wish list? Well because I’m a crafter and what crafter wouldn’t like to be able to create their own stamp in the comfort of their own home. Hehe, well yea that was the main reason. I watched a few videos on youtube about it and I just had to have it. So I received it on christmas but didn’t really play with it until like a week or two after the holidays (busy playing with the kids toys :p)

  
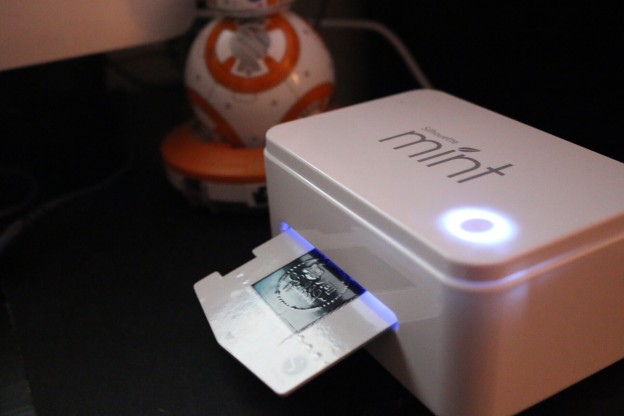
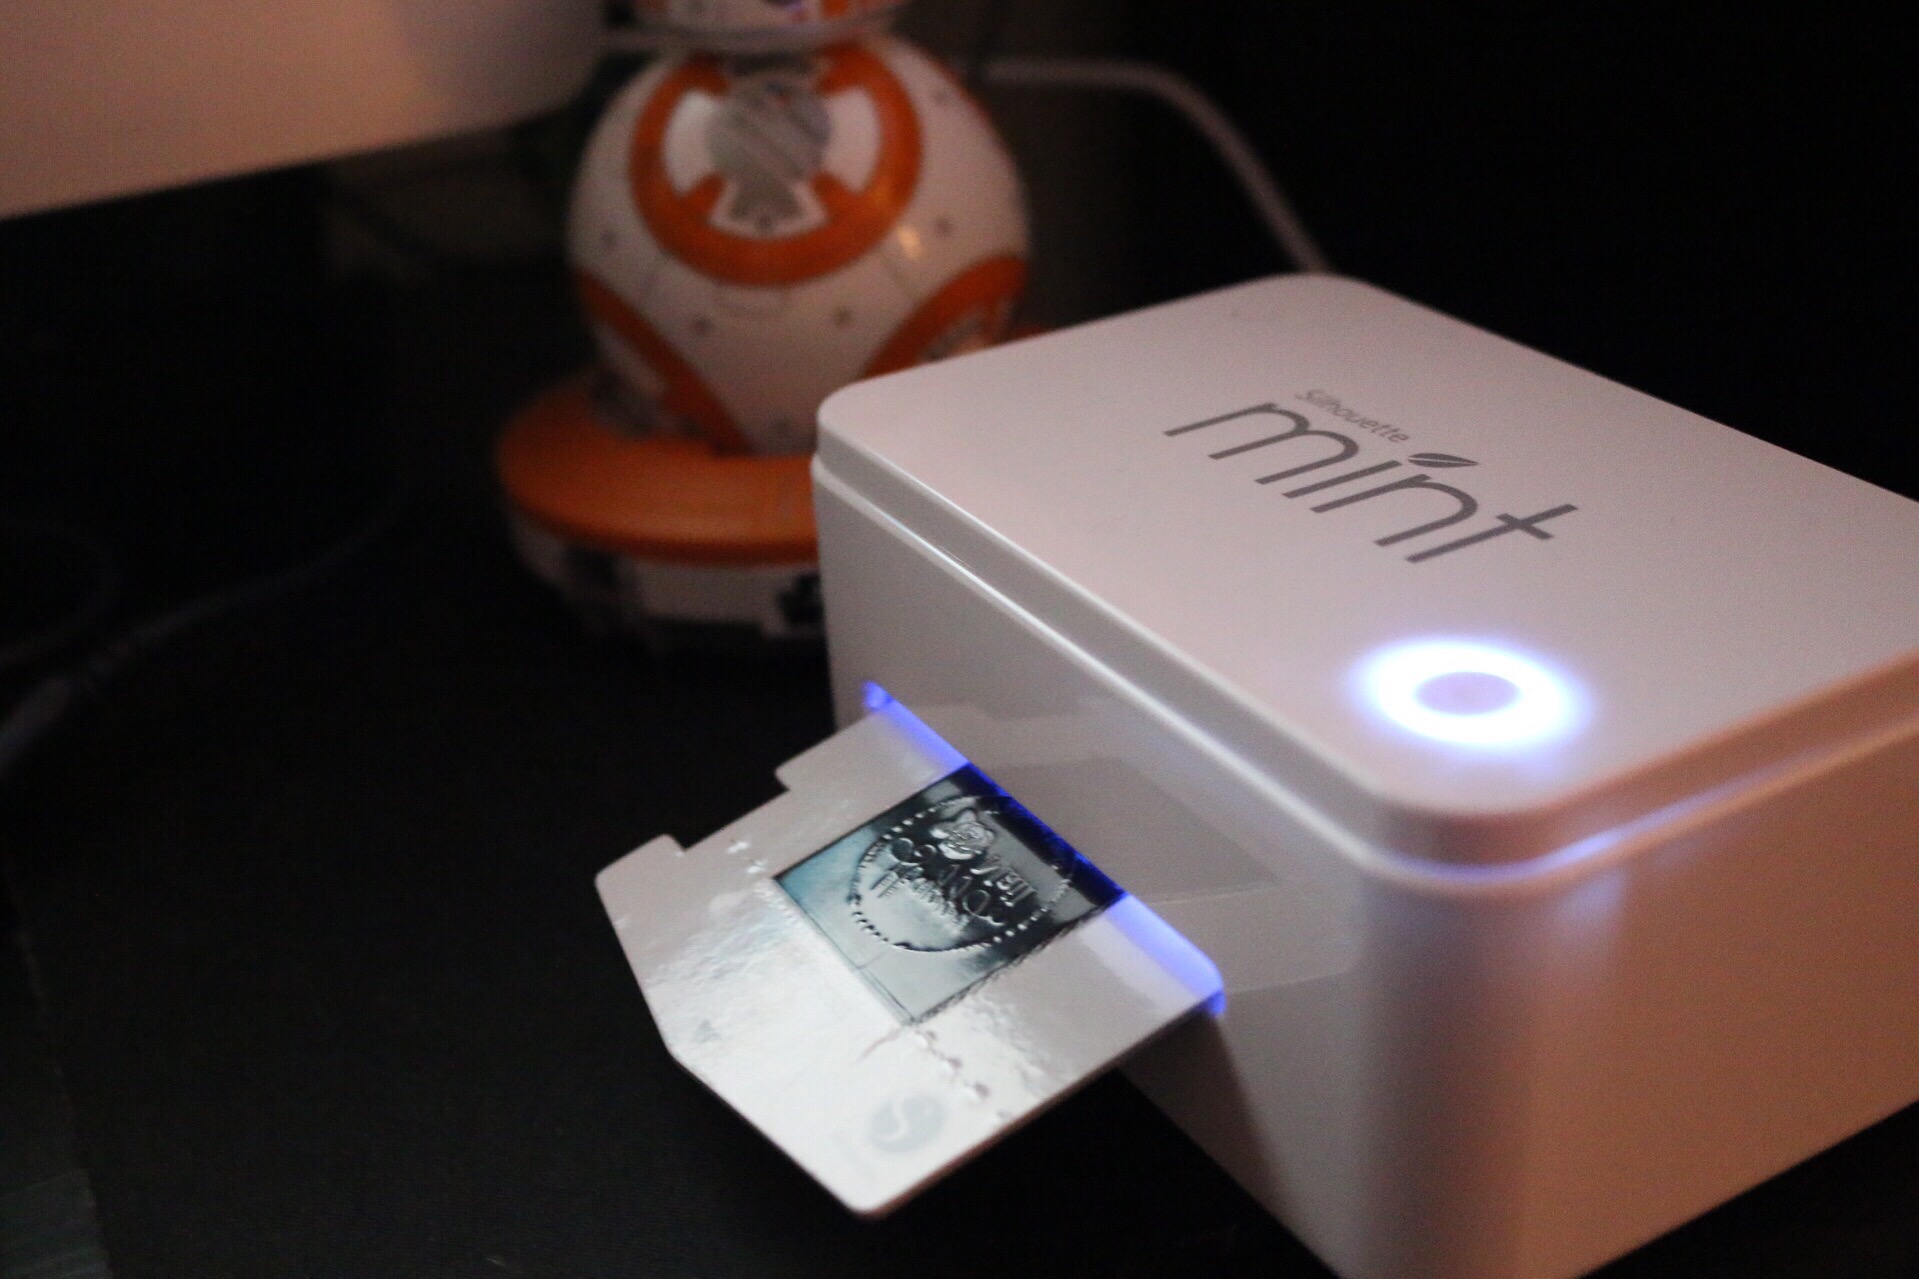
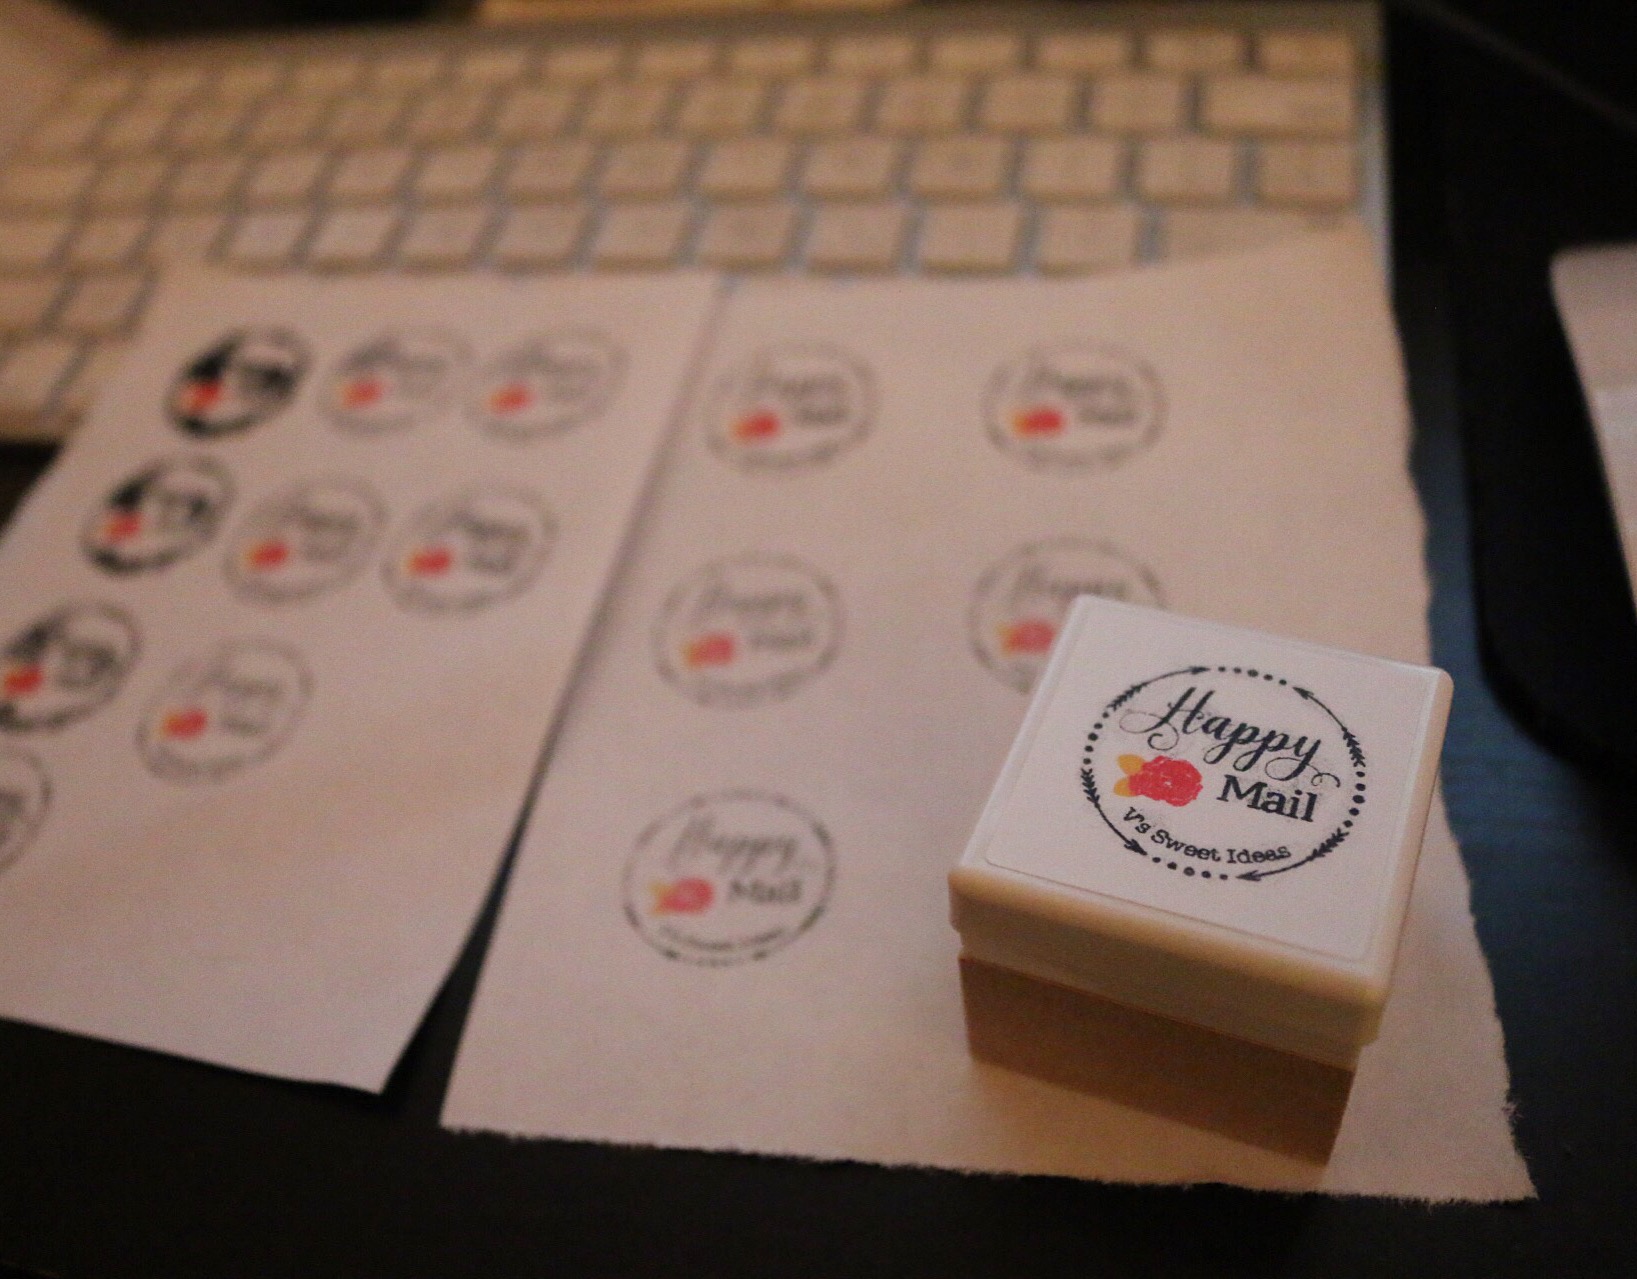
So lets now move on to that day. I opened the box and loved how small and lightweight the machine was. I love that I could leave it right next to my computer and that it didn’t take up much space. As for instructions, pretty straightforward. Insert the disk, download, plug and turn on. The software includes a few free images but I decided to create my own only because I had two stamps included with my mint so I wanted to make the most out of them. If you have the silhouette software for portrait , the mint software is the same just slightly different options. I created my Happy mail v’s sweet ideas stamp and clicked send. Once you click send the software tells you when to insert and how into the mint. Once I slid the stamp in the machine it took seconds for it to print out (AMAZING!!!!) How cool!

 
Ok, now for the ink part. That is probably one of the downsides I have about the mint. The stamp is meant to hold ink so you can’t just use an ink pad(like how you would with clear or rubber-stamps) and stamp  away. You have to add ink directly to the top of the stamp and wait for it to soak in. Then after about 5 minutes you stamp on paper to get rid of the excess ink. After that your stamp is good to go for about 50 stamps.

 
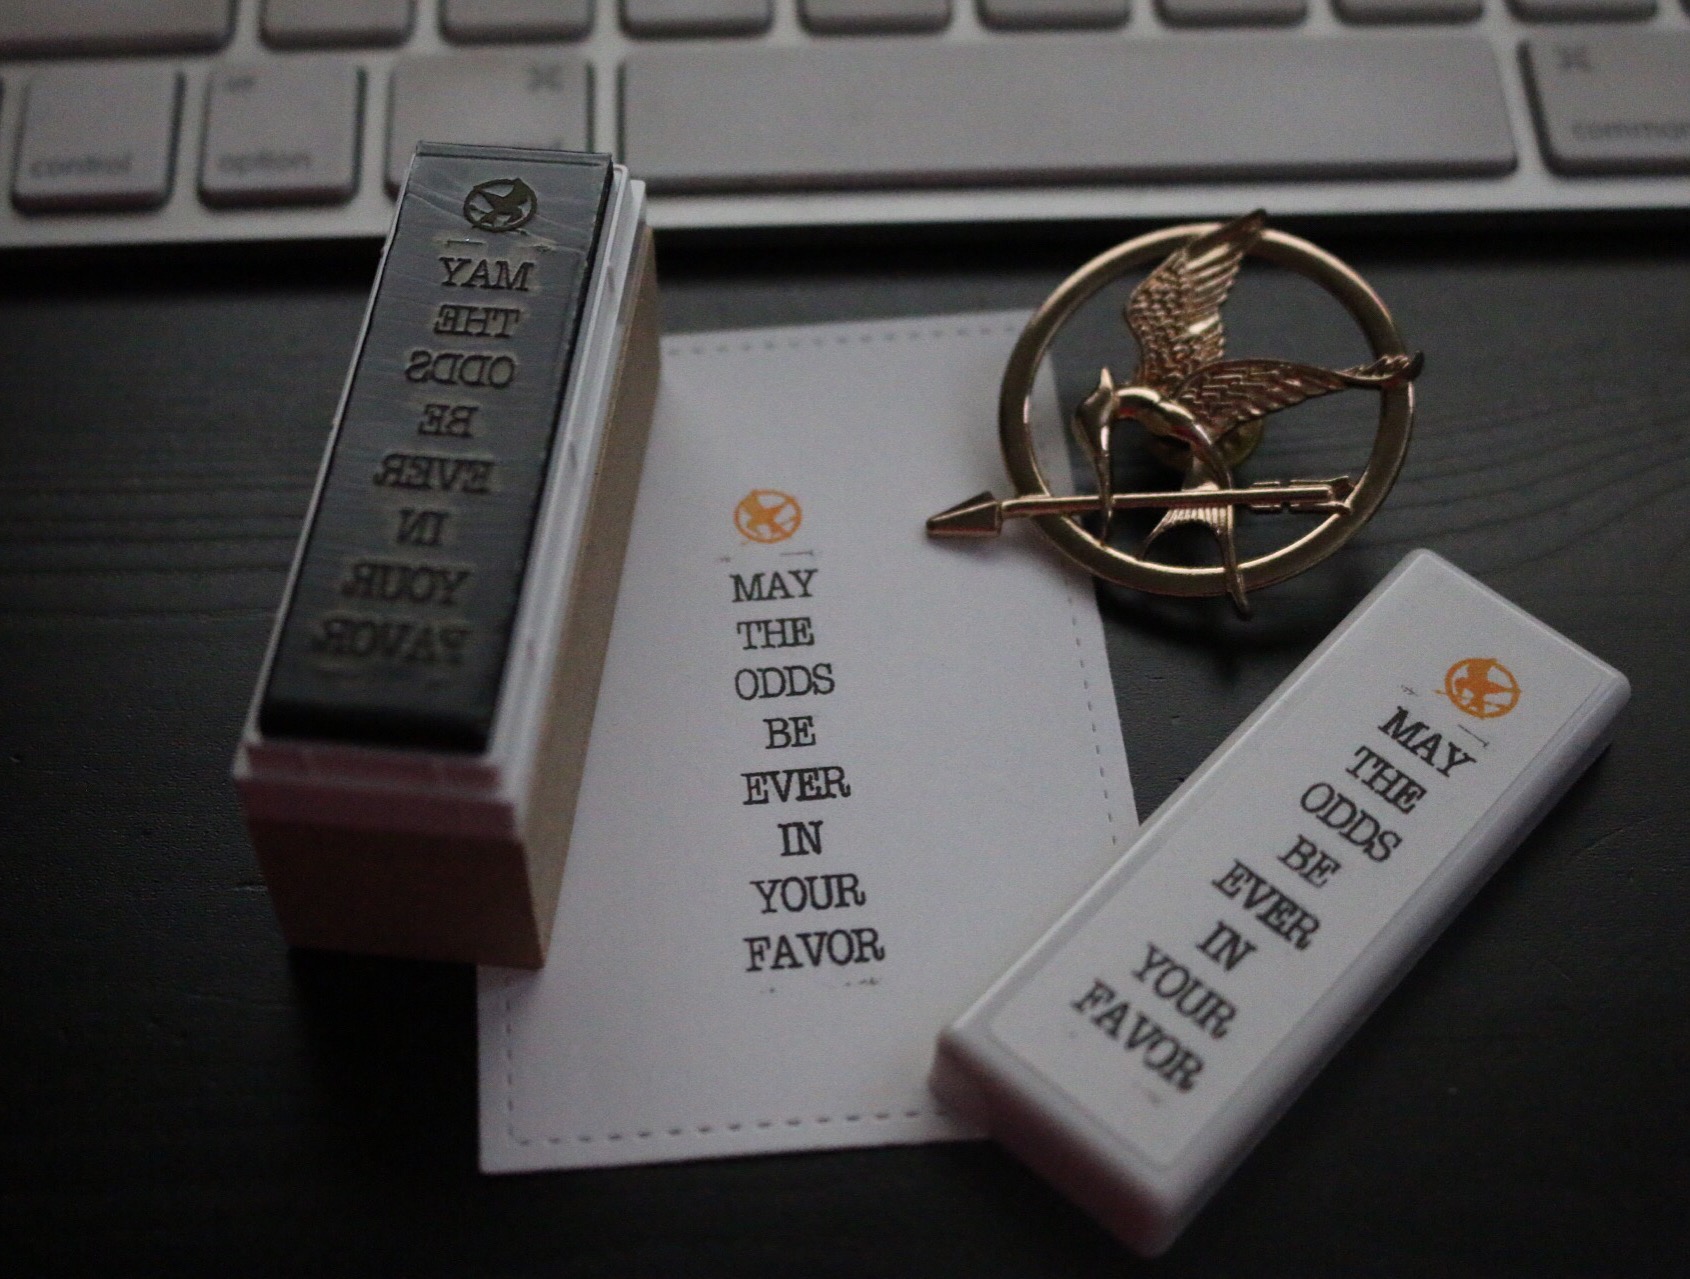
Yea yea it sucks but hey YOU GET TO CREATE YOUR VERY OWN STAMP!!!!!! After that you add your stamp to the wooden block to make it easier for you to use. I found that you can stamp fine without the wood piece I also experimented with another brand of refillable ink (from work) and found that it worked like a charm. (That means you can save a few bucks and buy non silhouette black refillable ink) Why did I experiment with the ink? Well because I plan to send my cousin a stamp and had to find an ink I can send her so that she can use to refill the stamp after it runs out of ink.

 
 So overall thoughts? Love the Mint. Its fast and easy to use. It’s not perfect but then perfect would be too boring lol. The size and weight is ideal especially for my limited desk space. I hate that I can’t just stamp it on an ink pad but I can live with that. It just means I can take it with me and not have to worry about carrying an ink pad for it (just gotta make  sure to refill it :P) Almost forgot to talk about pricing of the stamps. So I’ve read that people feel the stamp is pricey but I don’t think people realize what it really cost to order a custom stamp, not to mention the wait time( ughhh hate waiting) shipping cost and the time you spend looking out the window waiting for the mailperson to bring your package.

If you’re debating on getting one I recommend you do your research and check out some youtube videos. The price of the Mint is reasonable and I’m sure you will get a good use out of it.Let me know if you got a Mint and what you think about it. Would also love to hear any tips. Well thanks for stopping by and happy crafting!

Hey! If you like my post don’t forget to subscribe so you don’t miss anything. Thanks!

Practicing my Caligraphy 

Good afternoon! Today I just wanted to brief you on how my calligraphy lessons are going. If you follow me on Instagram you have already seen my post here and there of my calligraphy practicing and today I told myself I need to step up my game. 

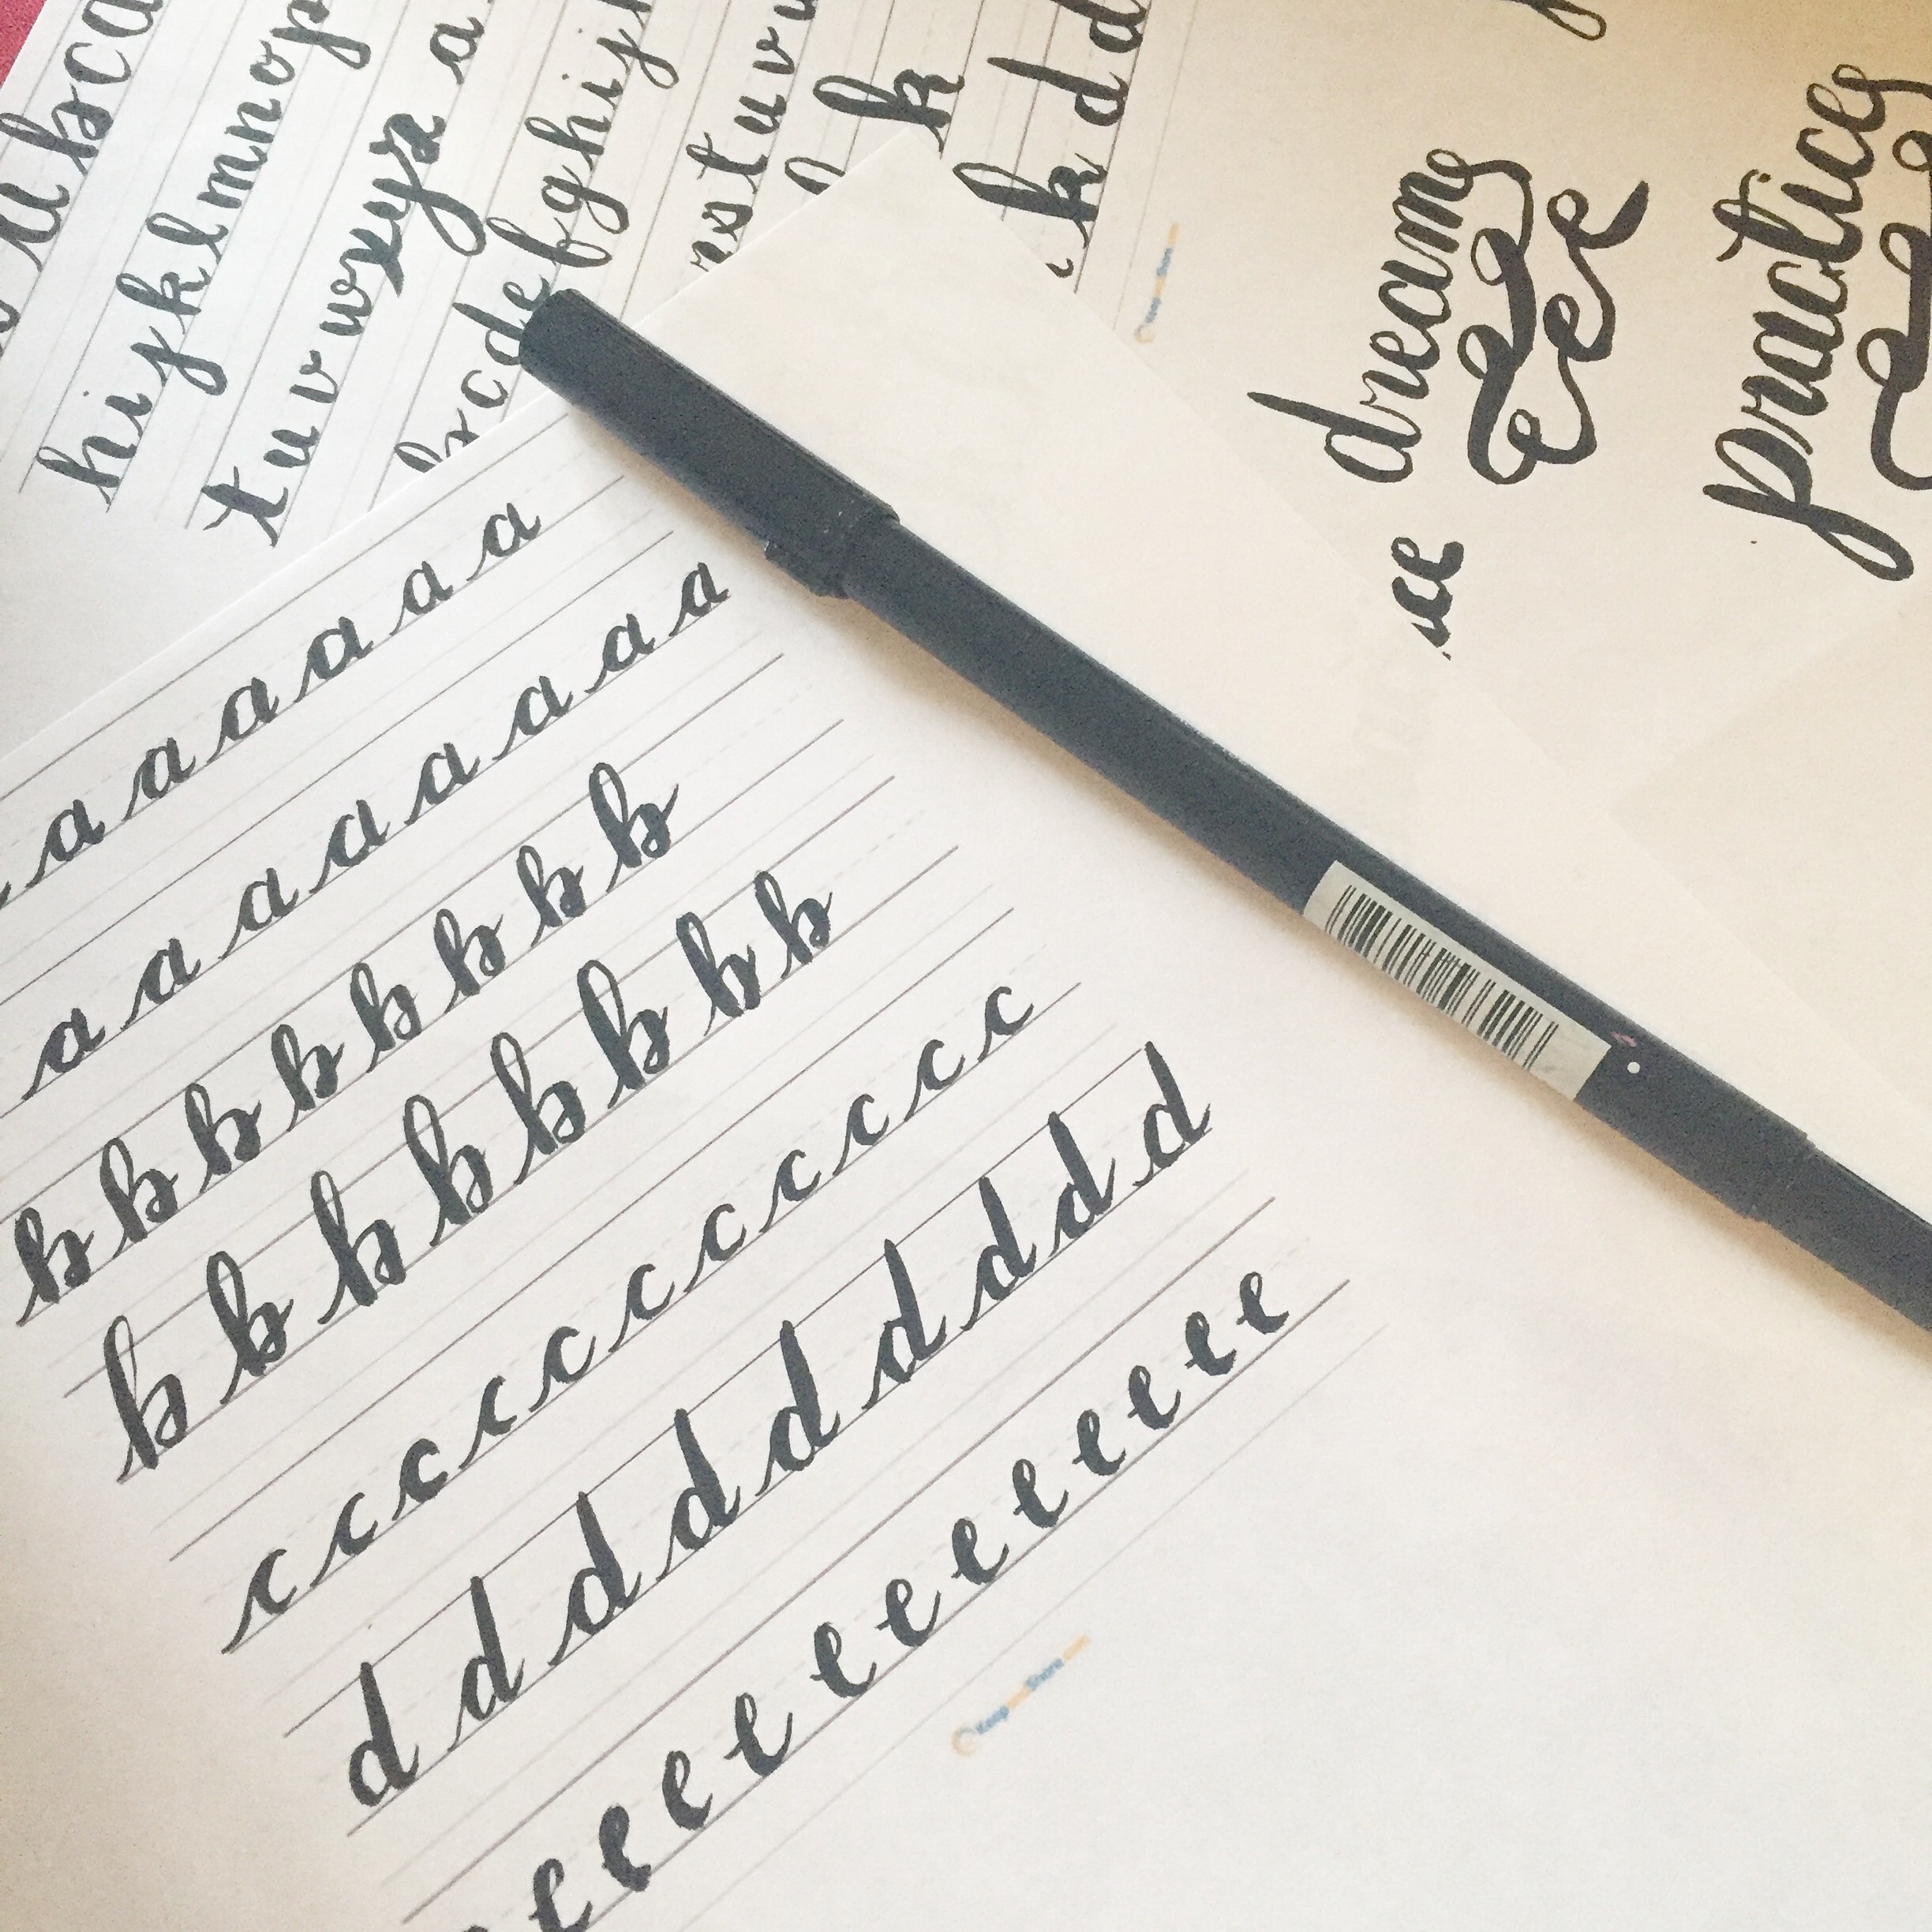
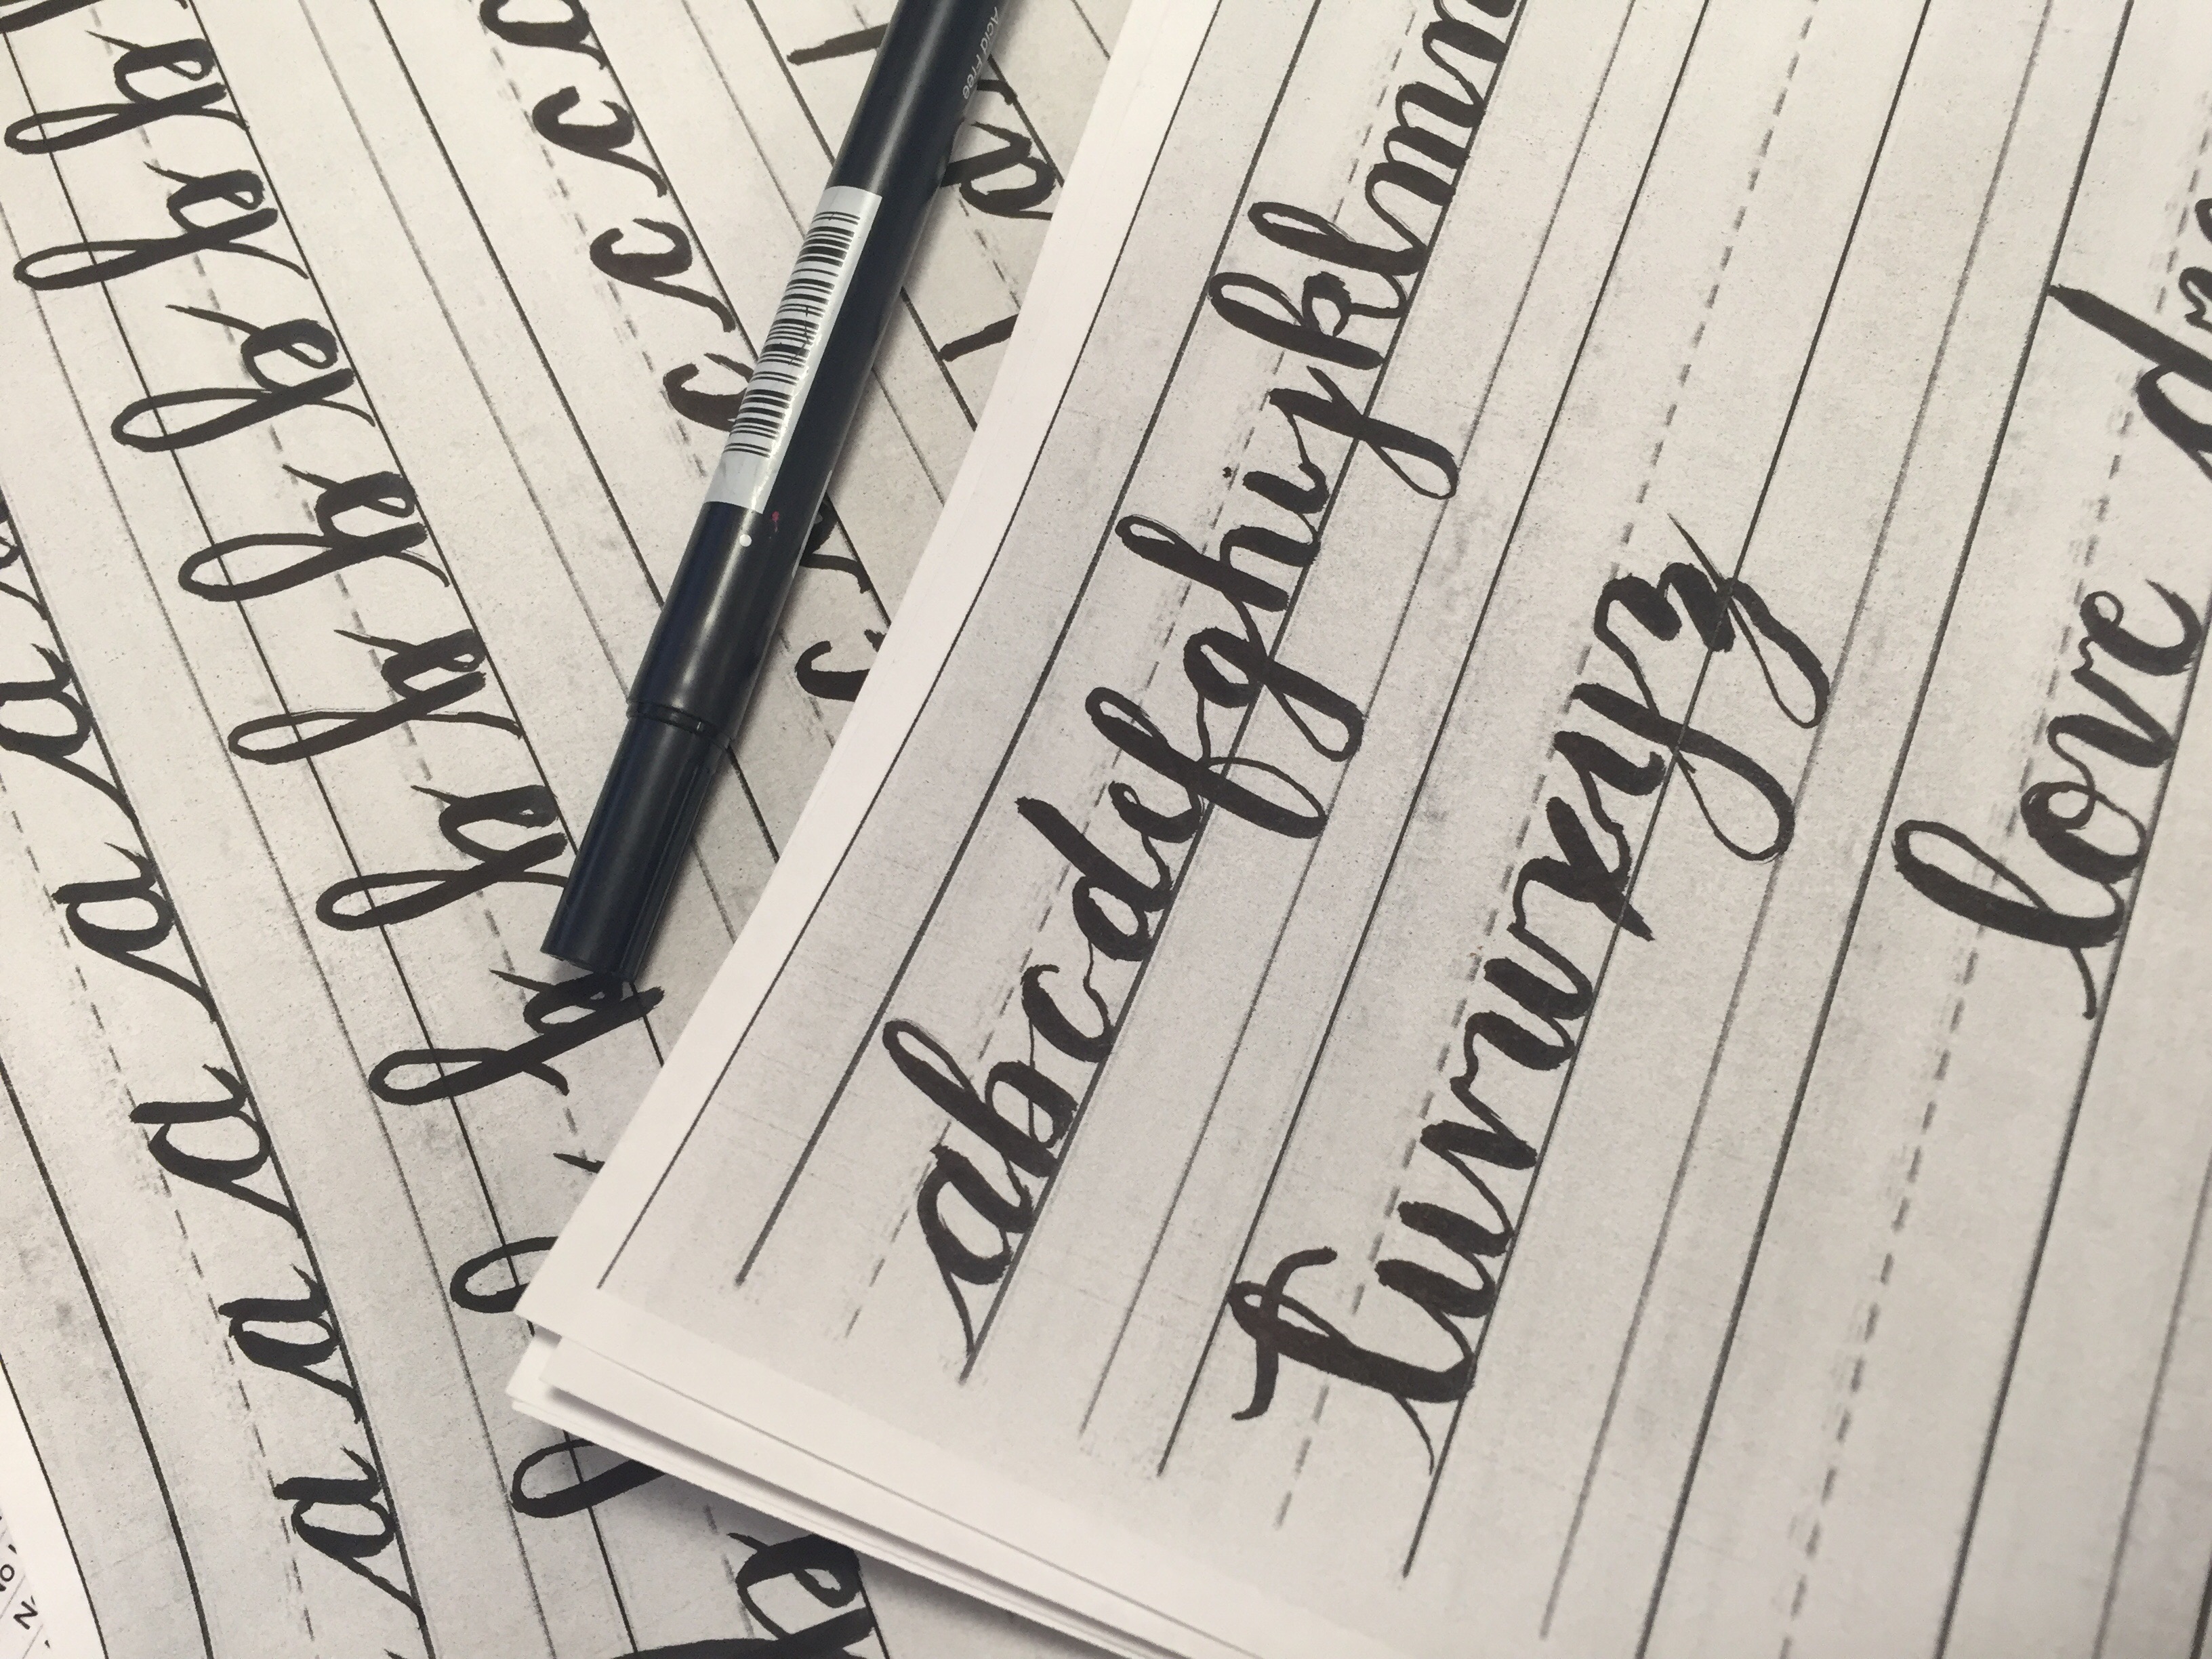
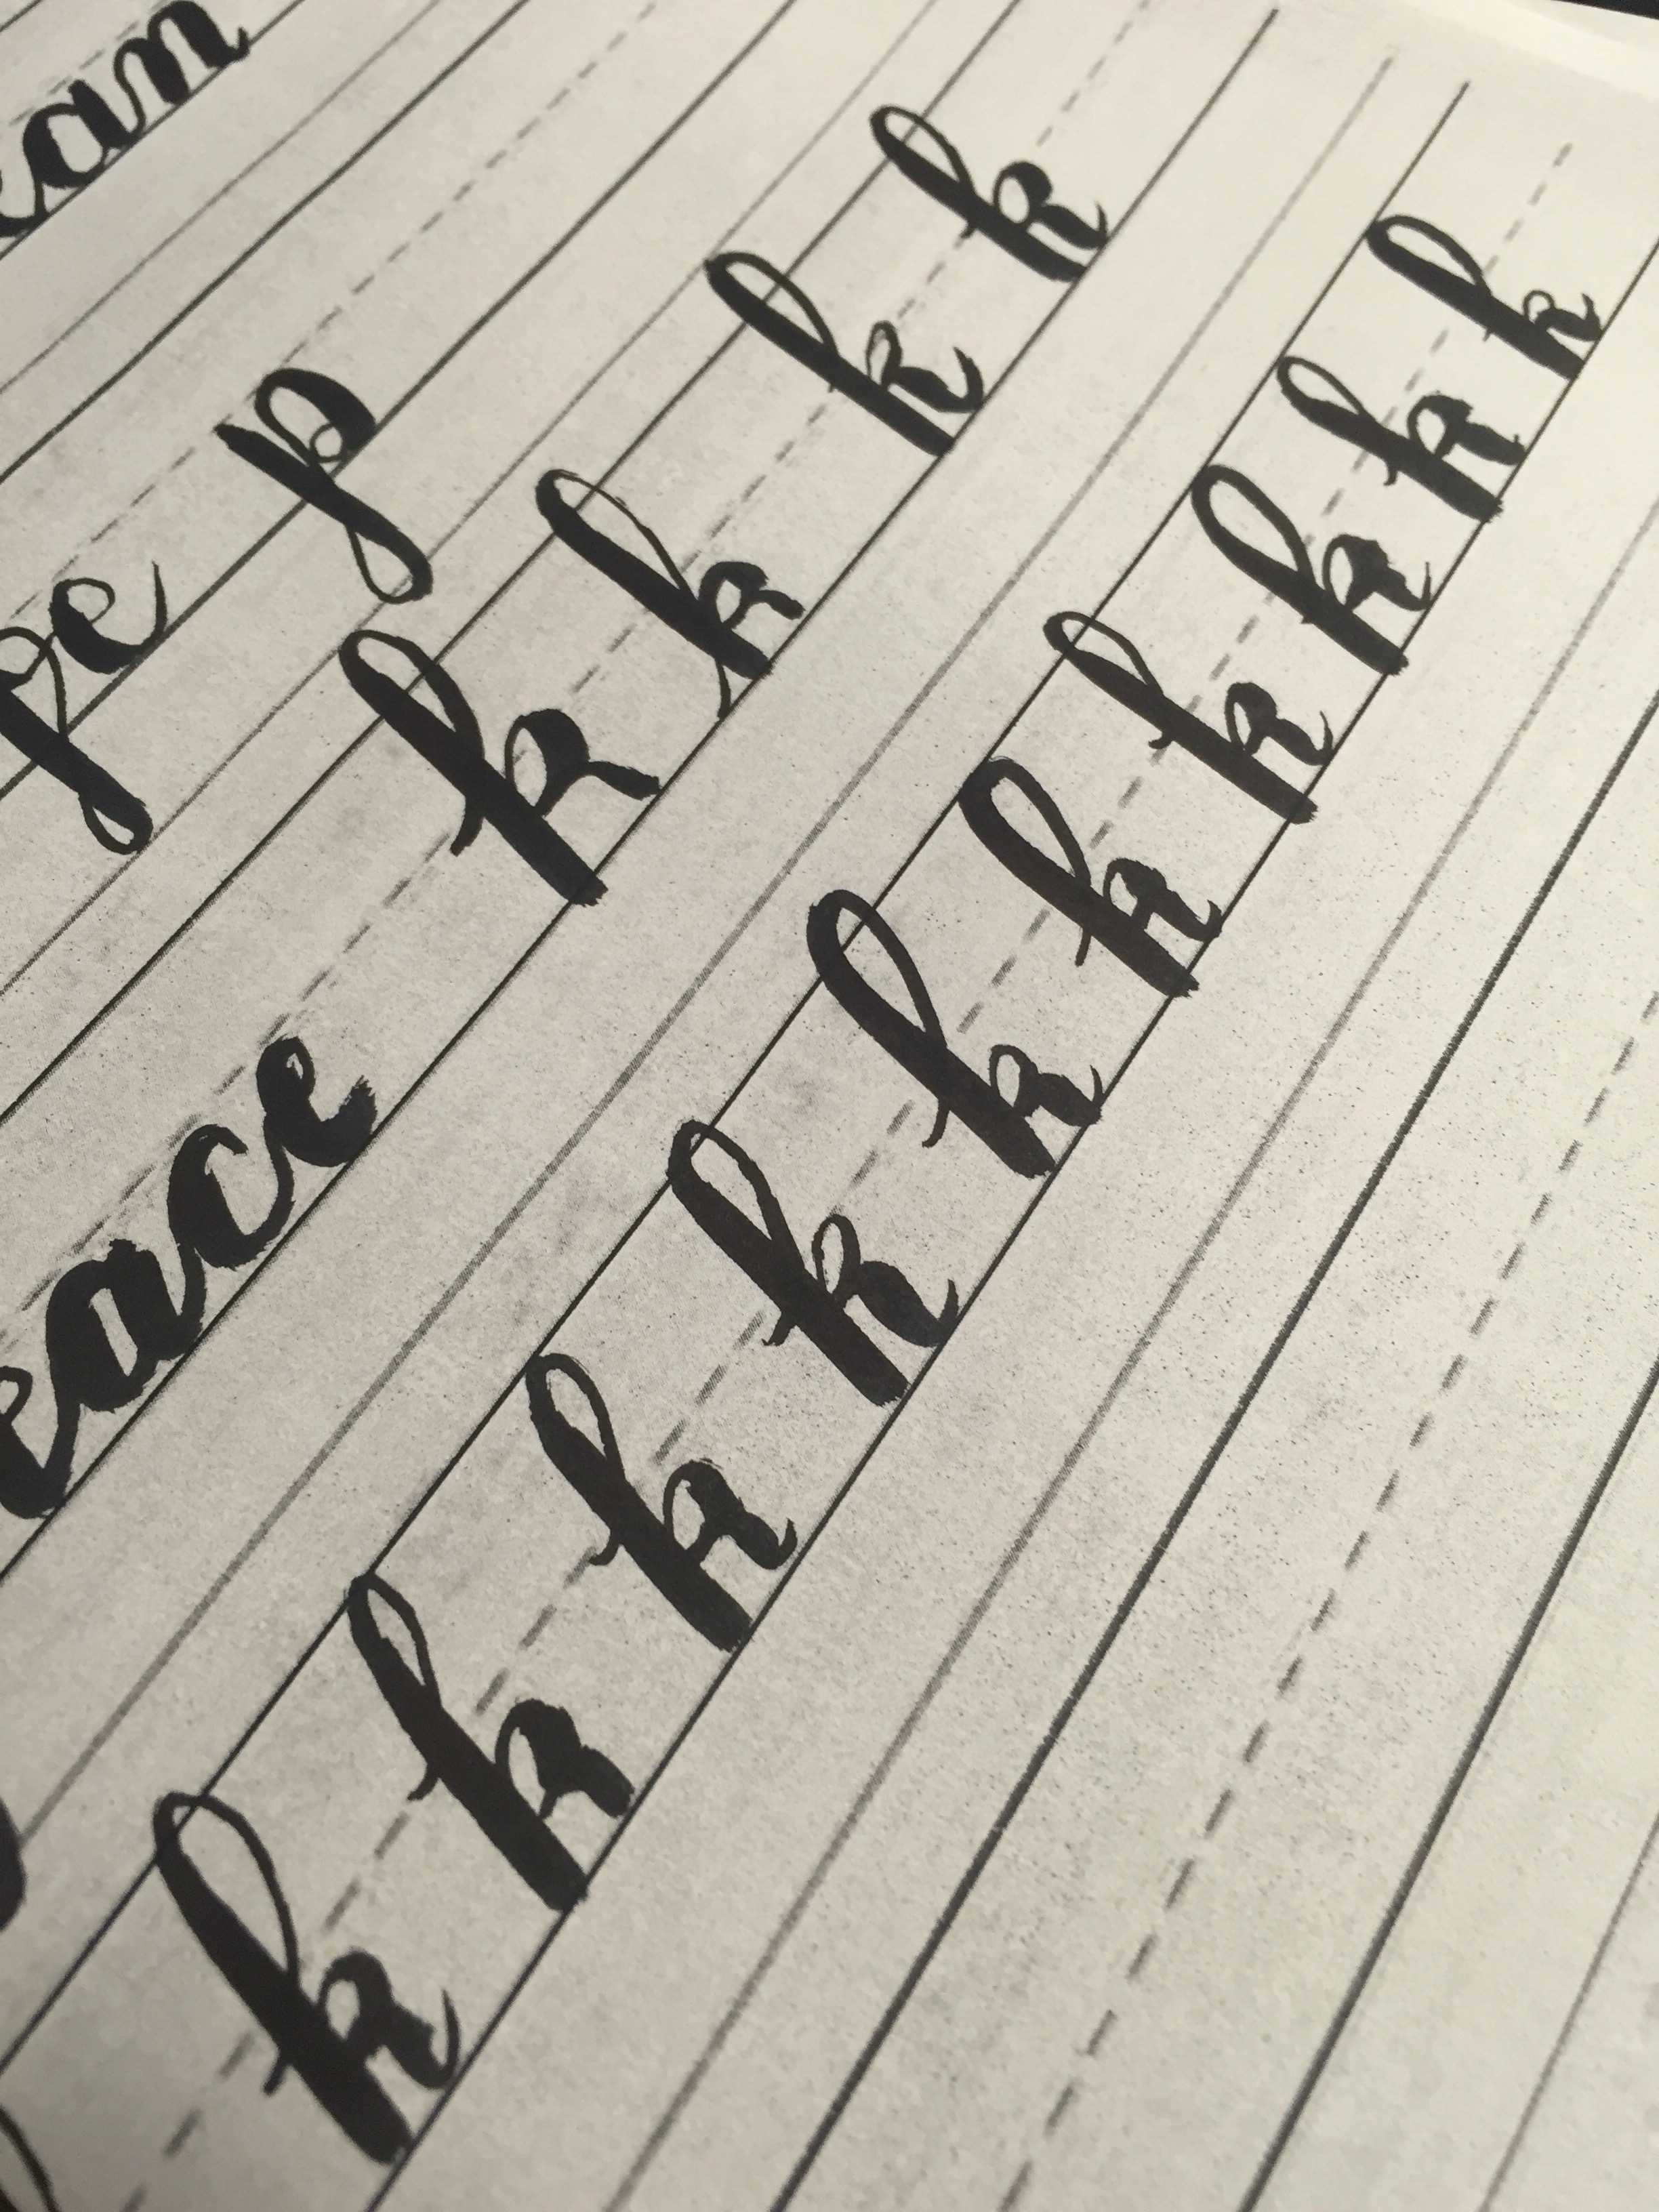
I found a practice line sheet template online and printed out few. I went with my tombow abt N15 marker because I love the soft brush. I decided I needed to practice my alphabet before i practice writing words  


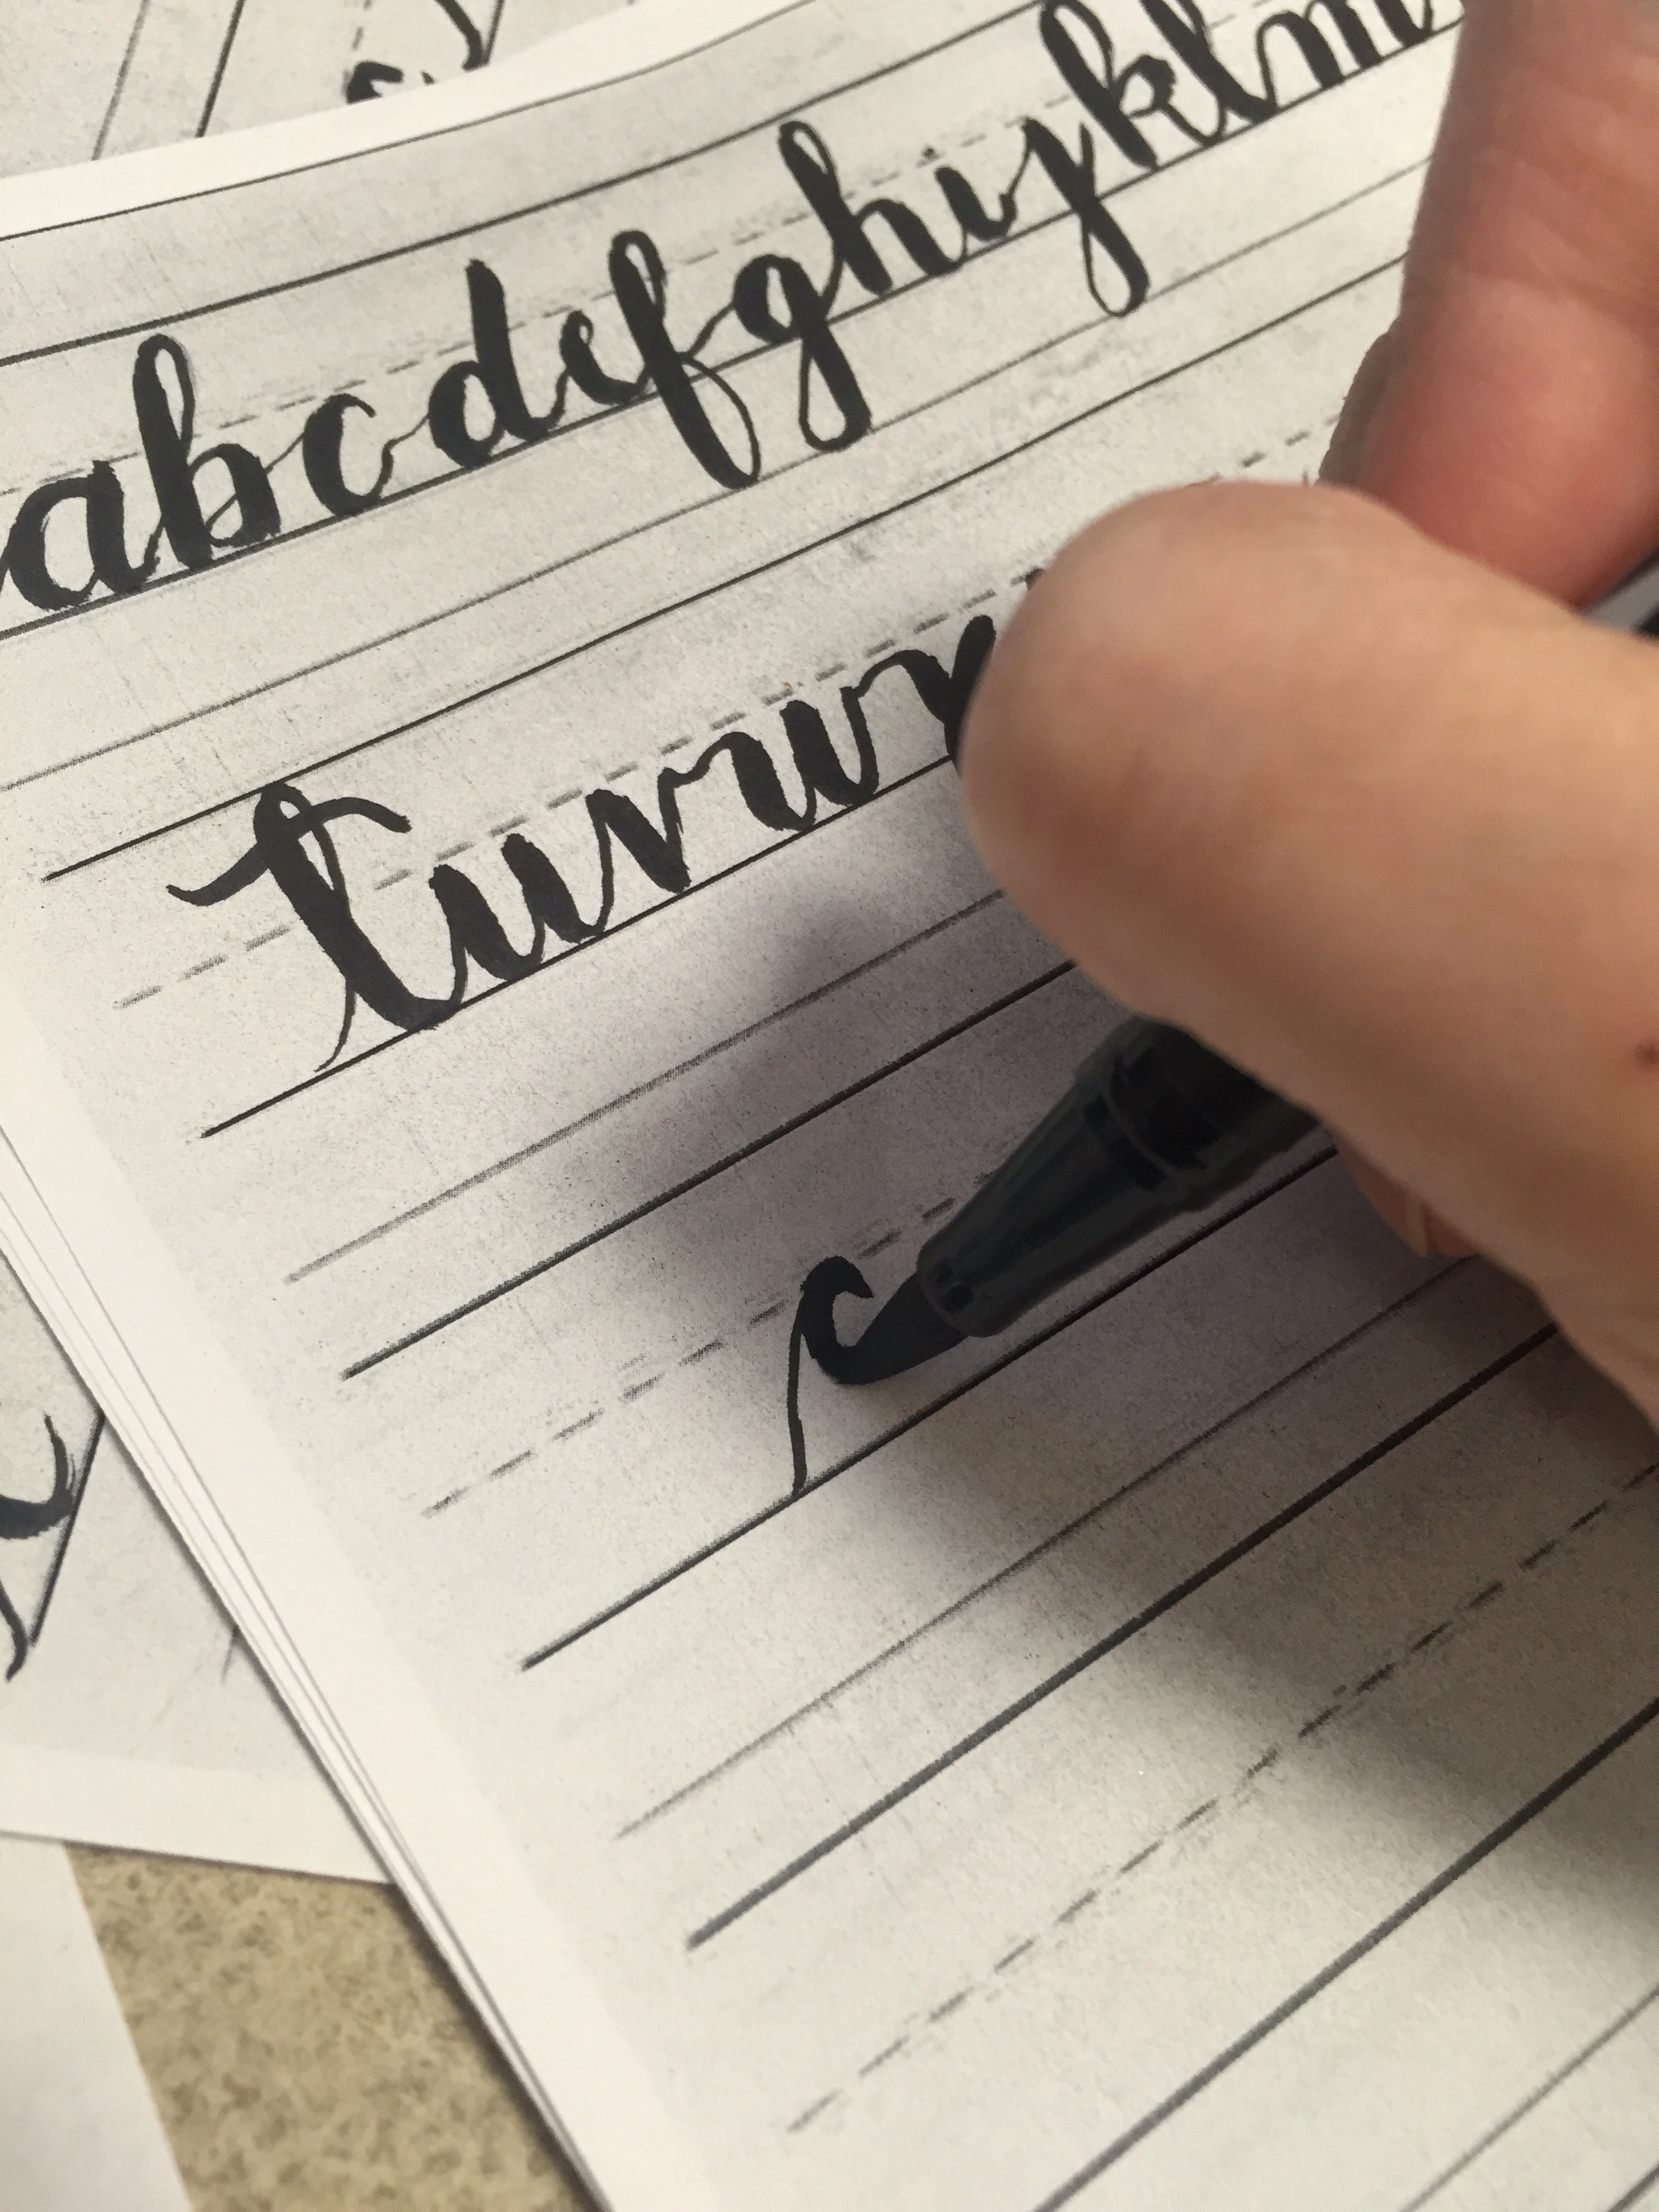
I took my pen and some practice sheets to work and try to fit in a min here and there writing my letters. I found I have a heavy hand and have to train myself to pick up the pen quicker. I also have a hard time with the k’s. But I know if I keep practicing I’ll get better and better. 

   
 Would love to know any tips you may have . Comment below and thanks for stopping by!

Cash budget envelopes for your planner

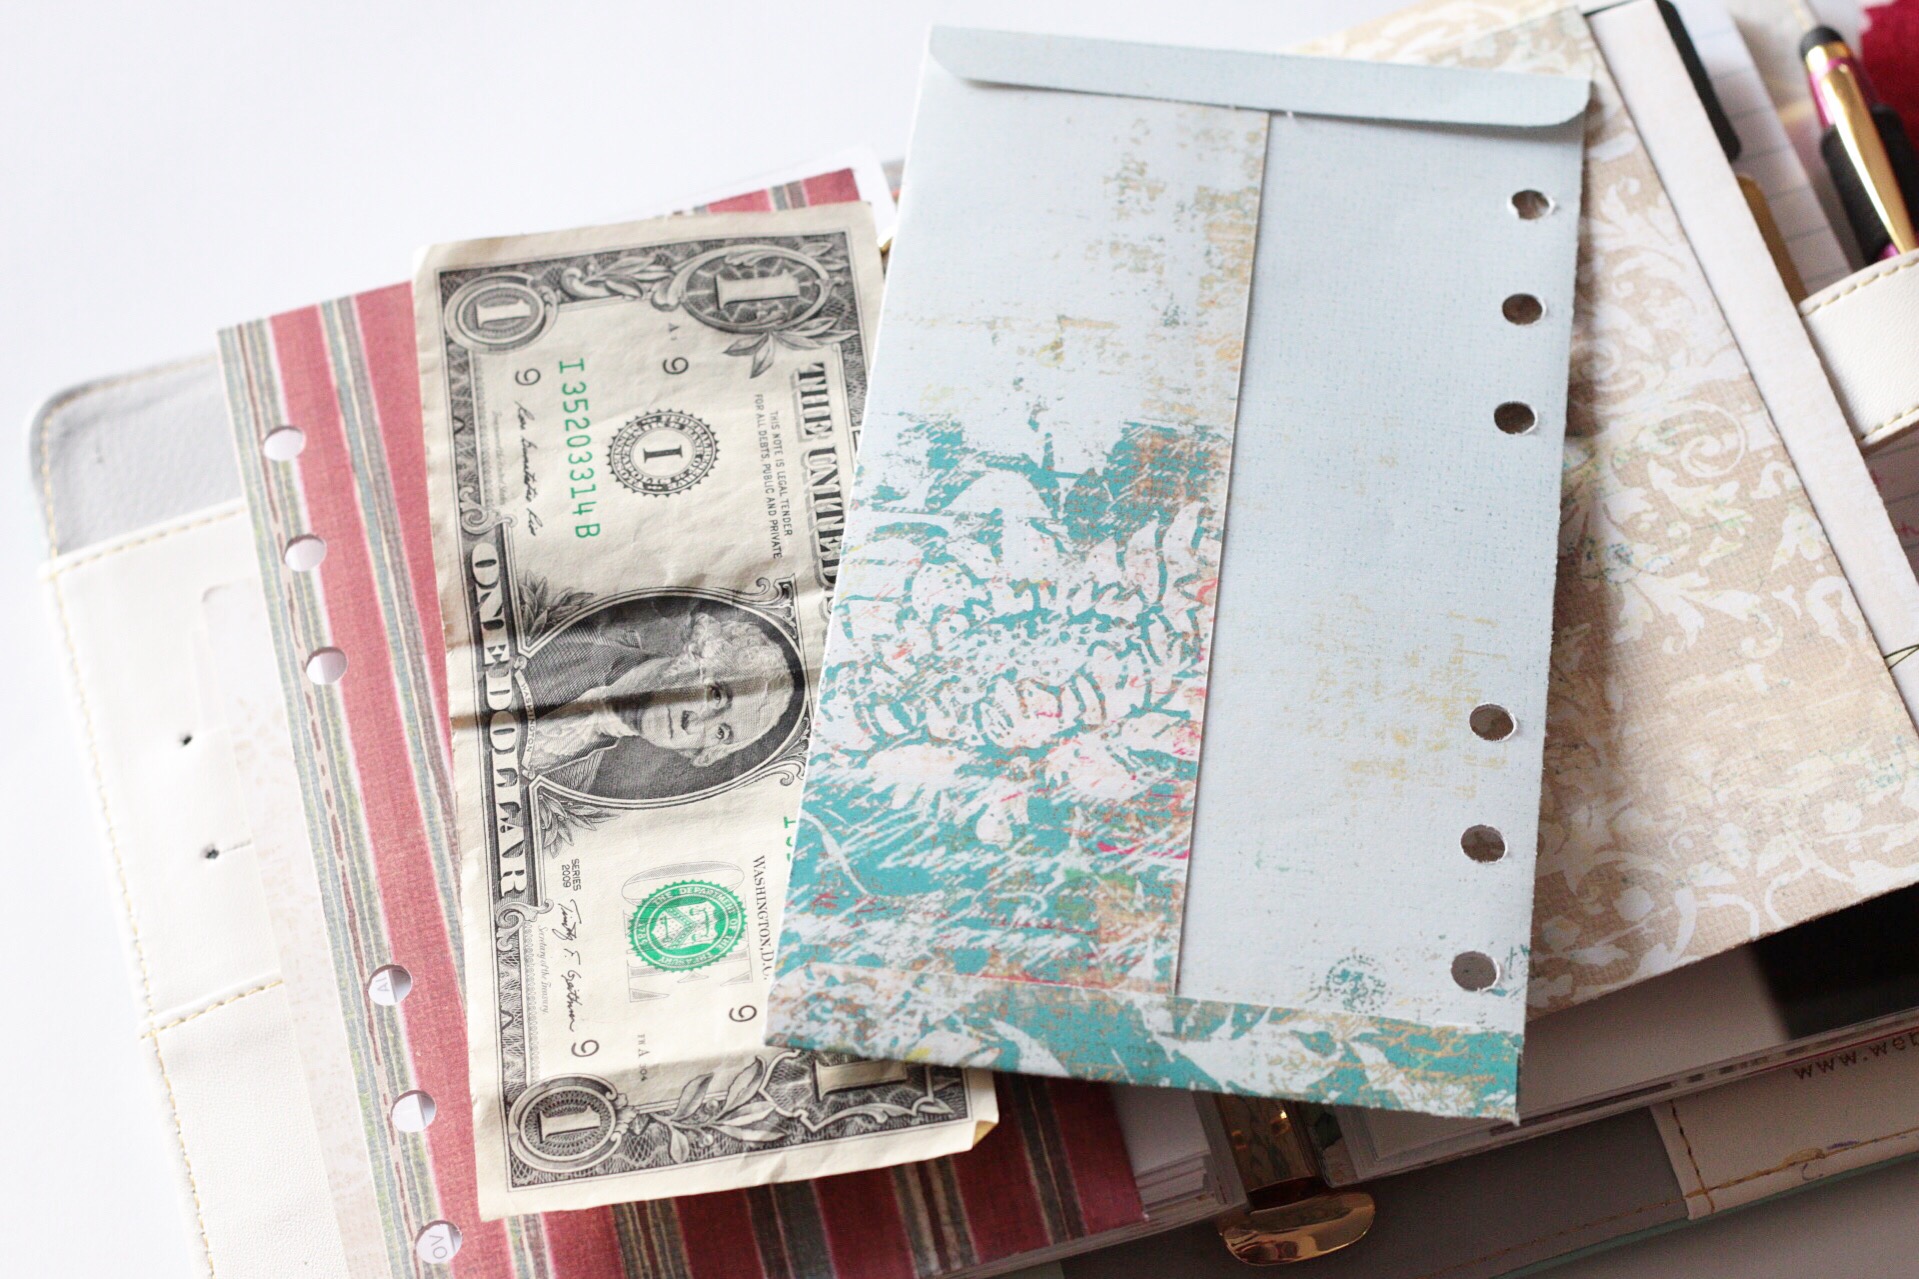
Good evening! This morning I shared with you a pic of the envelopes I created to help me budget my spending on things like gas and groceieres. I was inspired after seeing Rielplannerlove’s post on Instagram. She decorated mailing envelopes with a few different stamp sets including one of our best seller “Coffee break” set. I decided to create my own manila style envelopes using some cardstock I had. I created my own because 1. I didn’t have mailing envelopes, 2. I love the manila style and 3. I wanted it to be the same size as the color crush planner pages. 

  
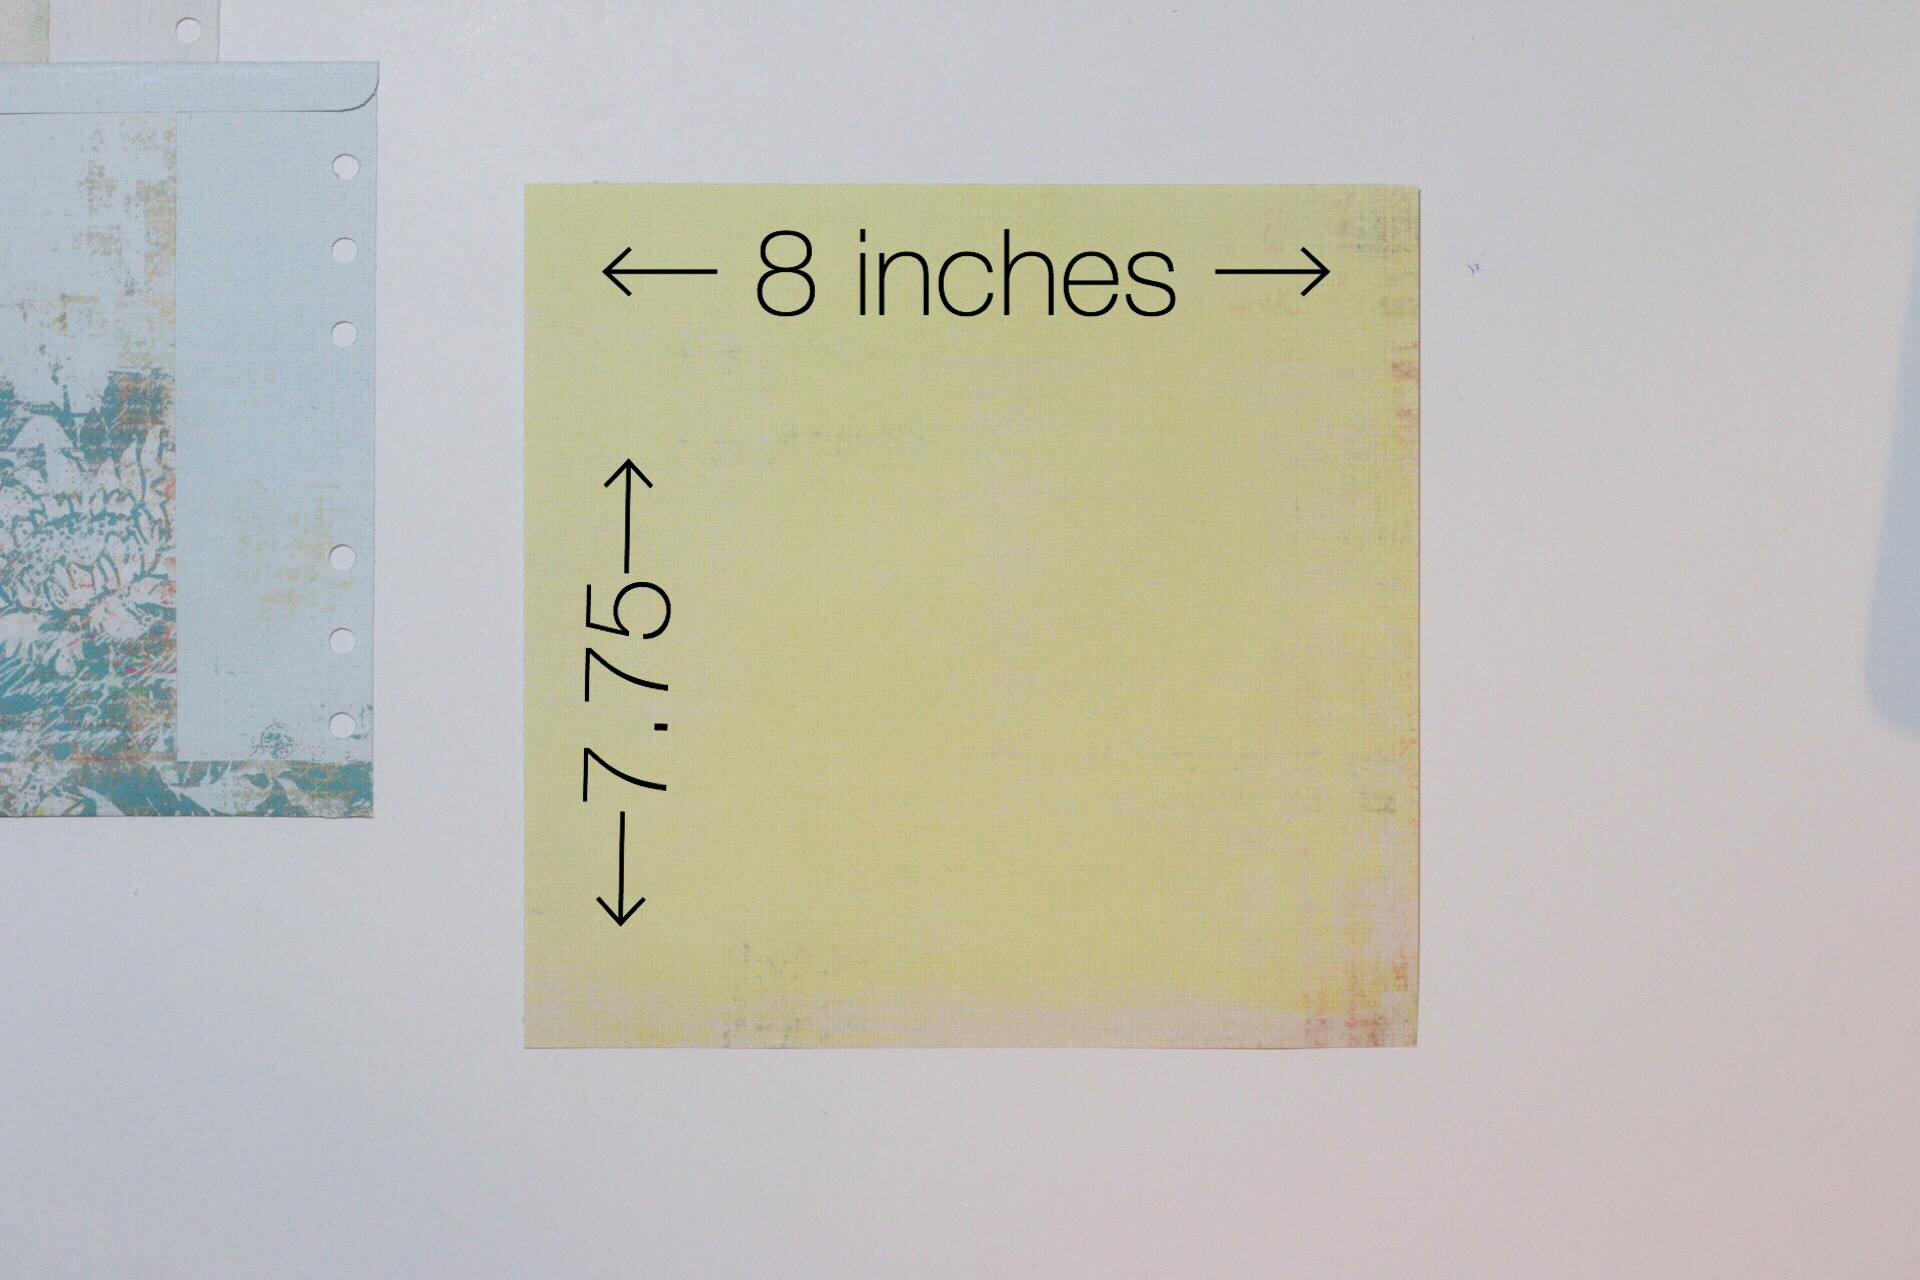
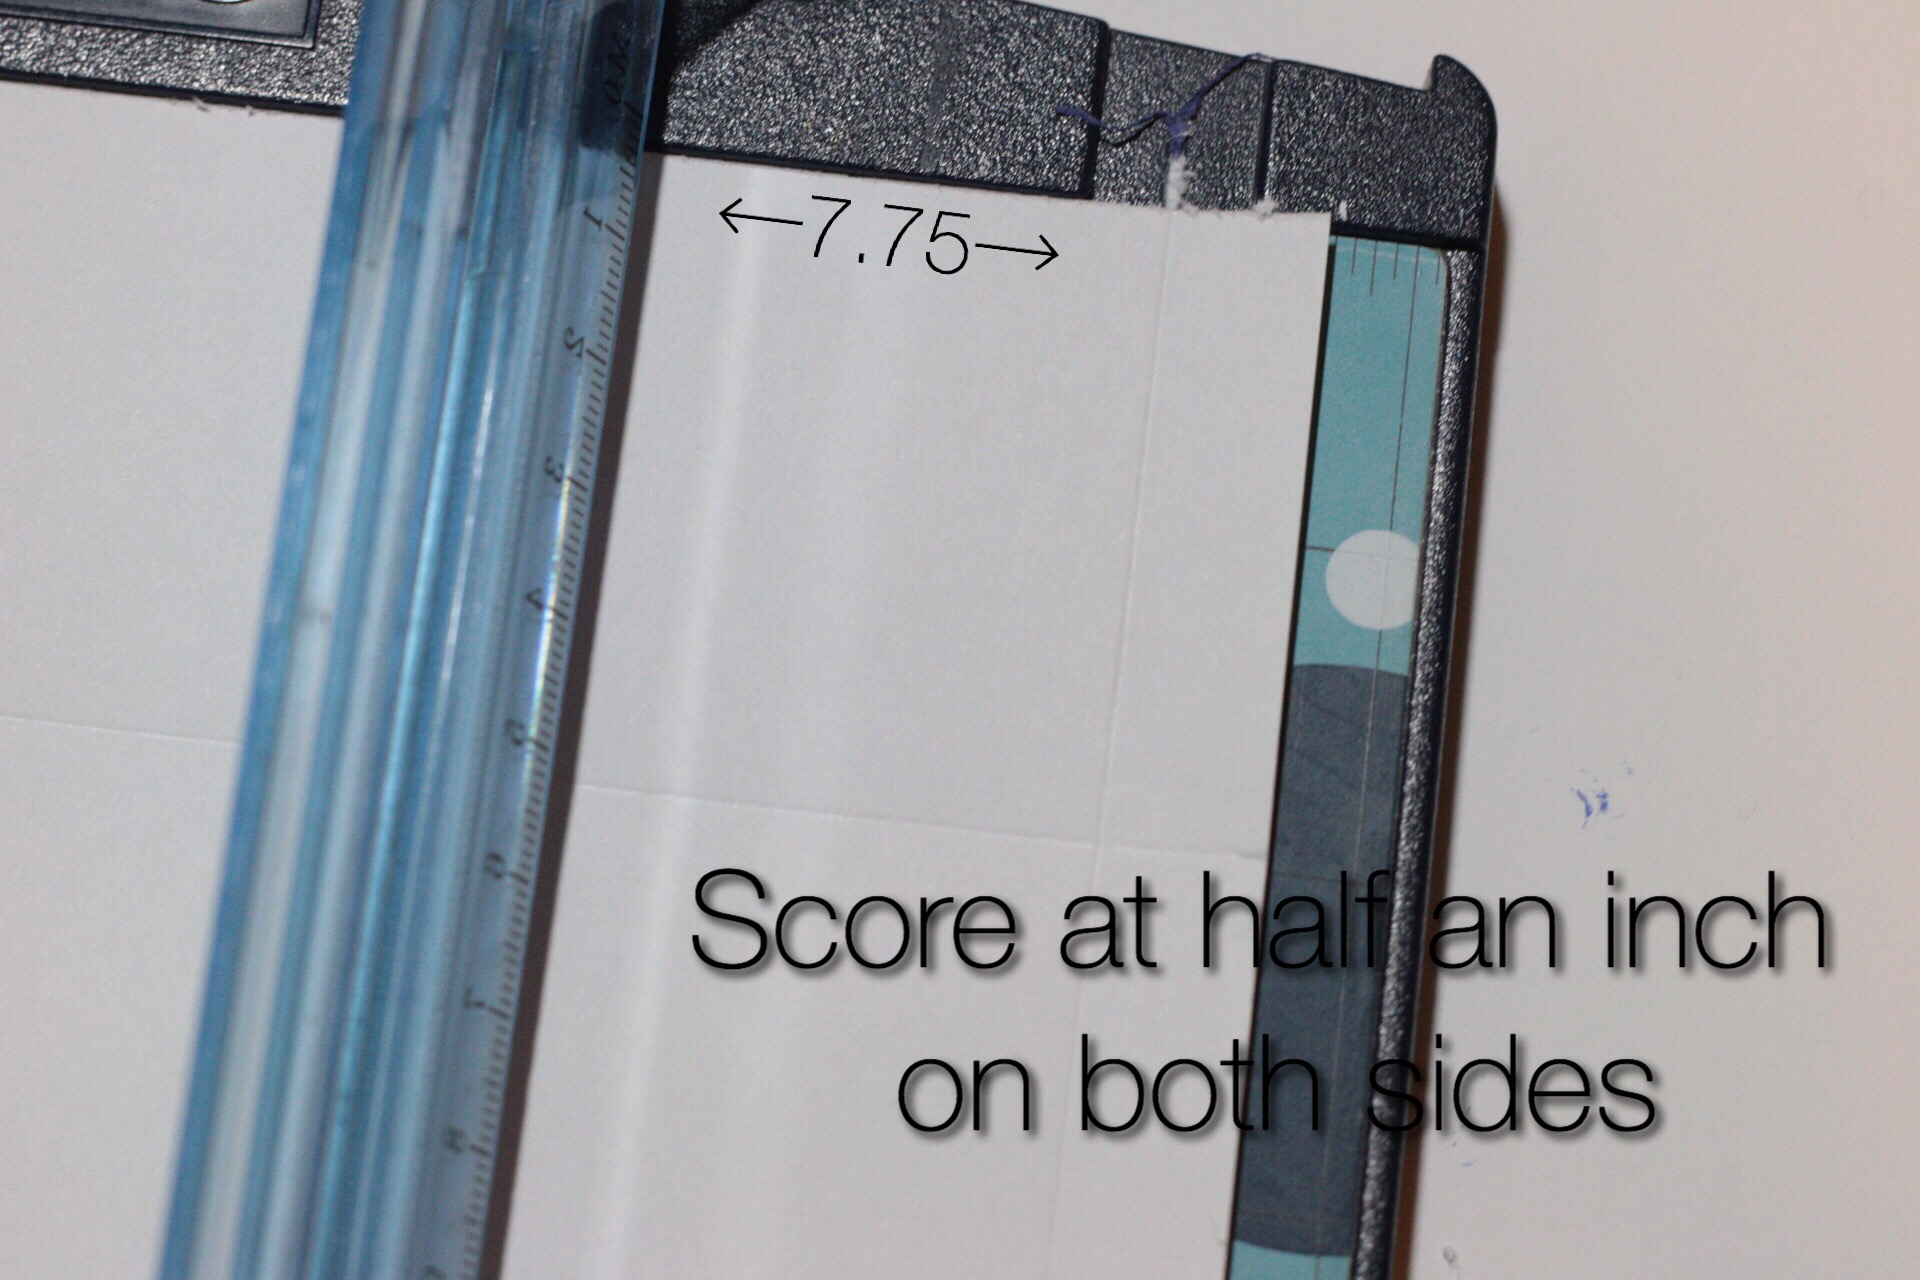
First step is to cut down your paper to an 8 by 7.75 (the paper I used is not as thick as cardstock because I didn’t want it to be too bulky)

 
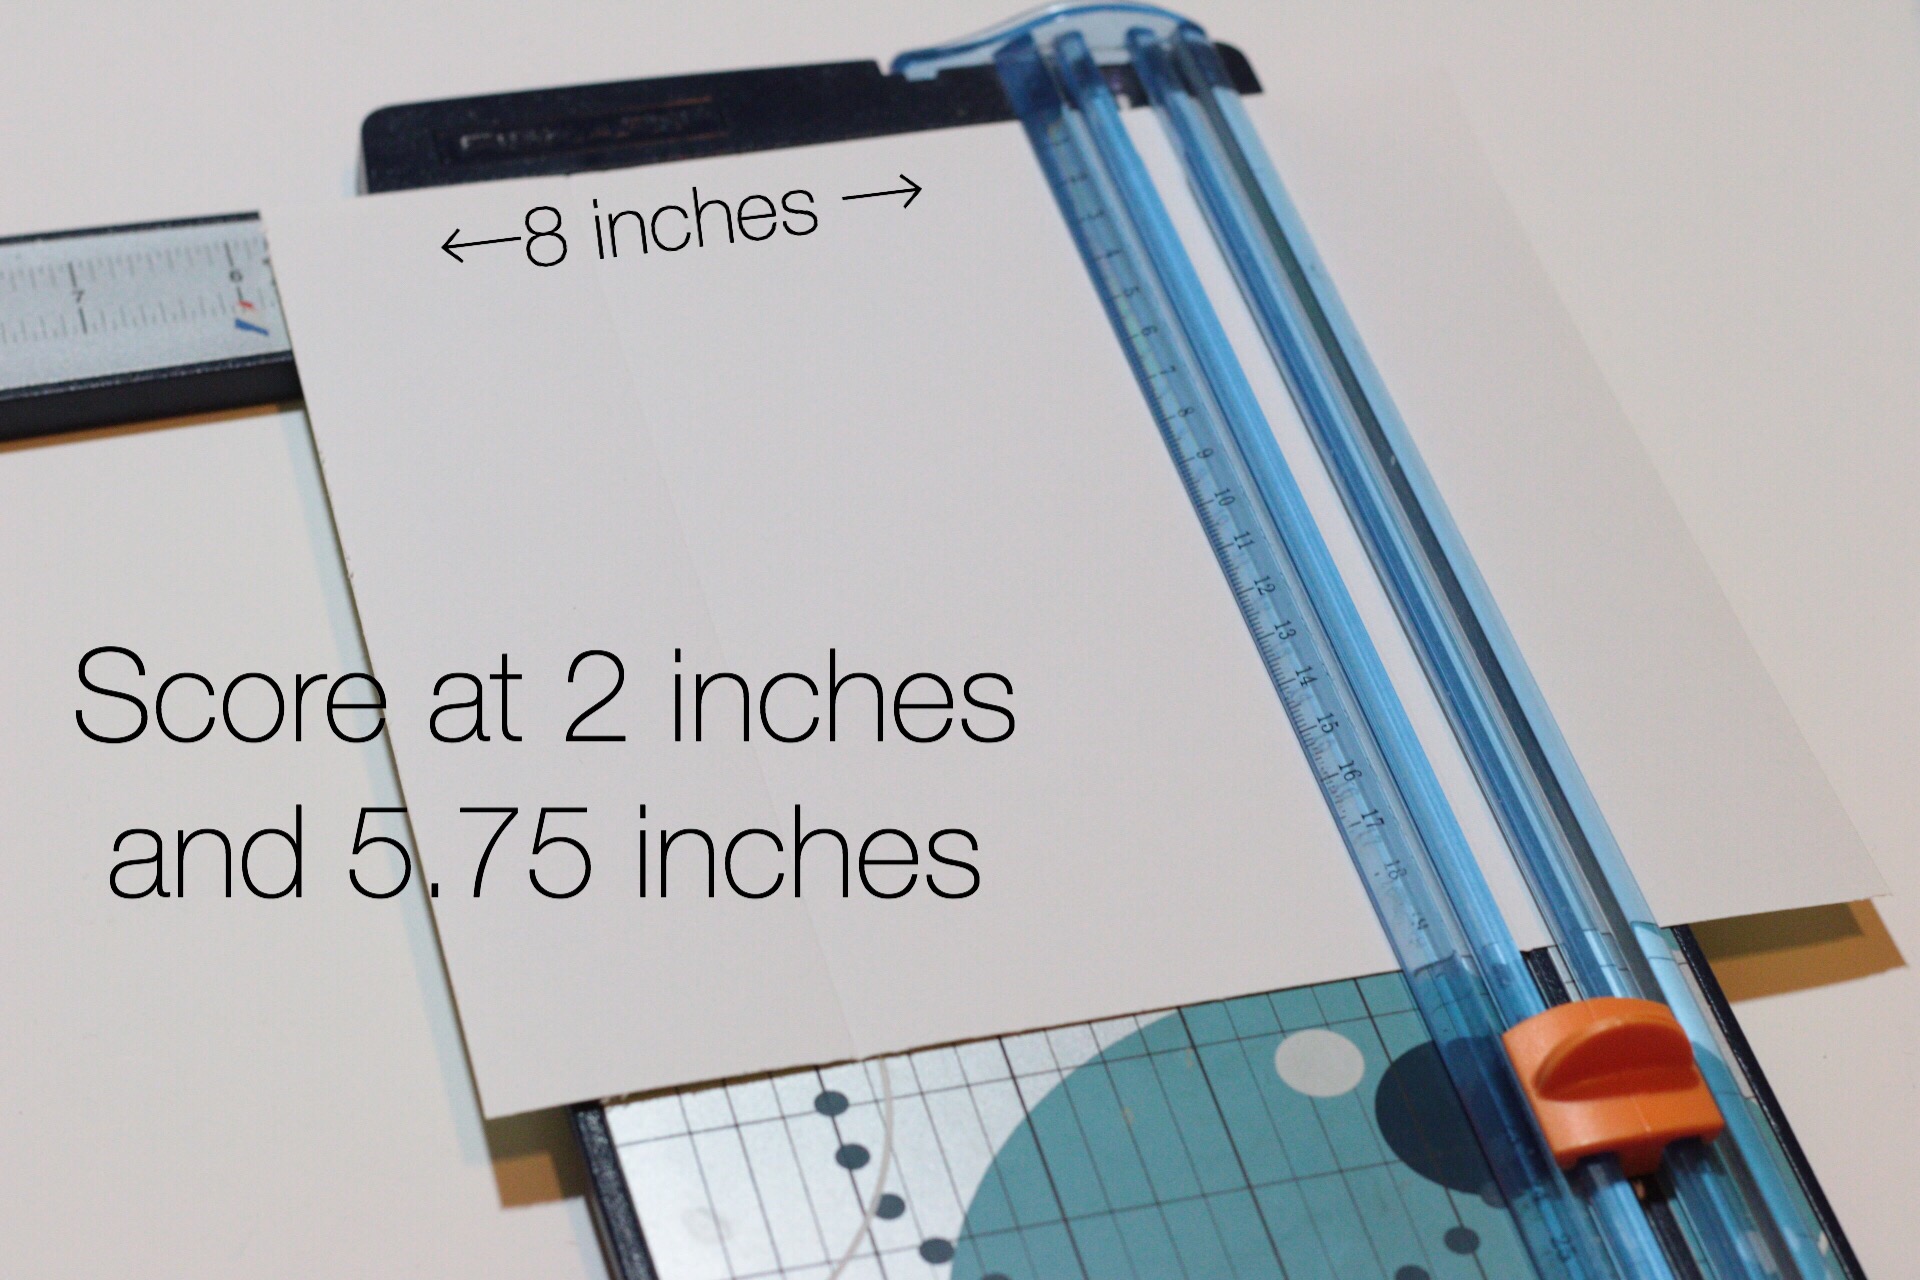
I score the 8 inch side on the 2 inch and 5.75 inch mark

 
Turn the sheet and score at half an inch on both sides 


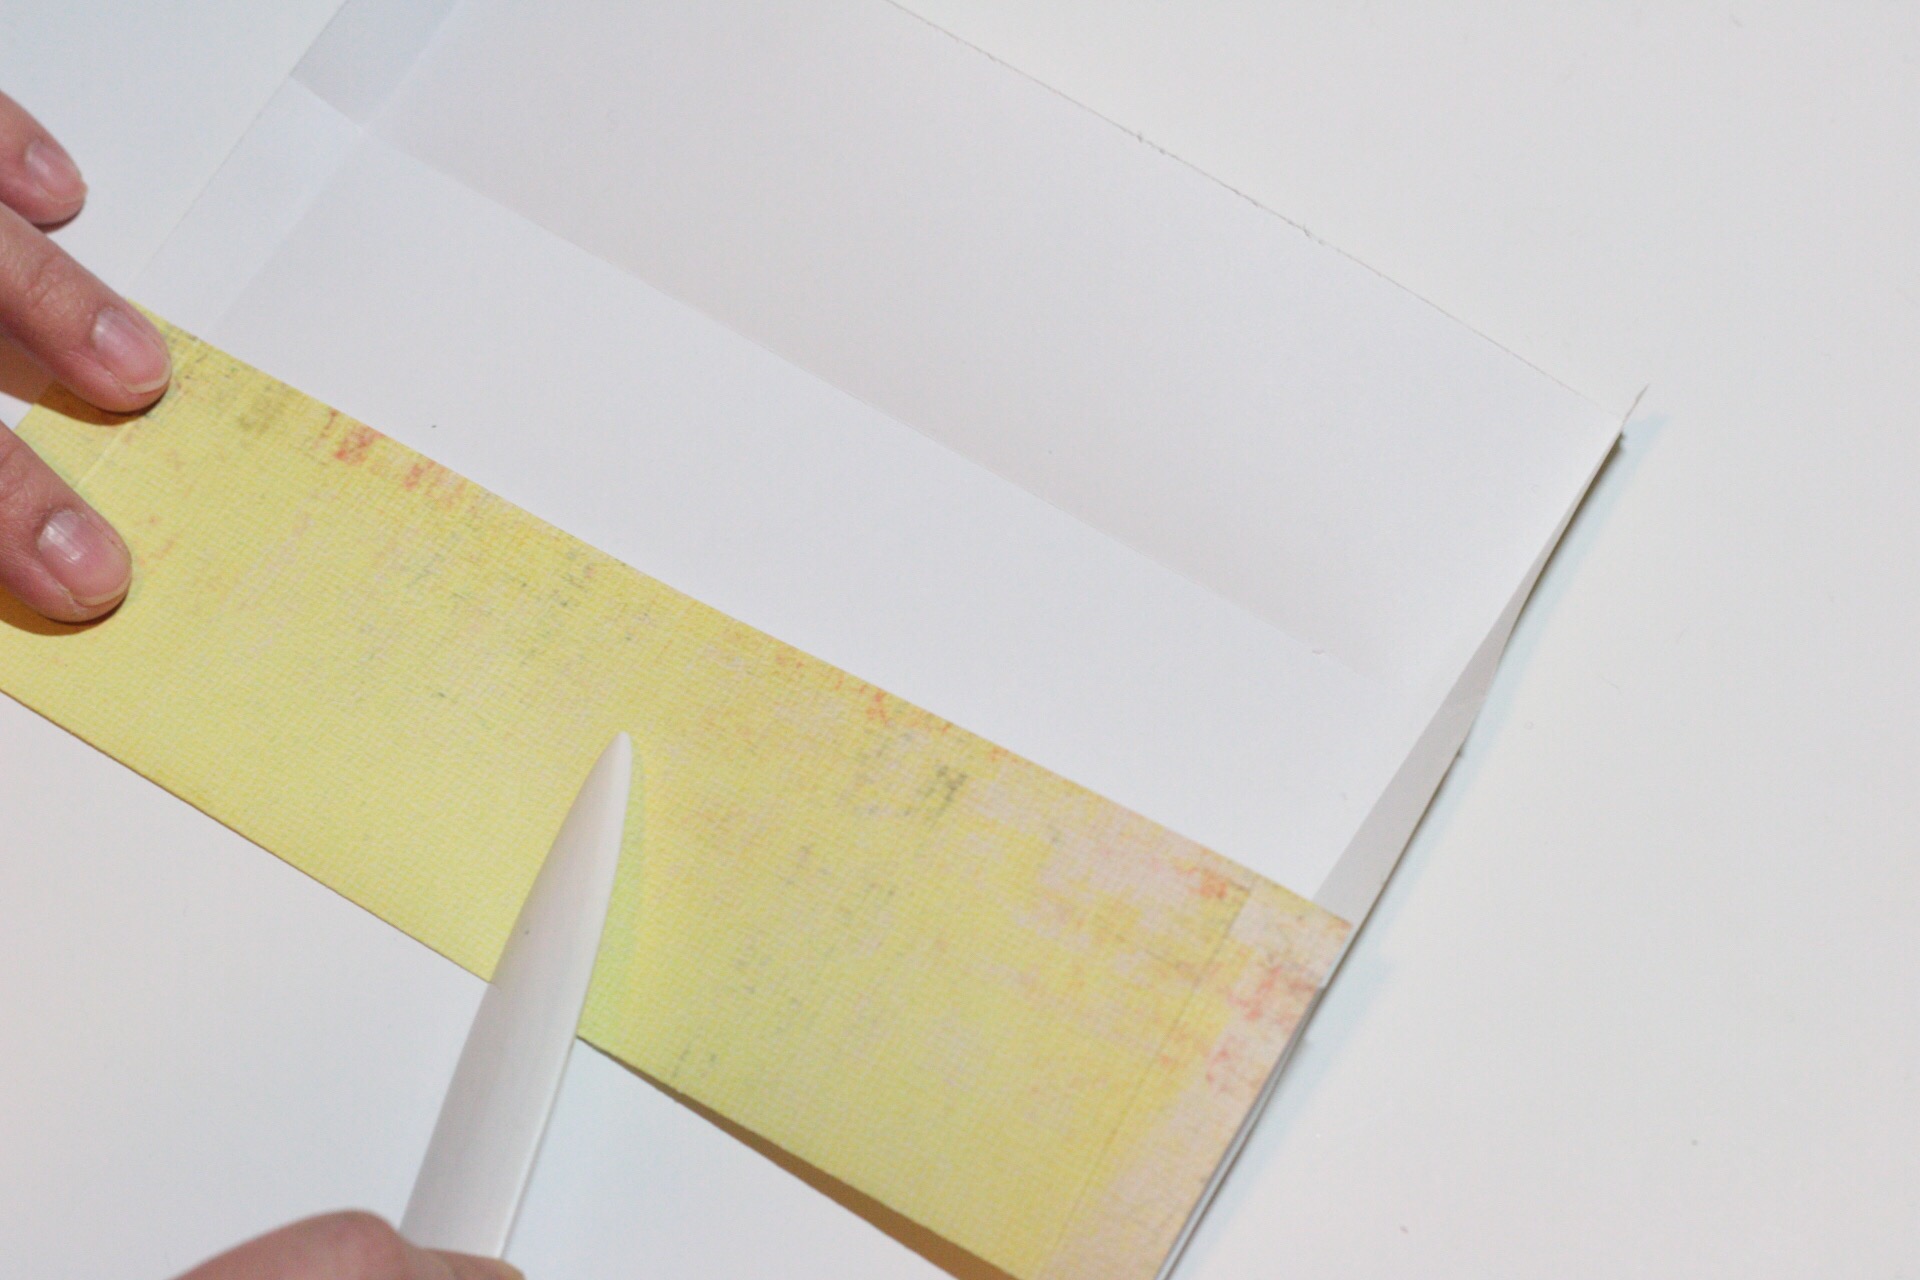
Fold the scored lines   

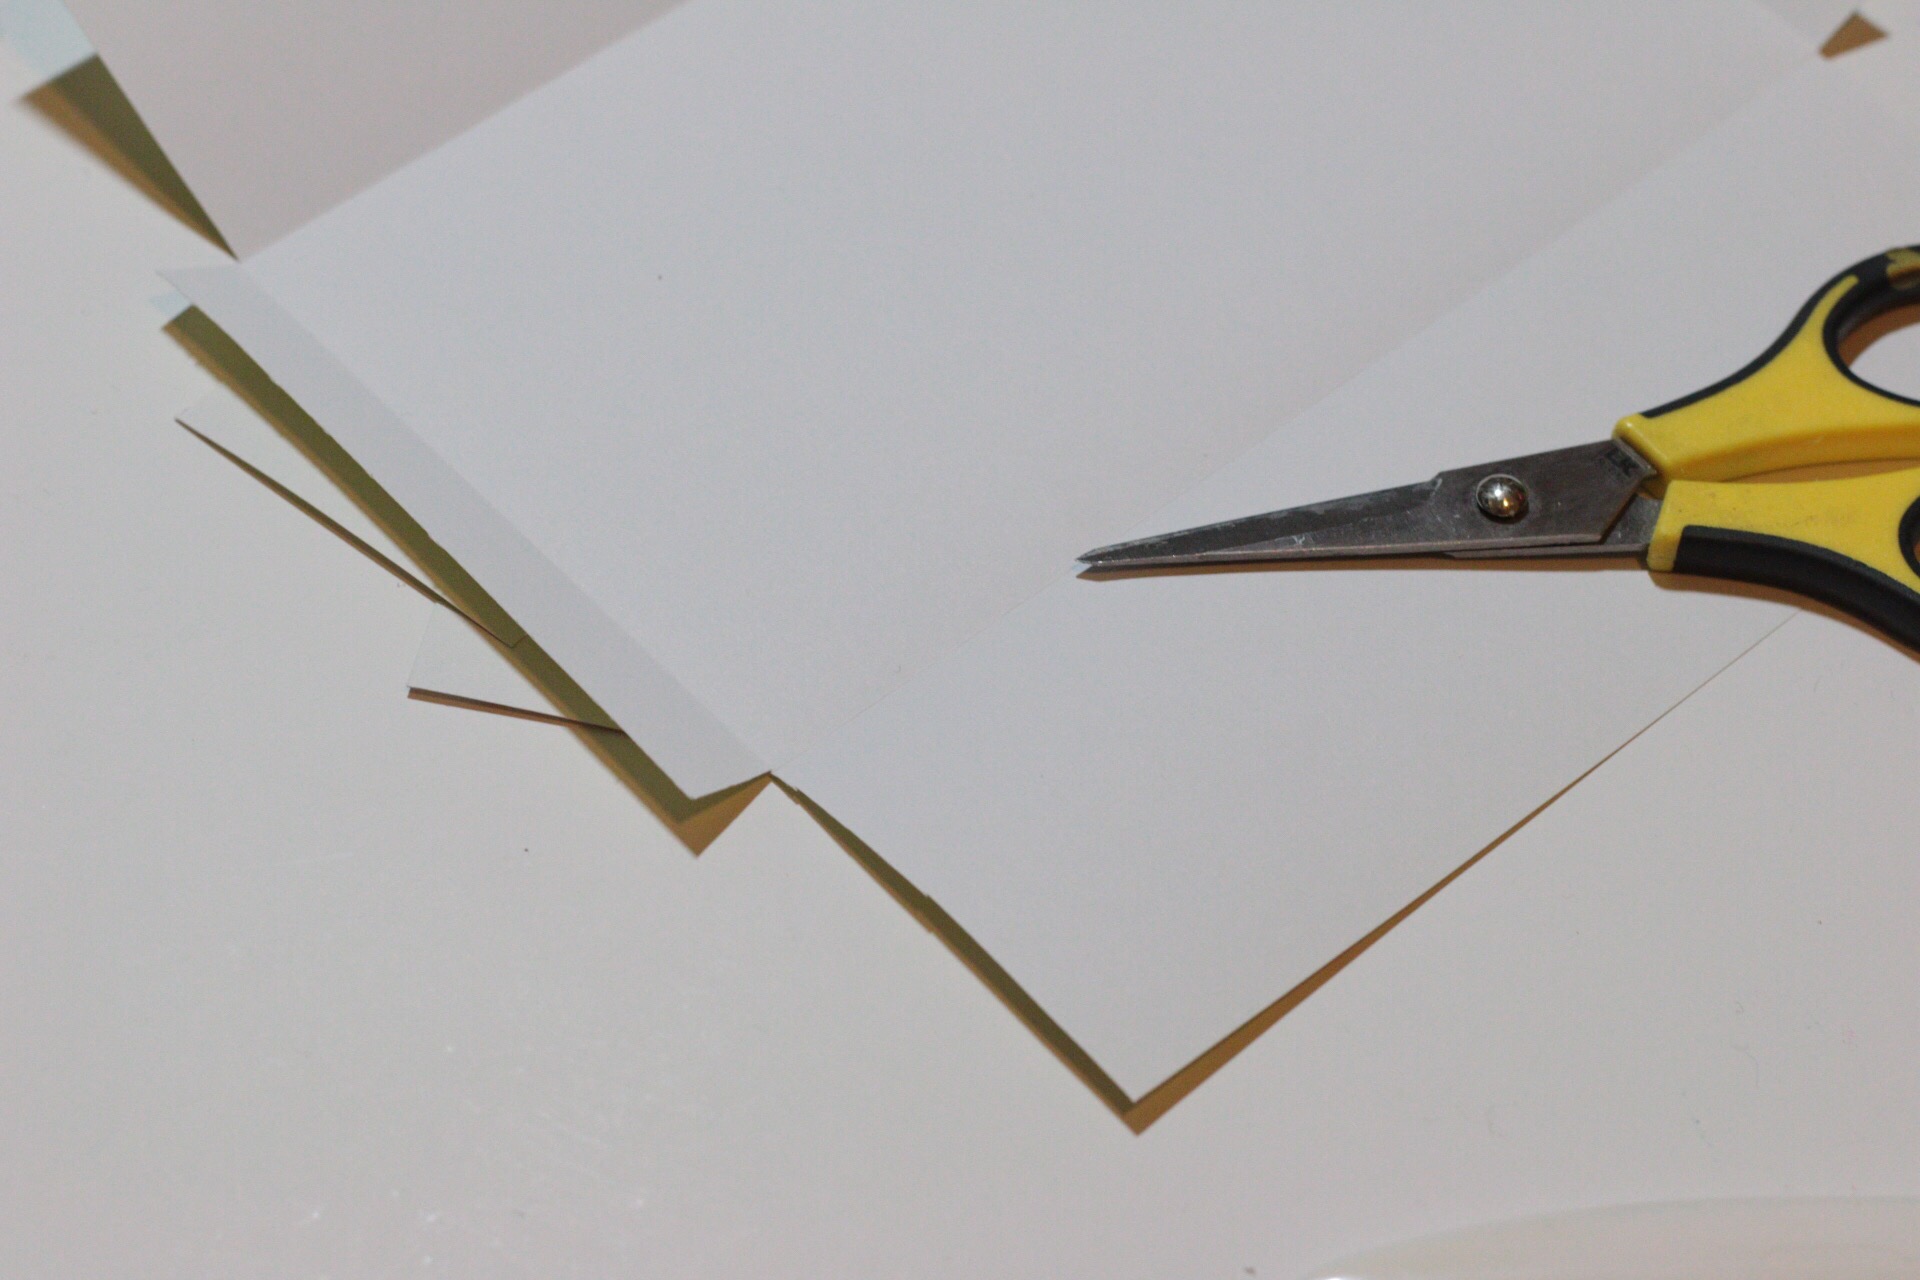
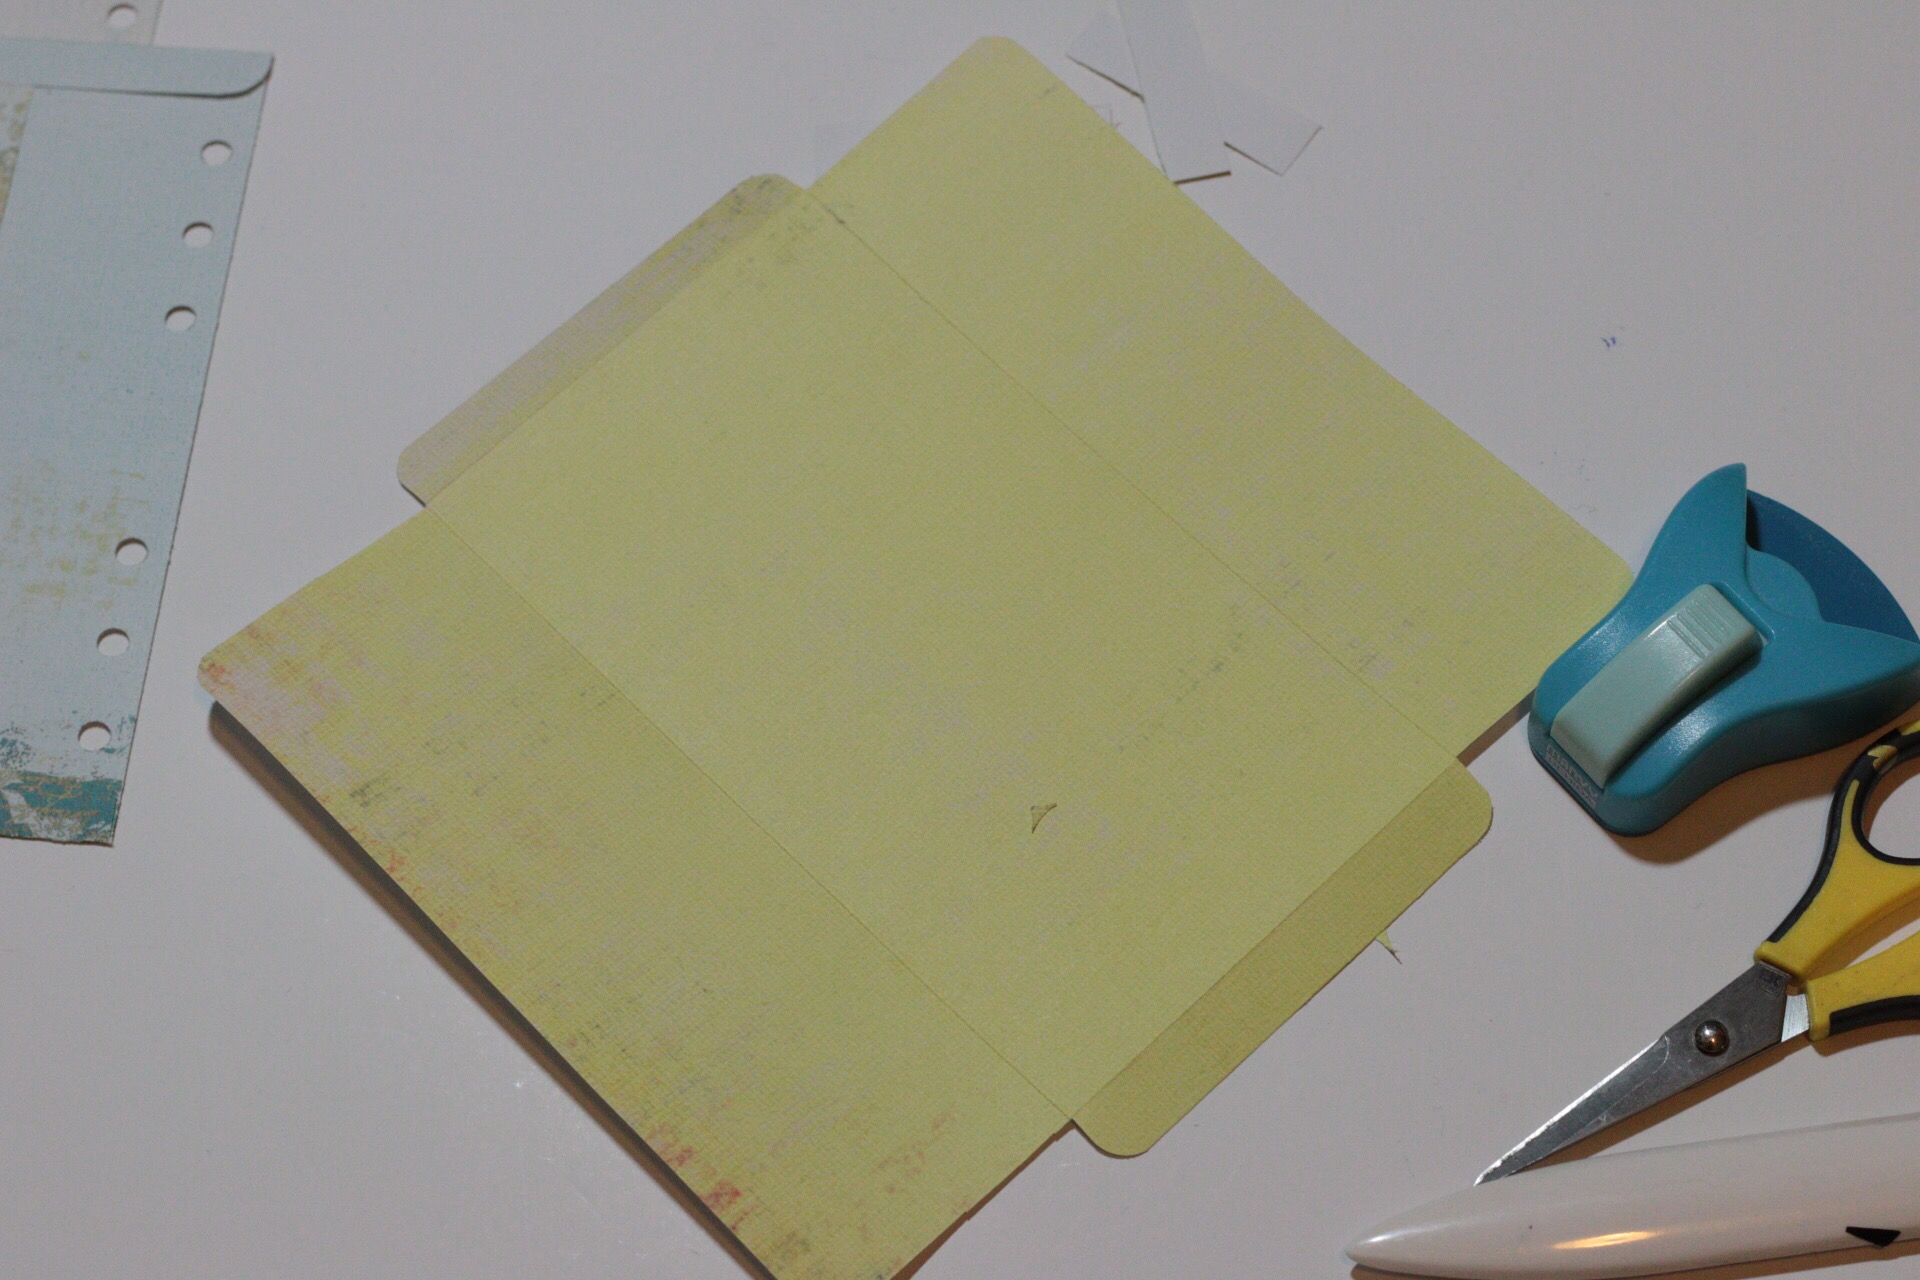
Cut off the four corners with your scissors 


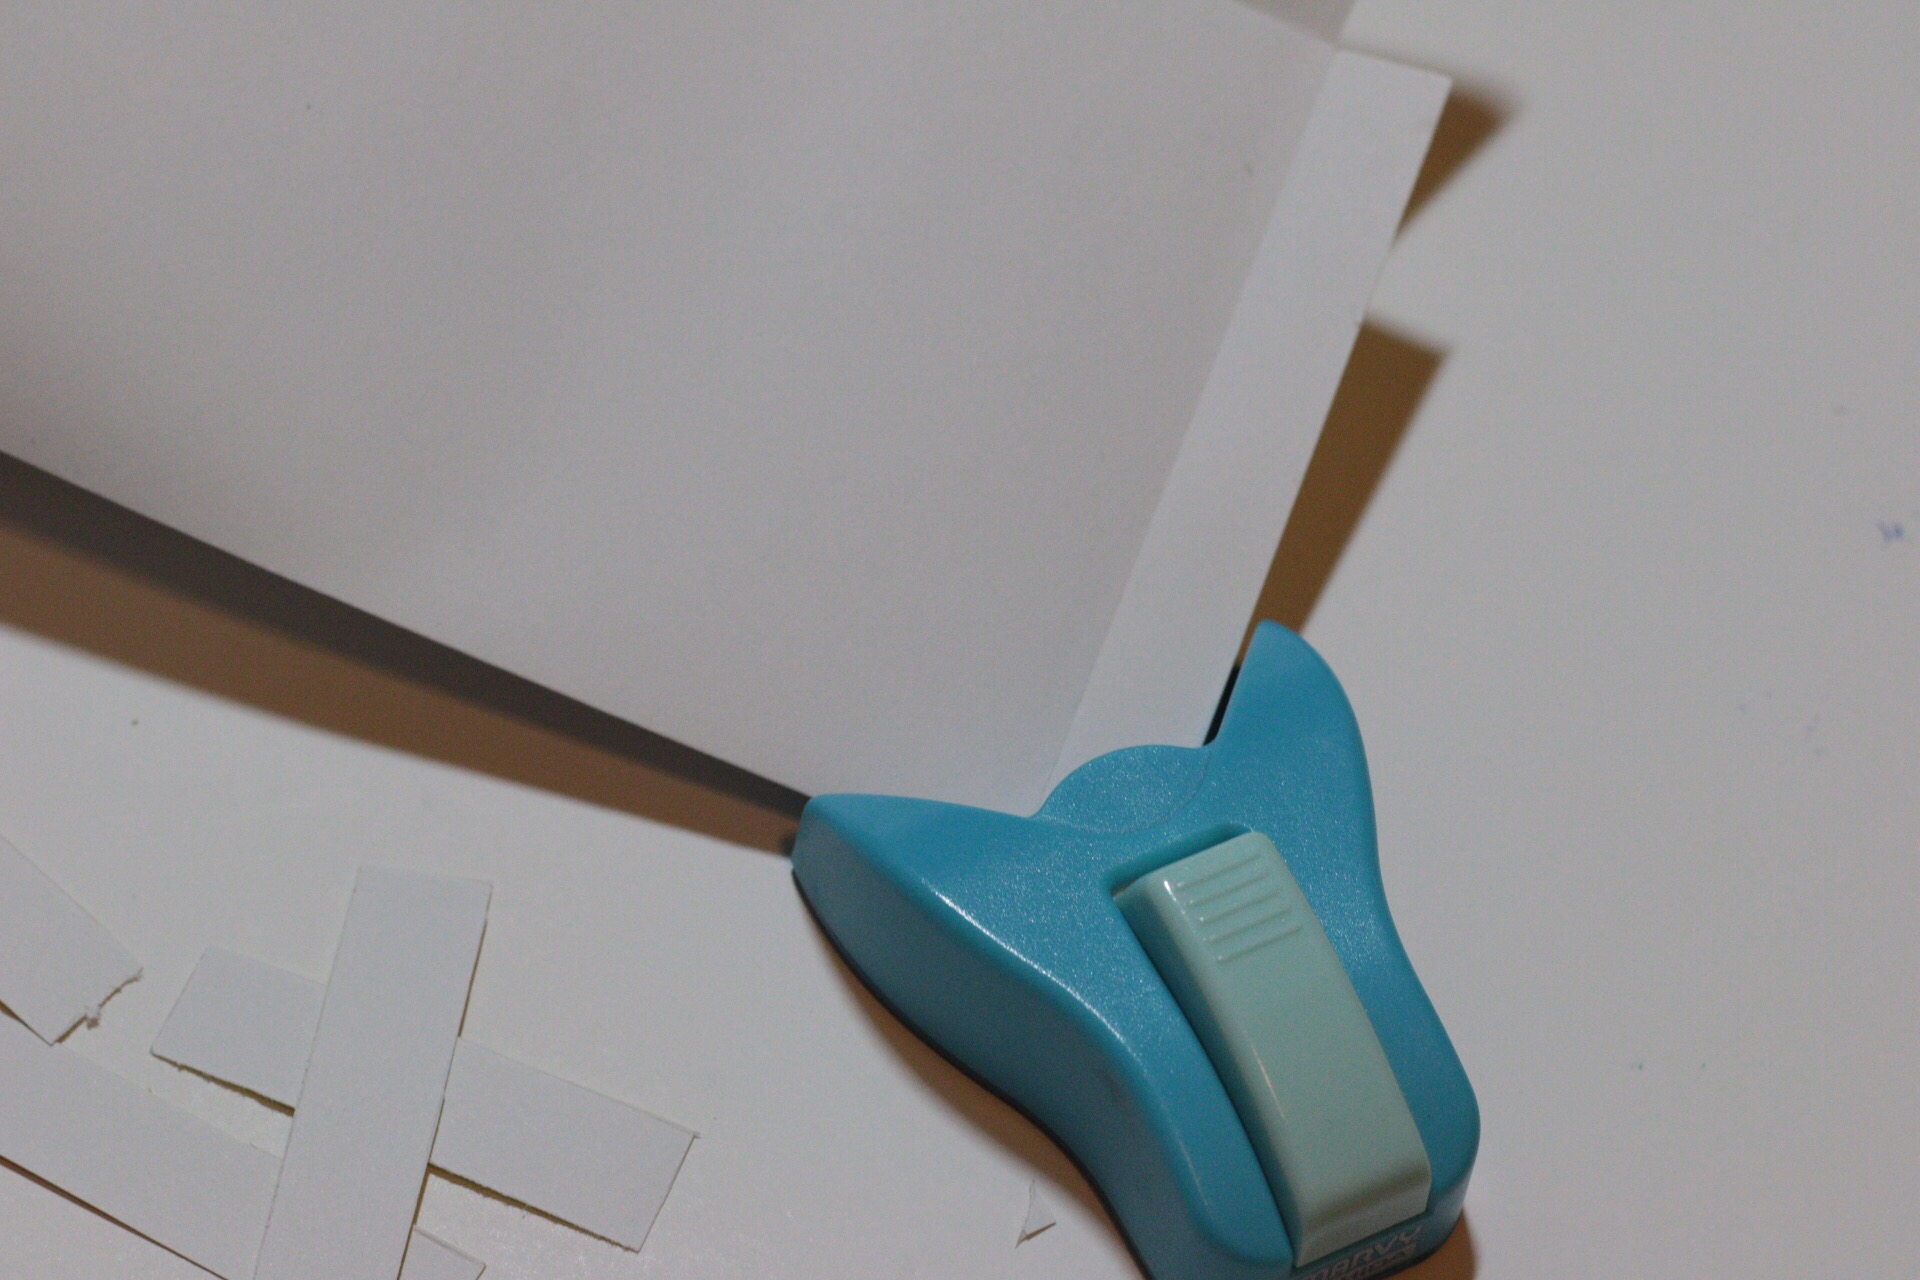
You can either round the corners with your scissors or use a corner punch 


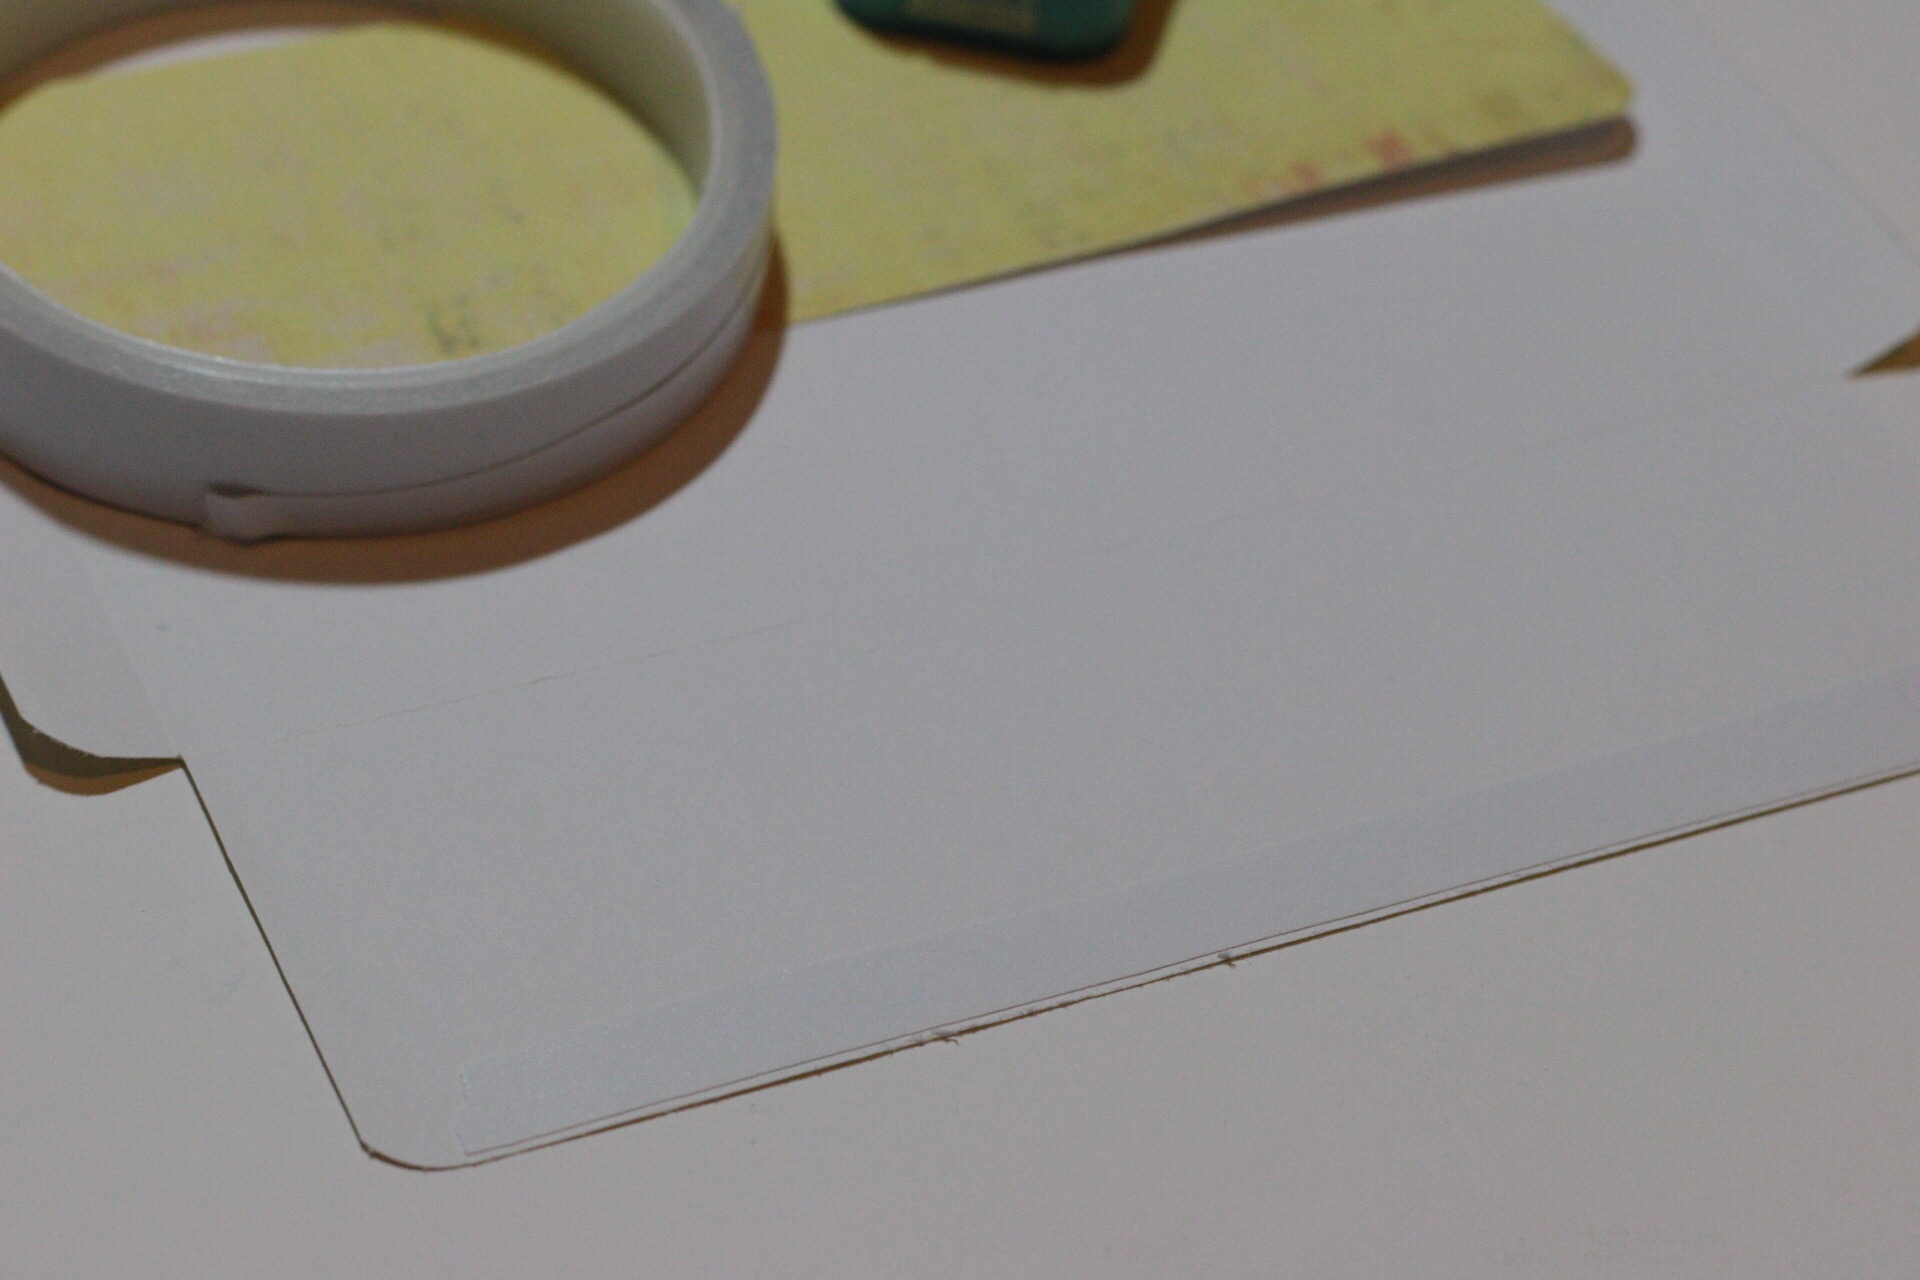
Add double sided adhesive to one side. The tape I have was too wide so I had to trim it. 


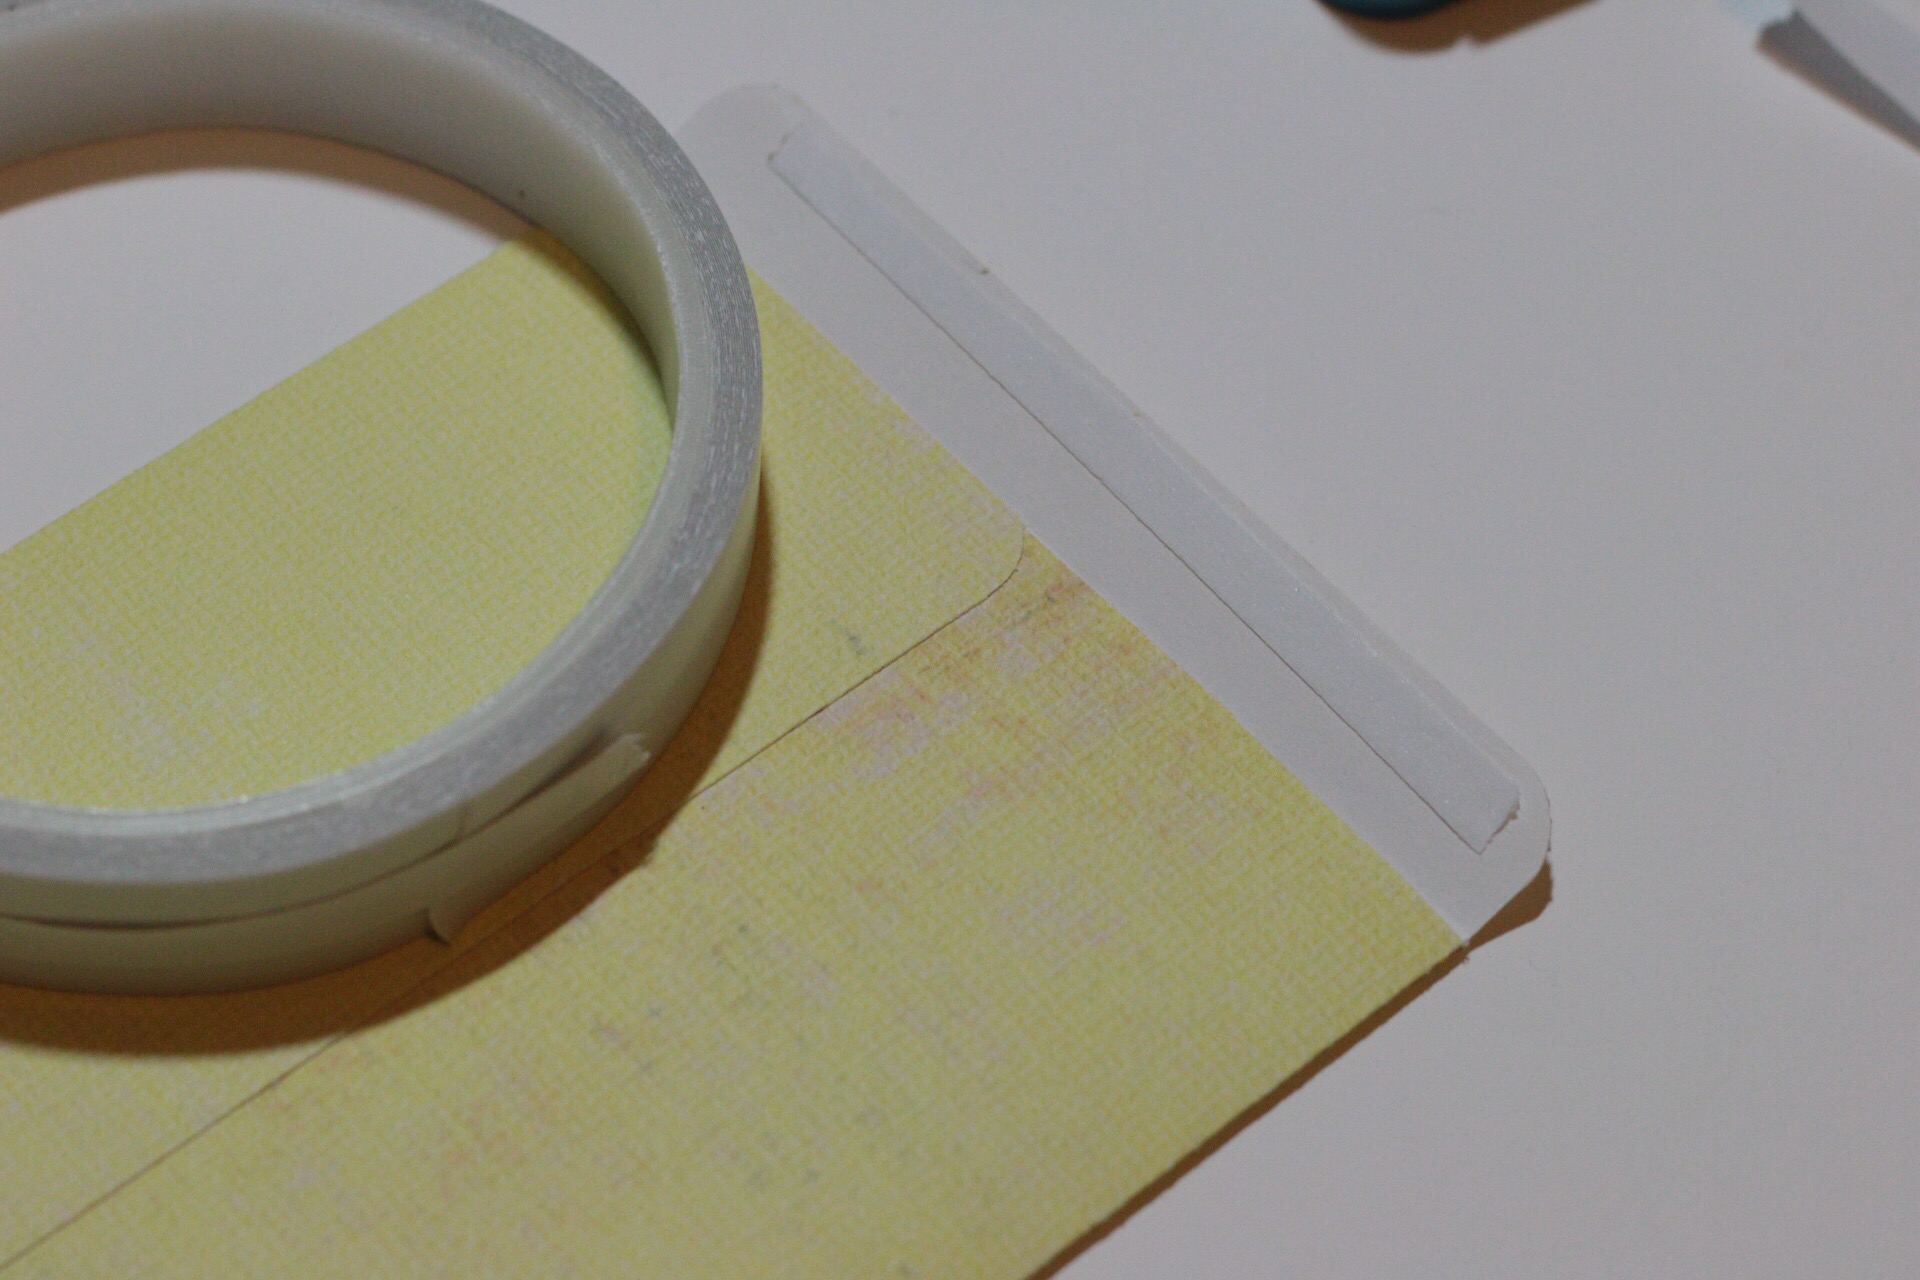
Add double sided tape to one end of the envelope 

  
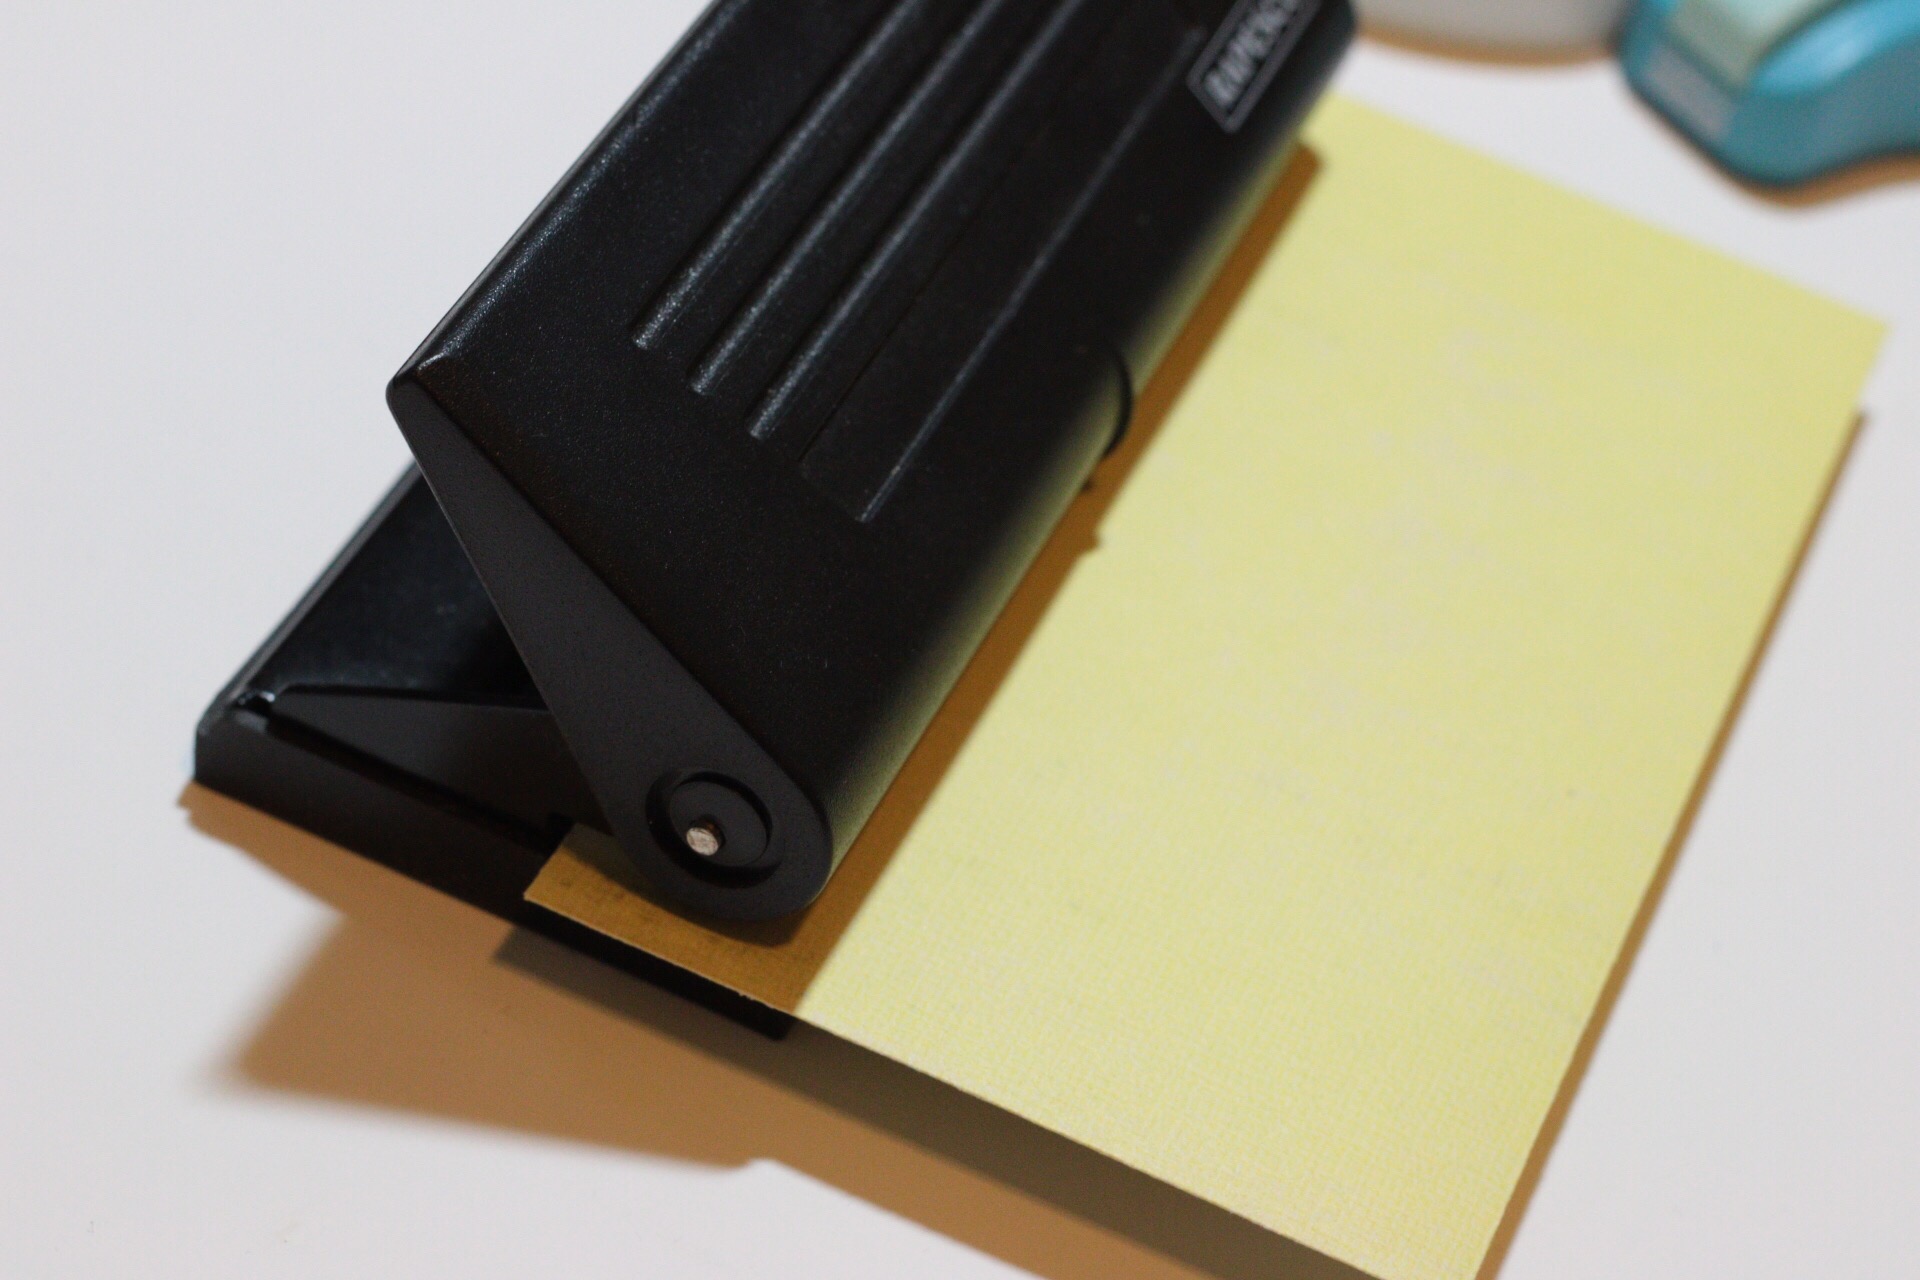
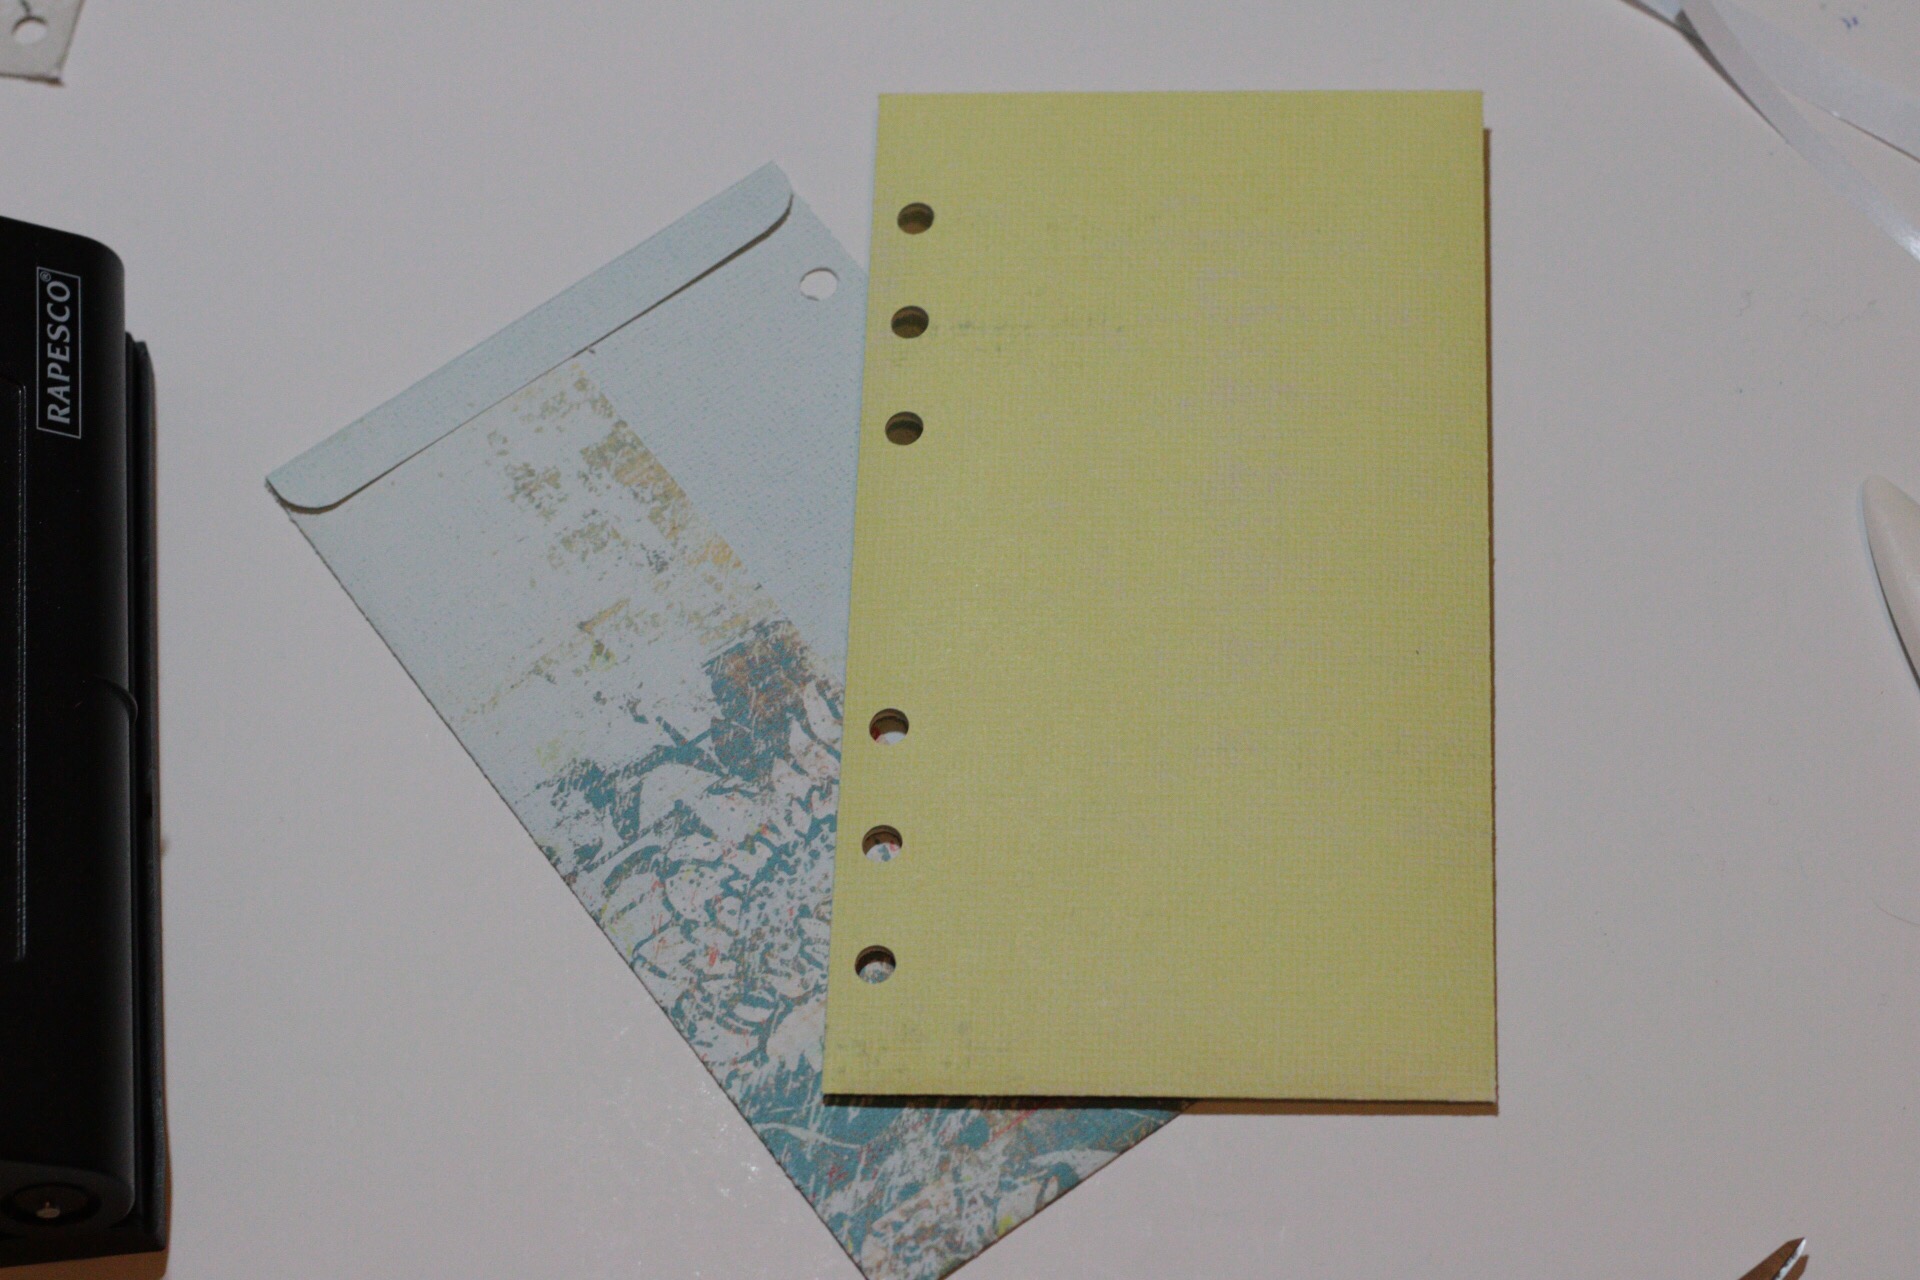
And then punch your holes  


And that’s how I make my own personal planner size Manila cash budget envelopes. Would love to know what you think or any budget tips you may have. Comment below. Thanks for stopping by and happy planning! 


Mommylhey planner goodies!

Hi everyone!!!!
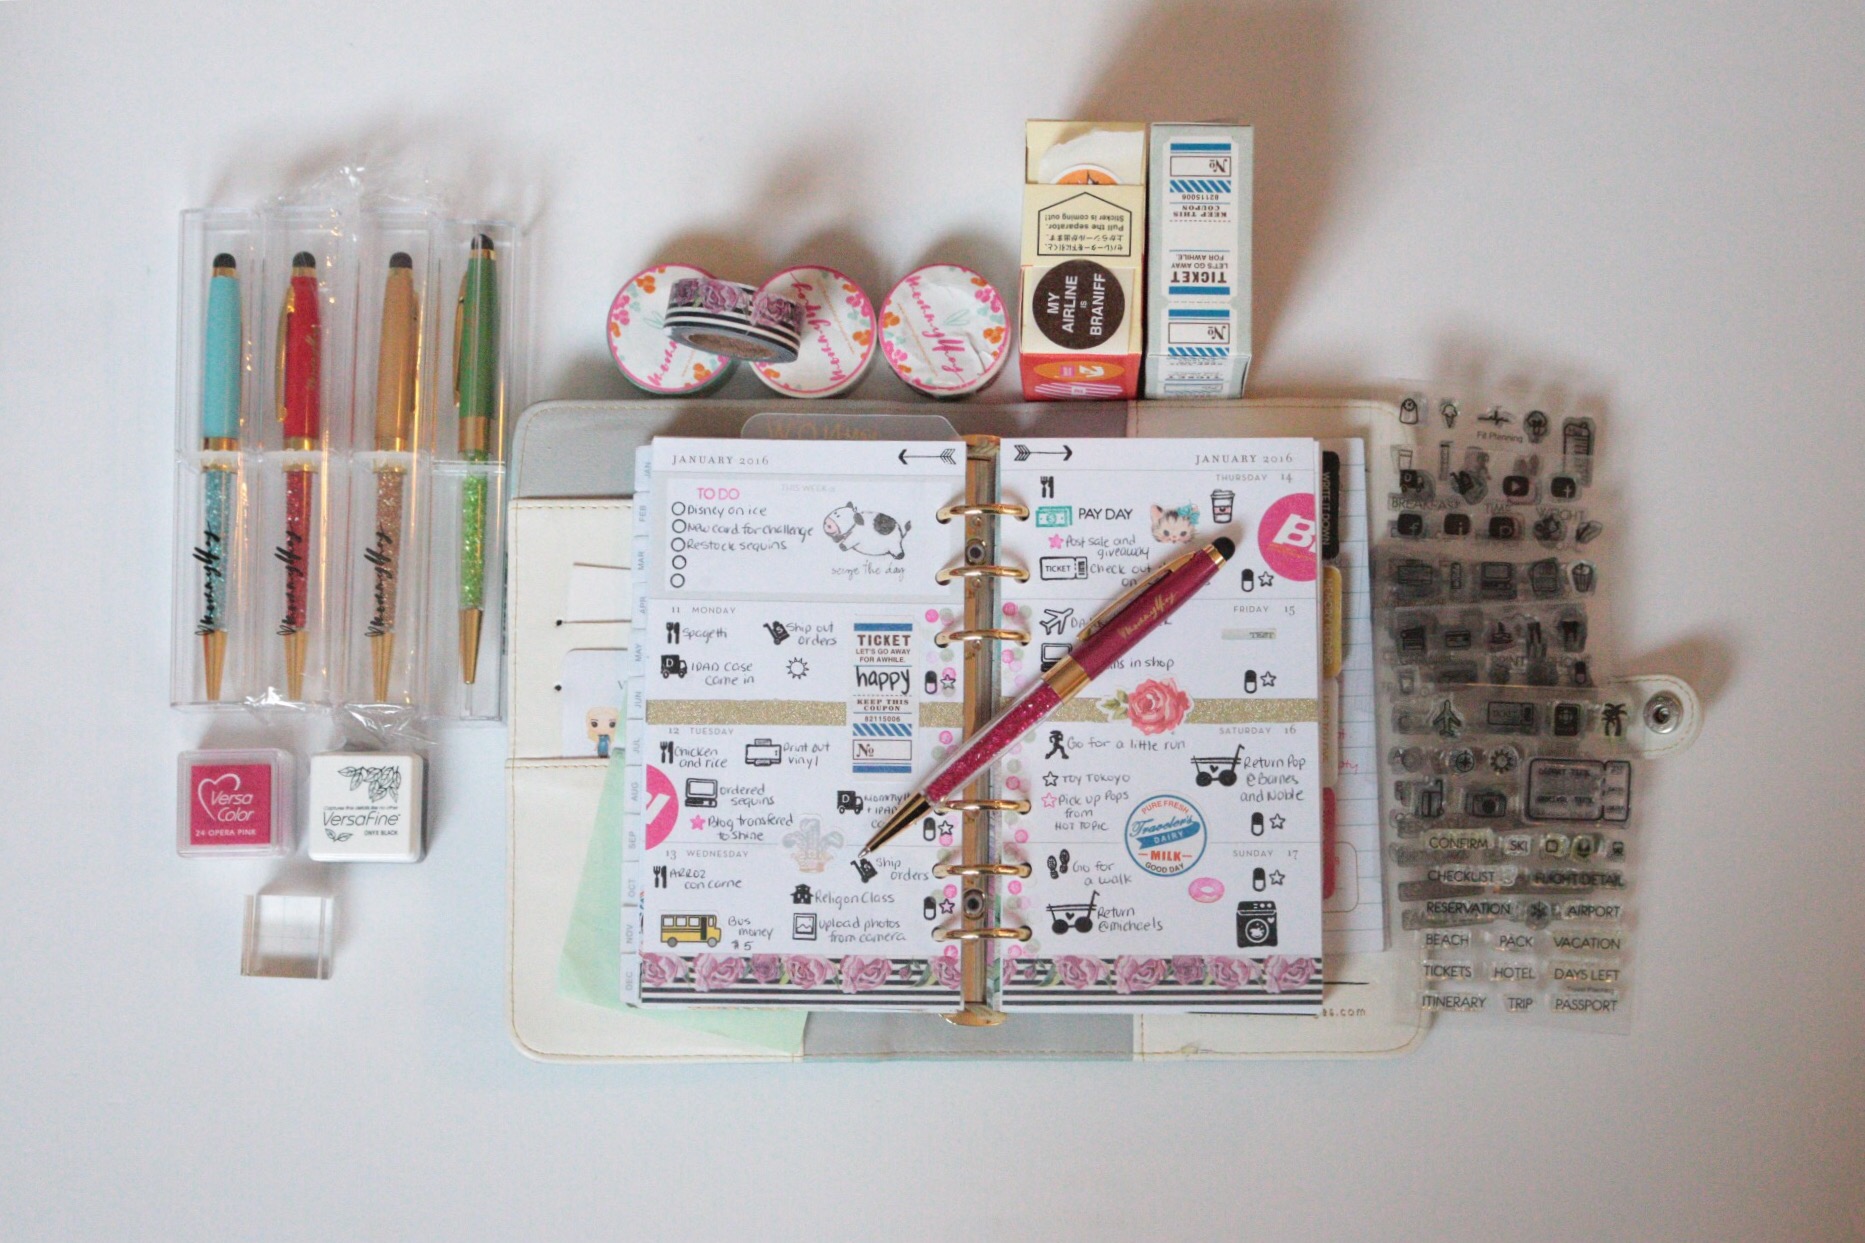
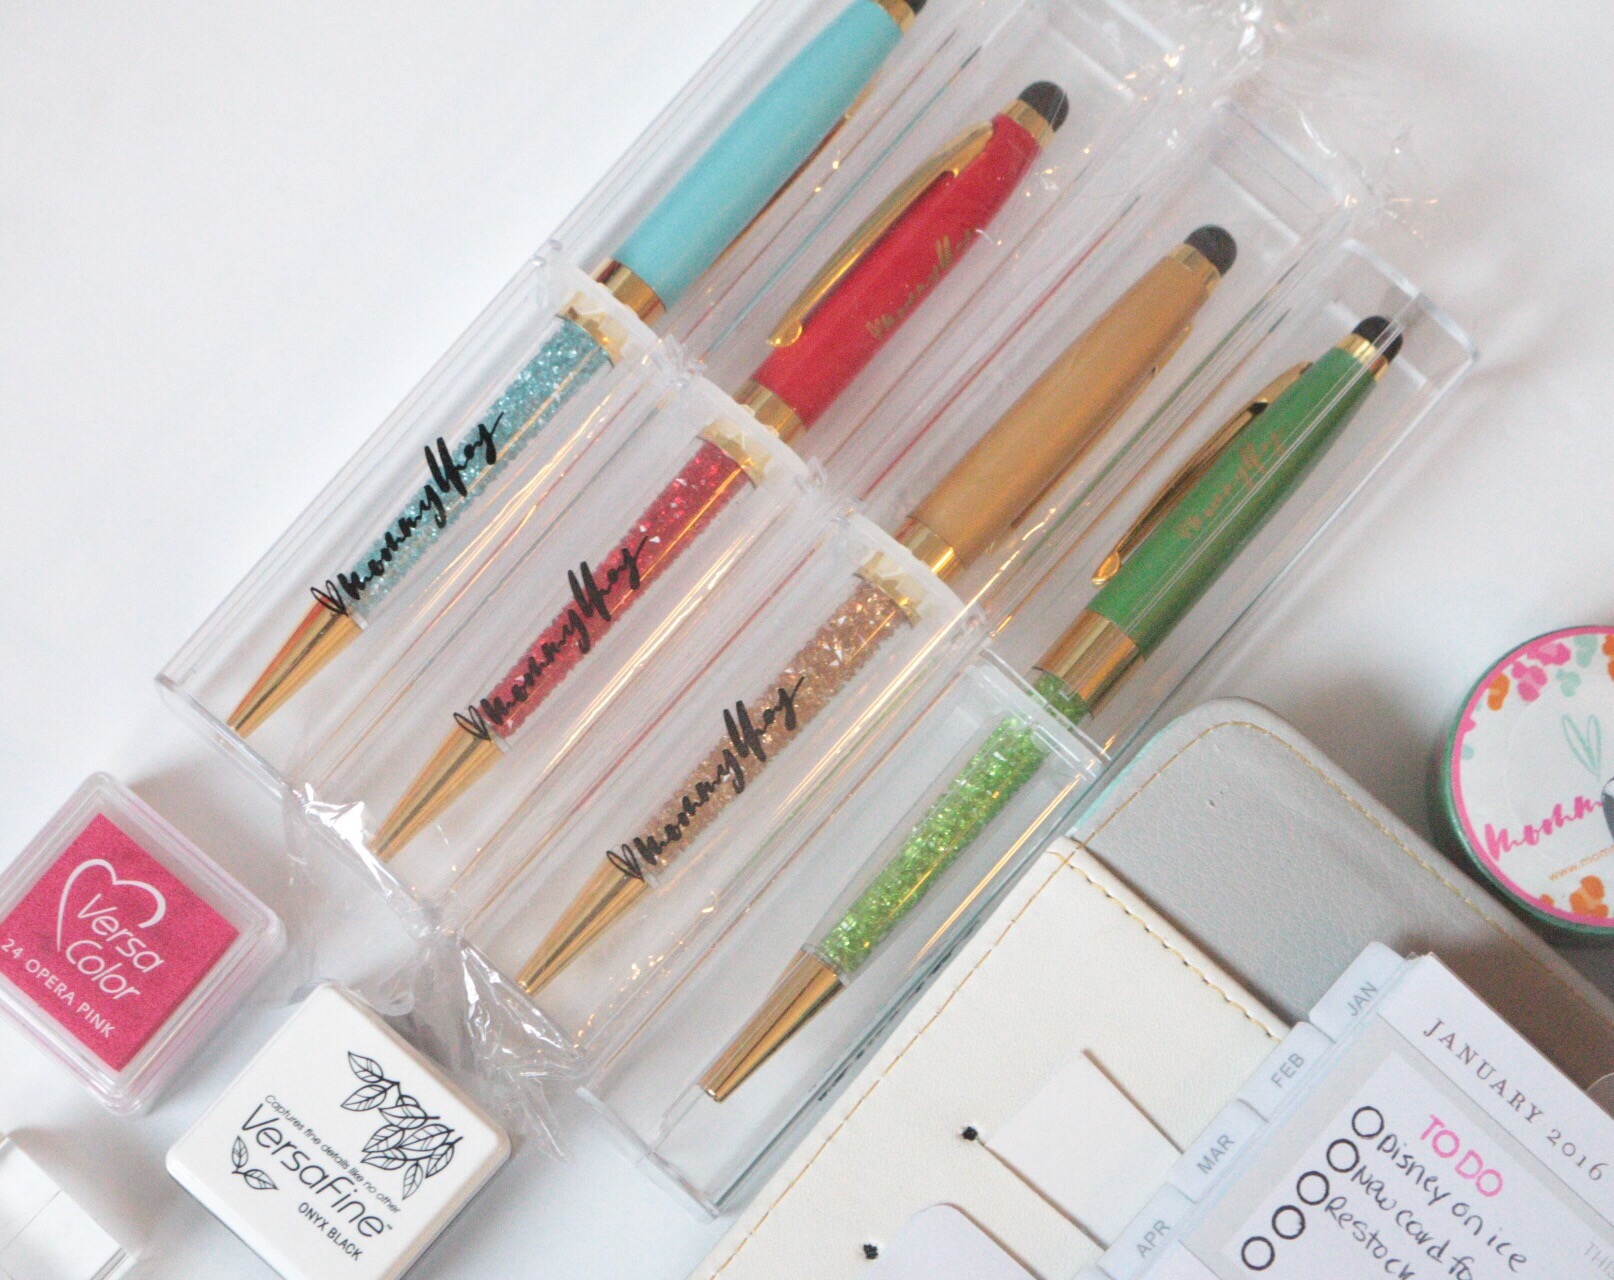
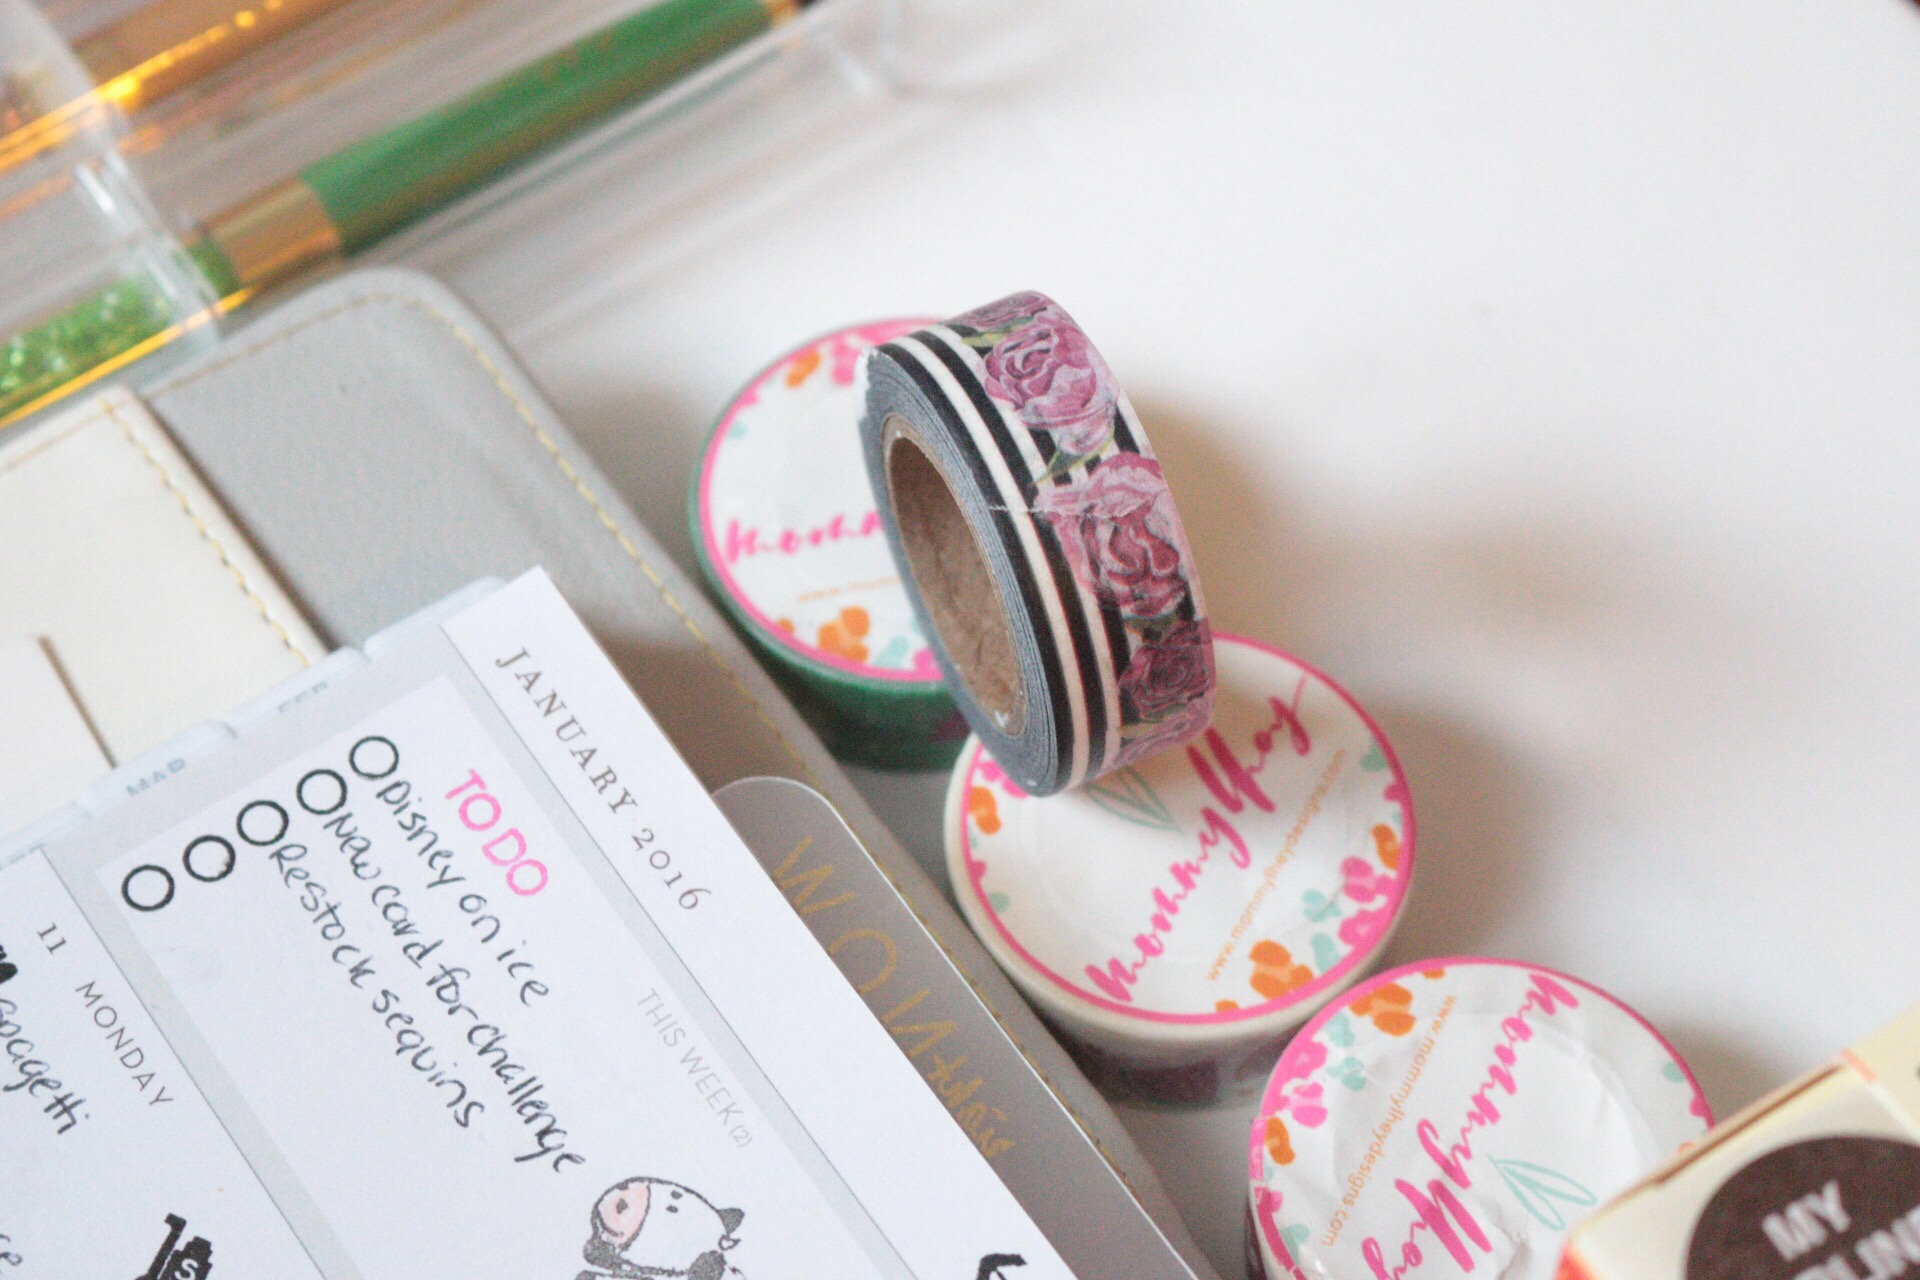
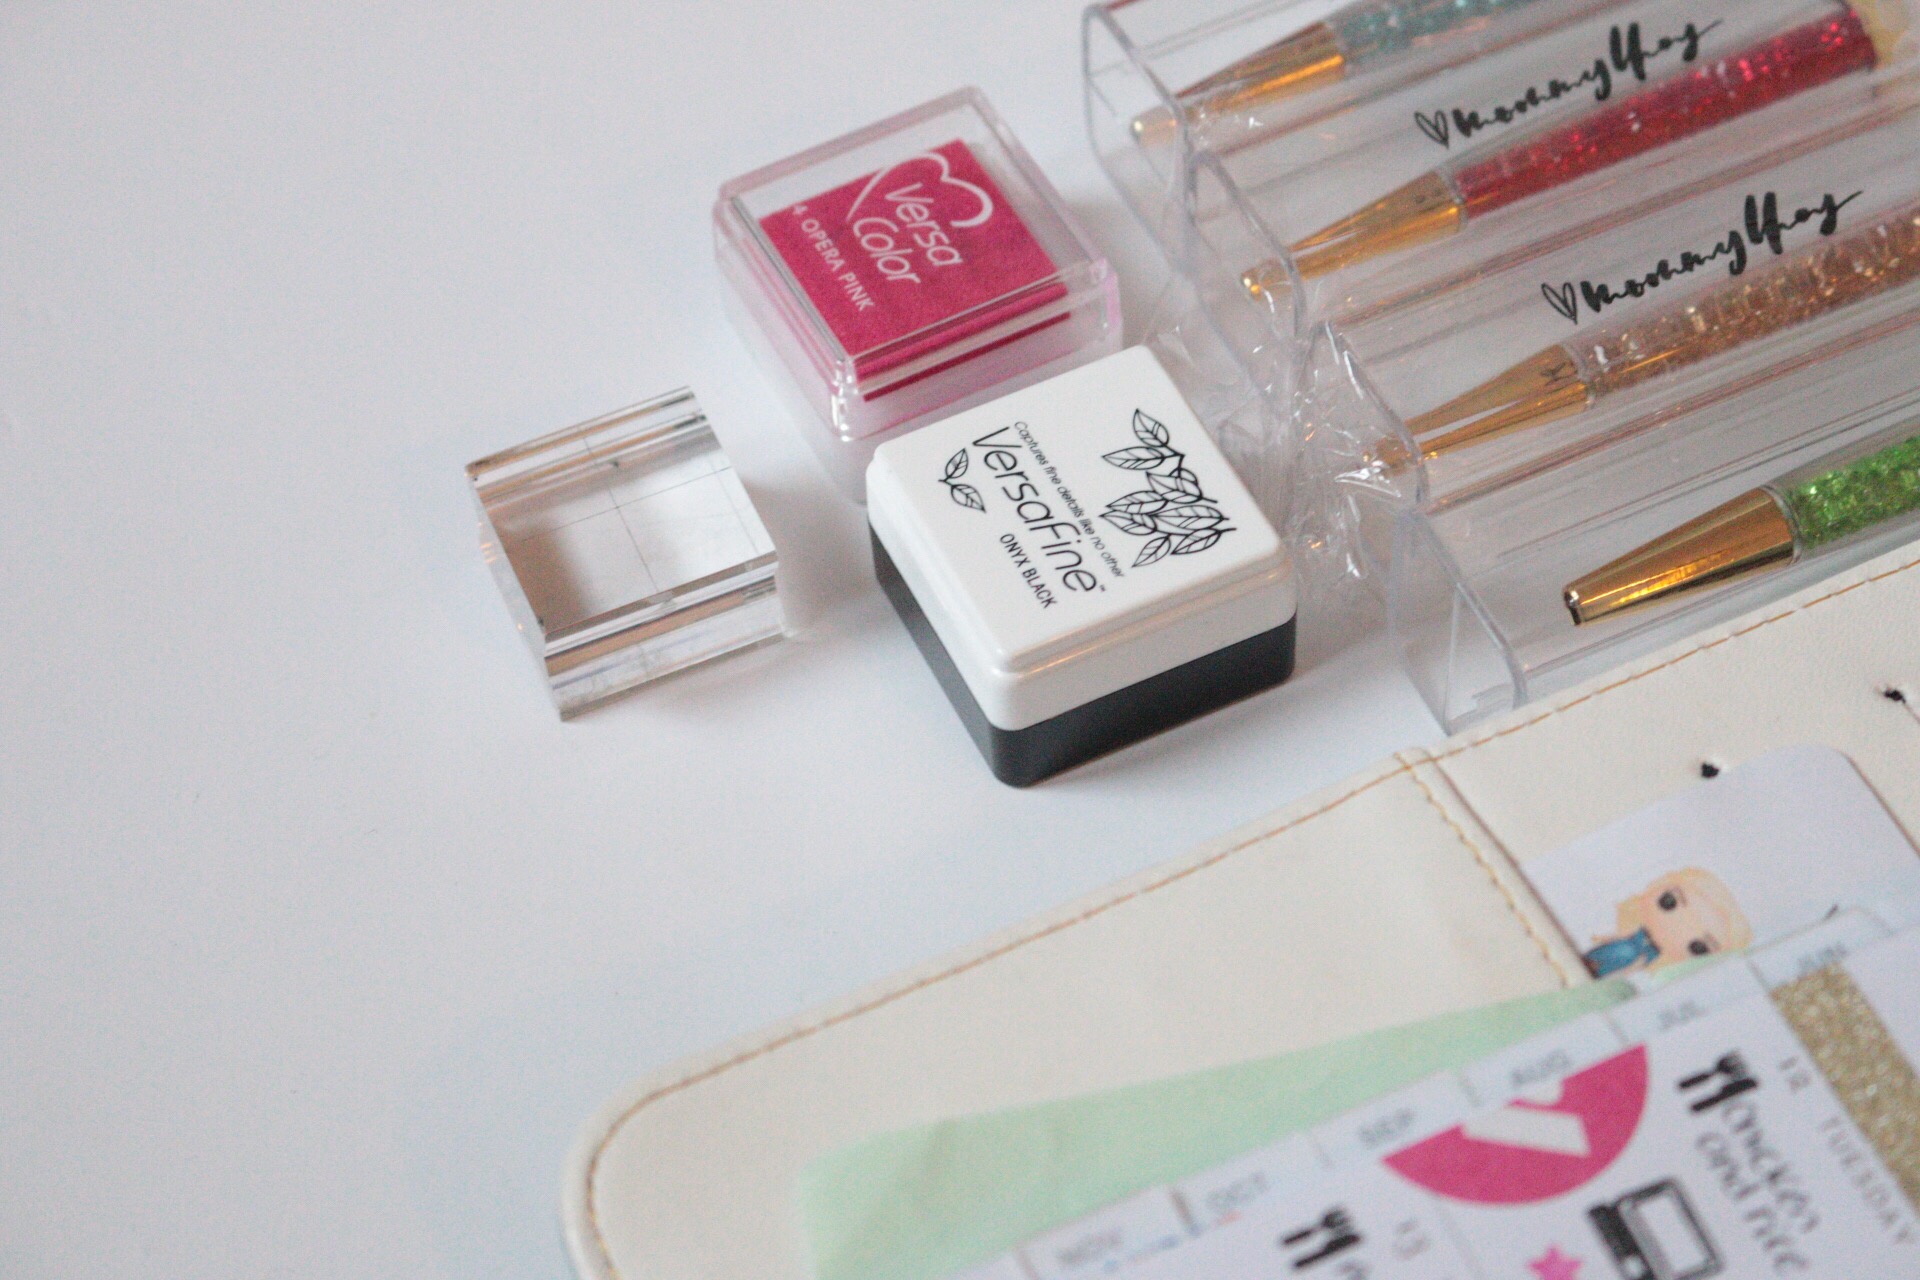
I’m so excited to share with you the goodies I received from my good friend Lhey. You all know that she is the creator and owner of Mommylhey. She is such an amazing person and I’m blessed to have her as a friend. She has such a wonderful personality and is such a kind person, not to mention super talented!!!!  She has tons of beautiful stamp sets and now carries her own line of sticky pads but she isn’t stopping there. She recently sent me some happy mail with some of her new washi tape that she designed. WHAT!!!! YES!!!! Her own washi tape!!!!!!! She also sent me her own glitter pens. GLITTER!!!!! Oh and they also double as an ipad/iphone pen. YUP!!!!!! I couldn’t wait to get started with my new supplies so yesterday morning I decided to plan out this week using my new mommylhey washi tapes and pen.


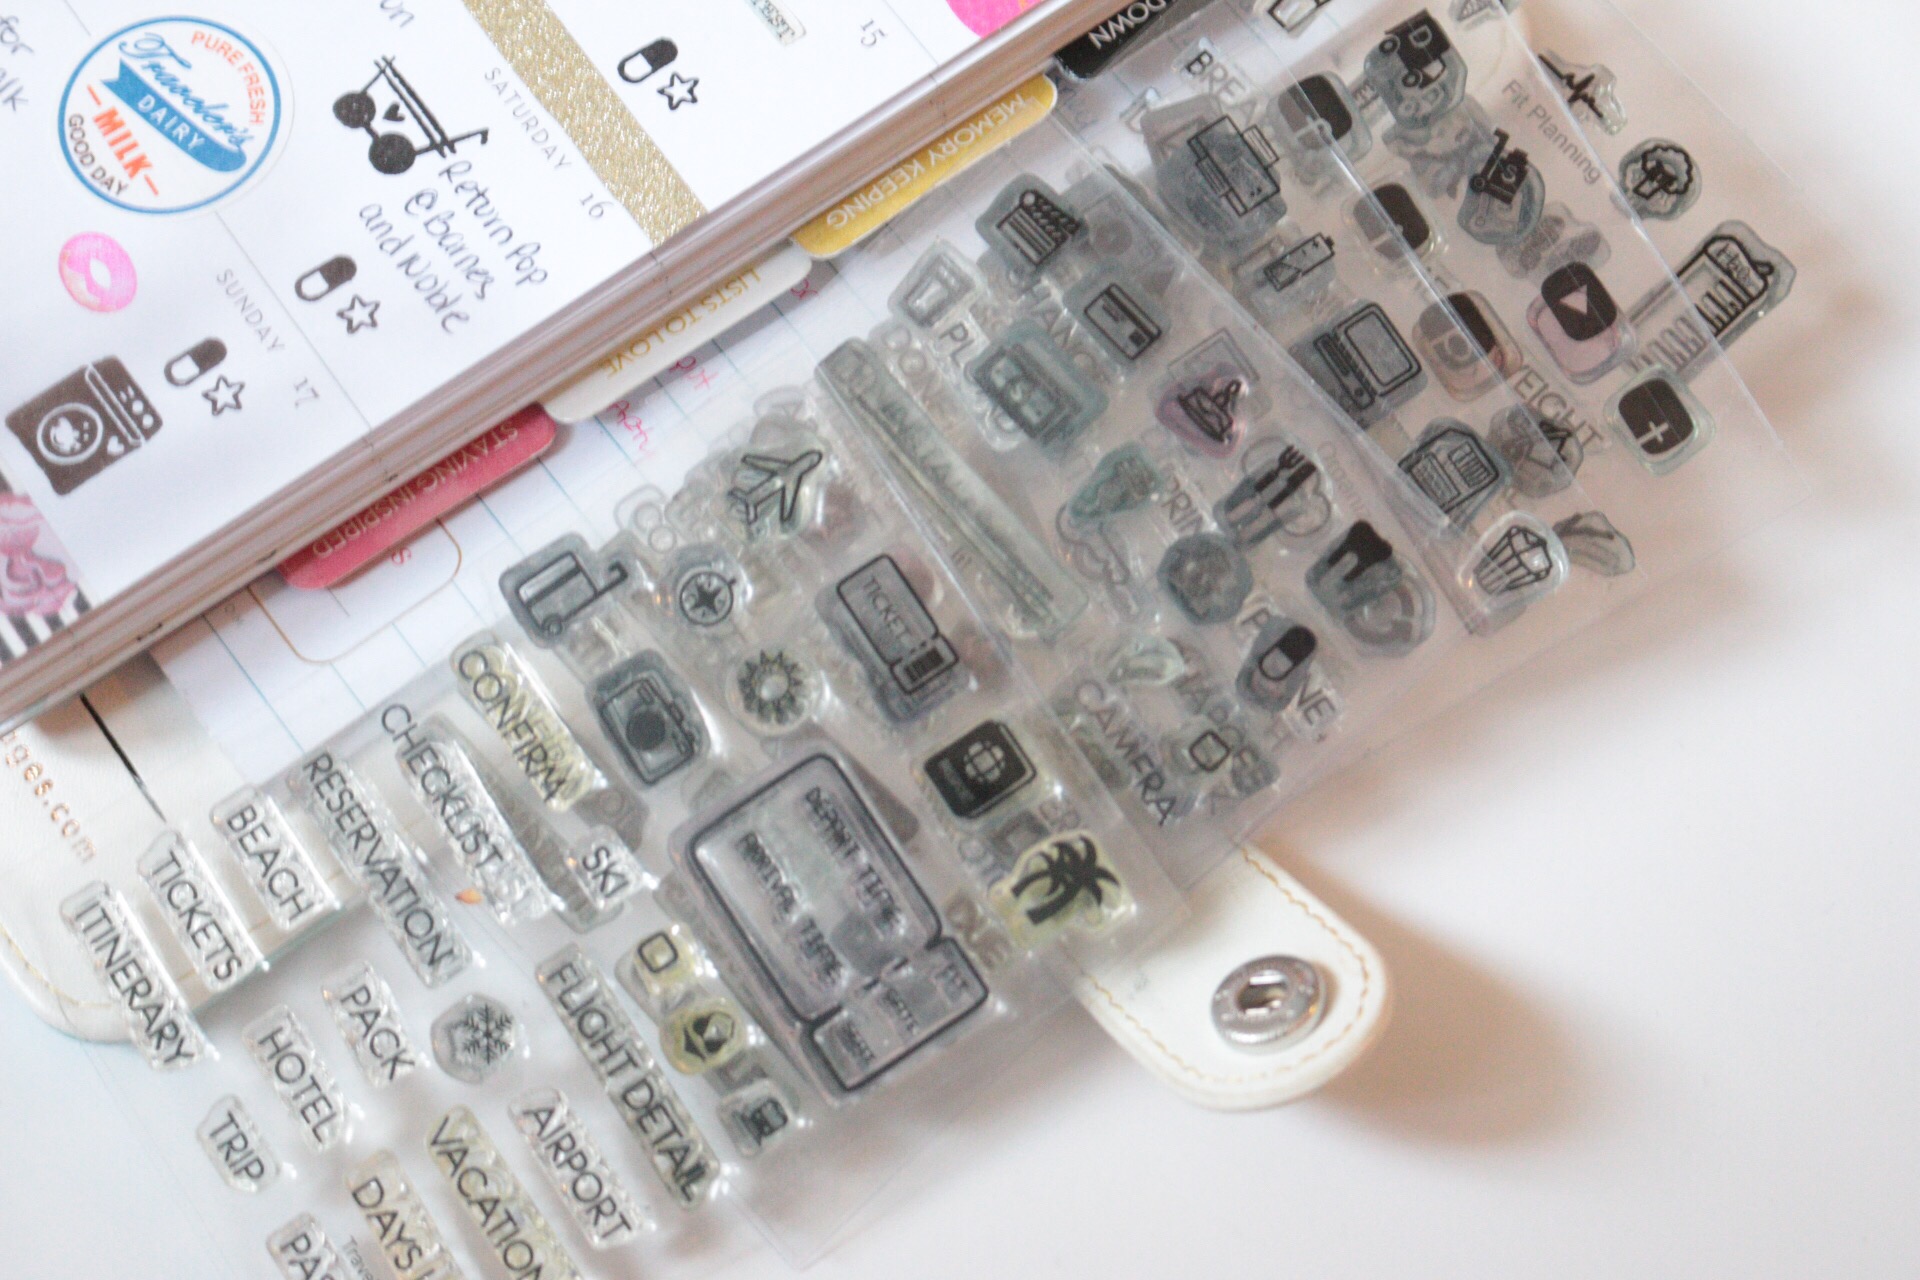
When I decorate my pages I always like to start with washi tape and then add all my stickers. I then stamp away using my V’s Sweet Ideas Planner stamps and a few of Mommylhey stamps. I have about five V’s Sweet Ideas planner sets and I find myself always using all of them.


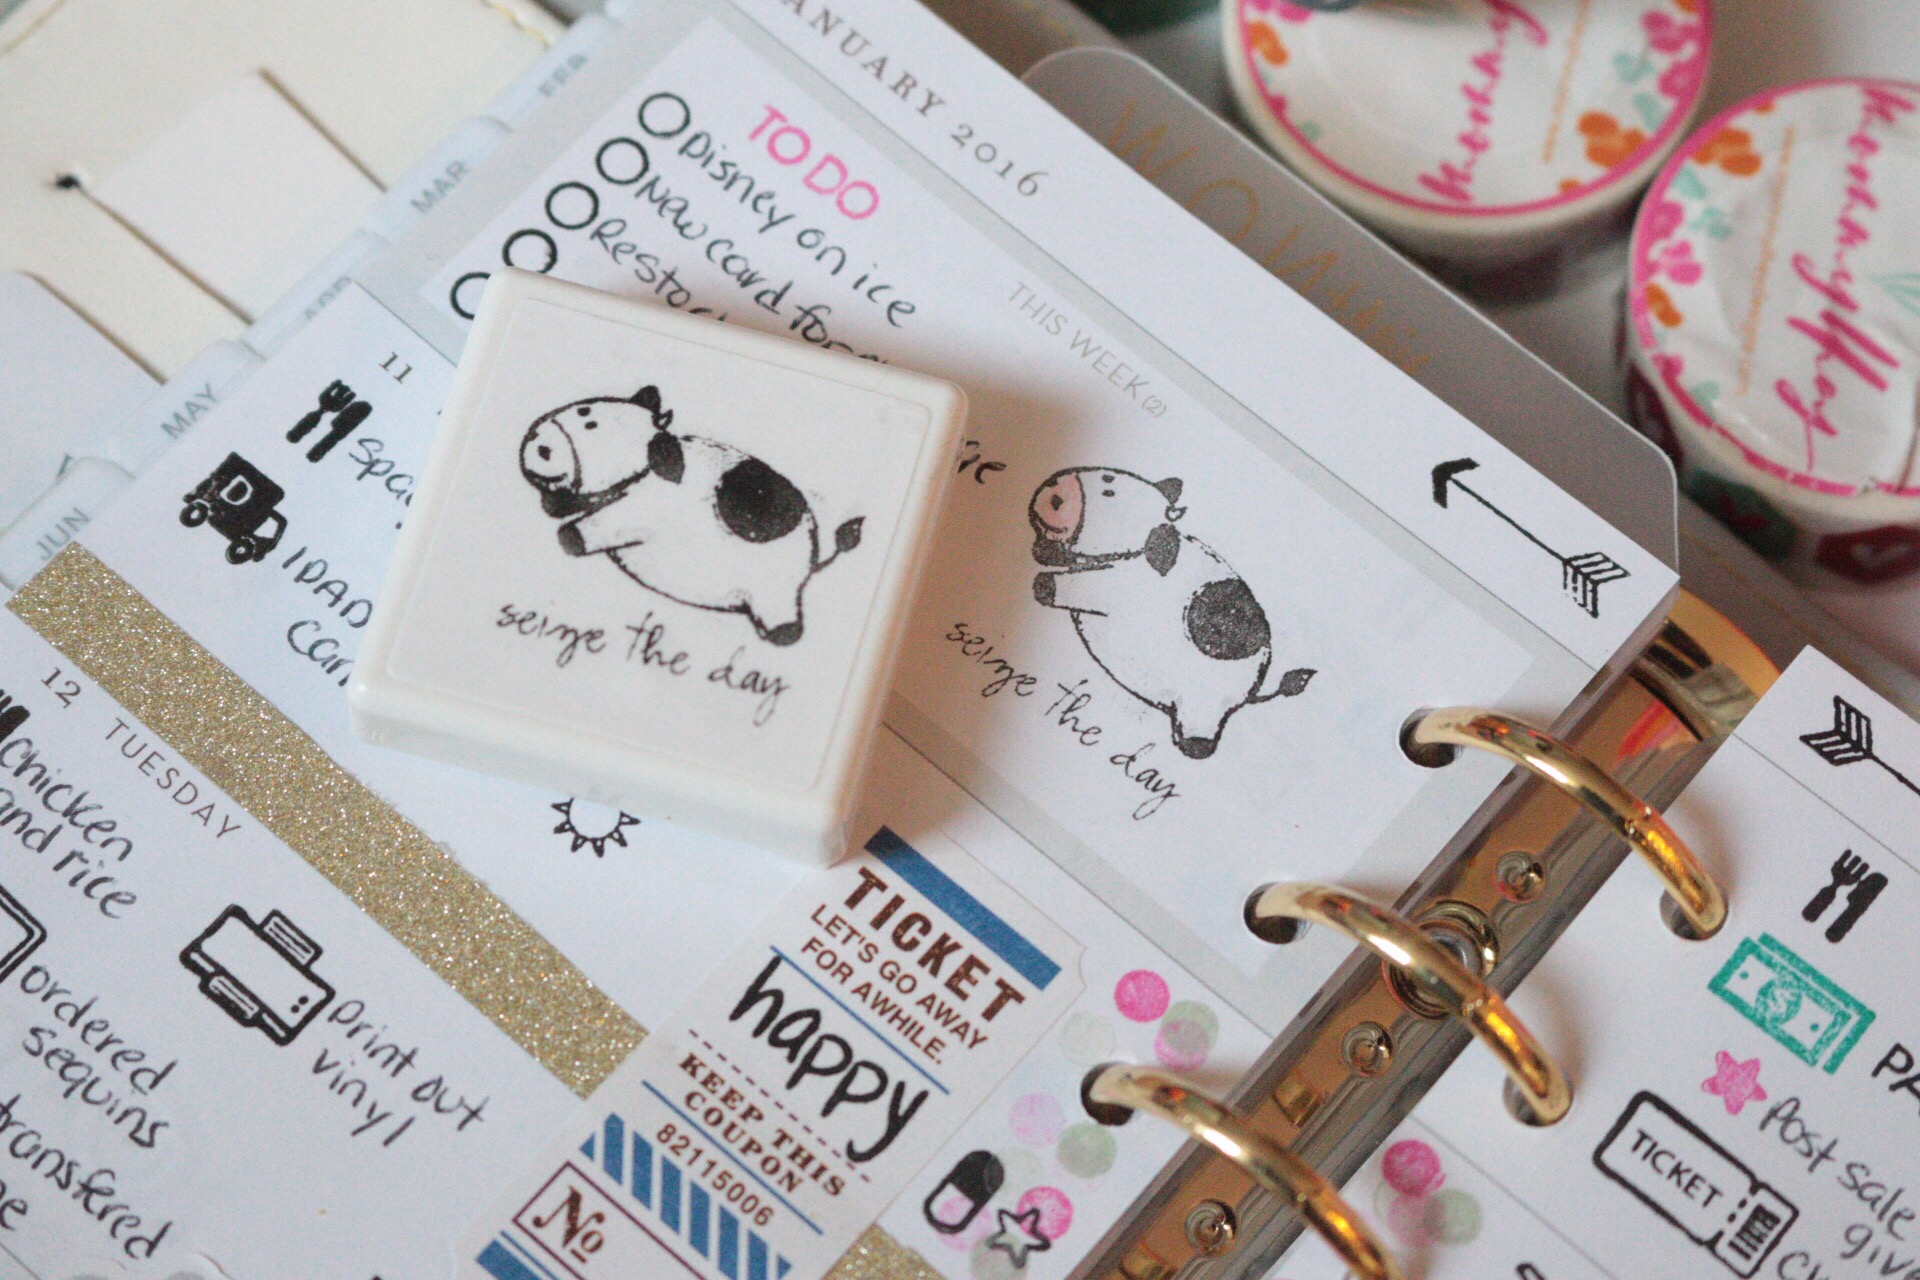
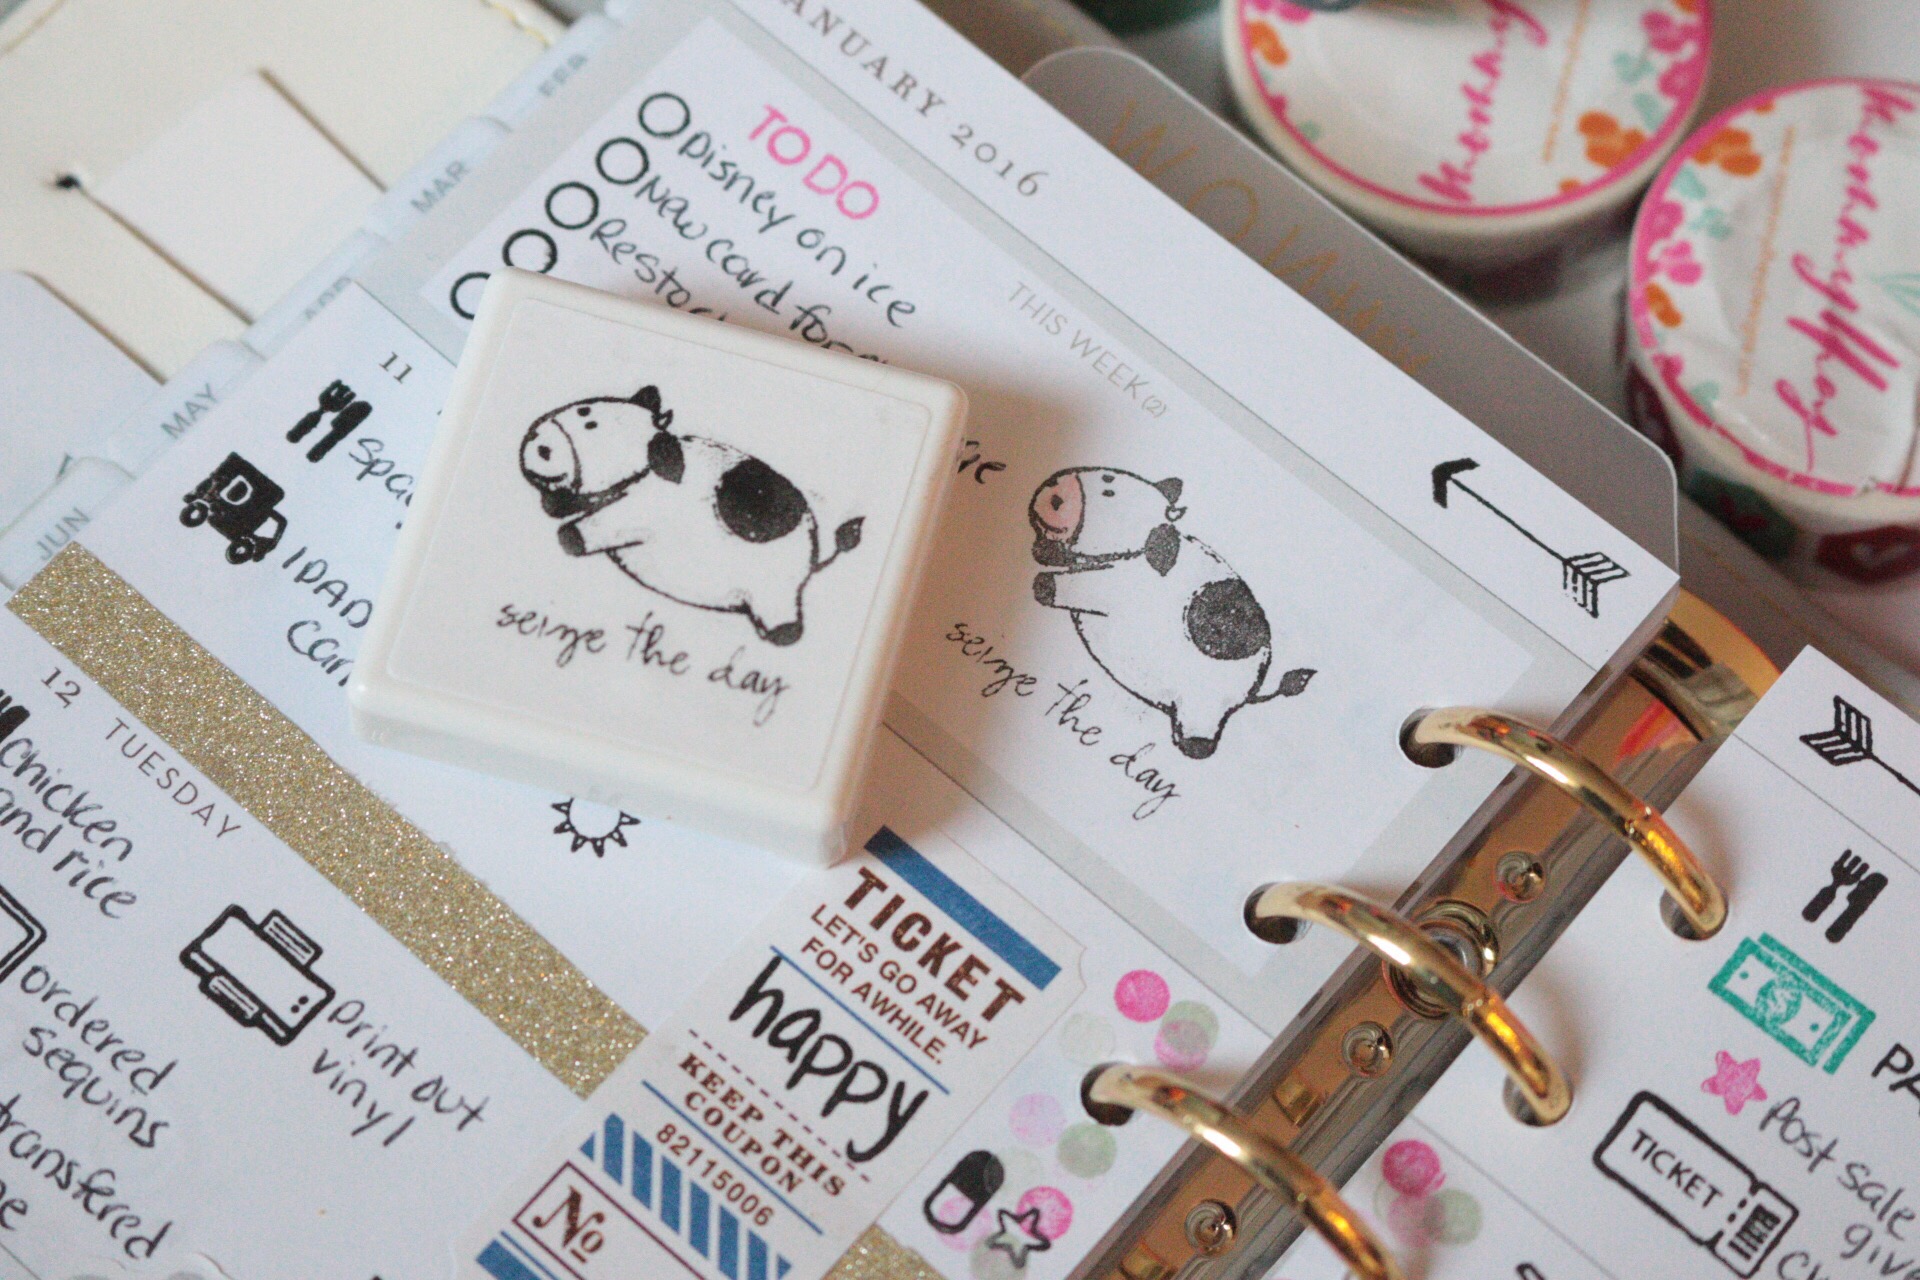
Cow stamp created using Silhouette Mint. The cow image was purchased from the silhouette store and I added the saying.

Hopefully before the end of the week I will do a Mint review post.

  
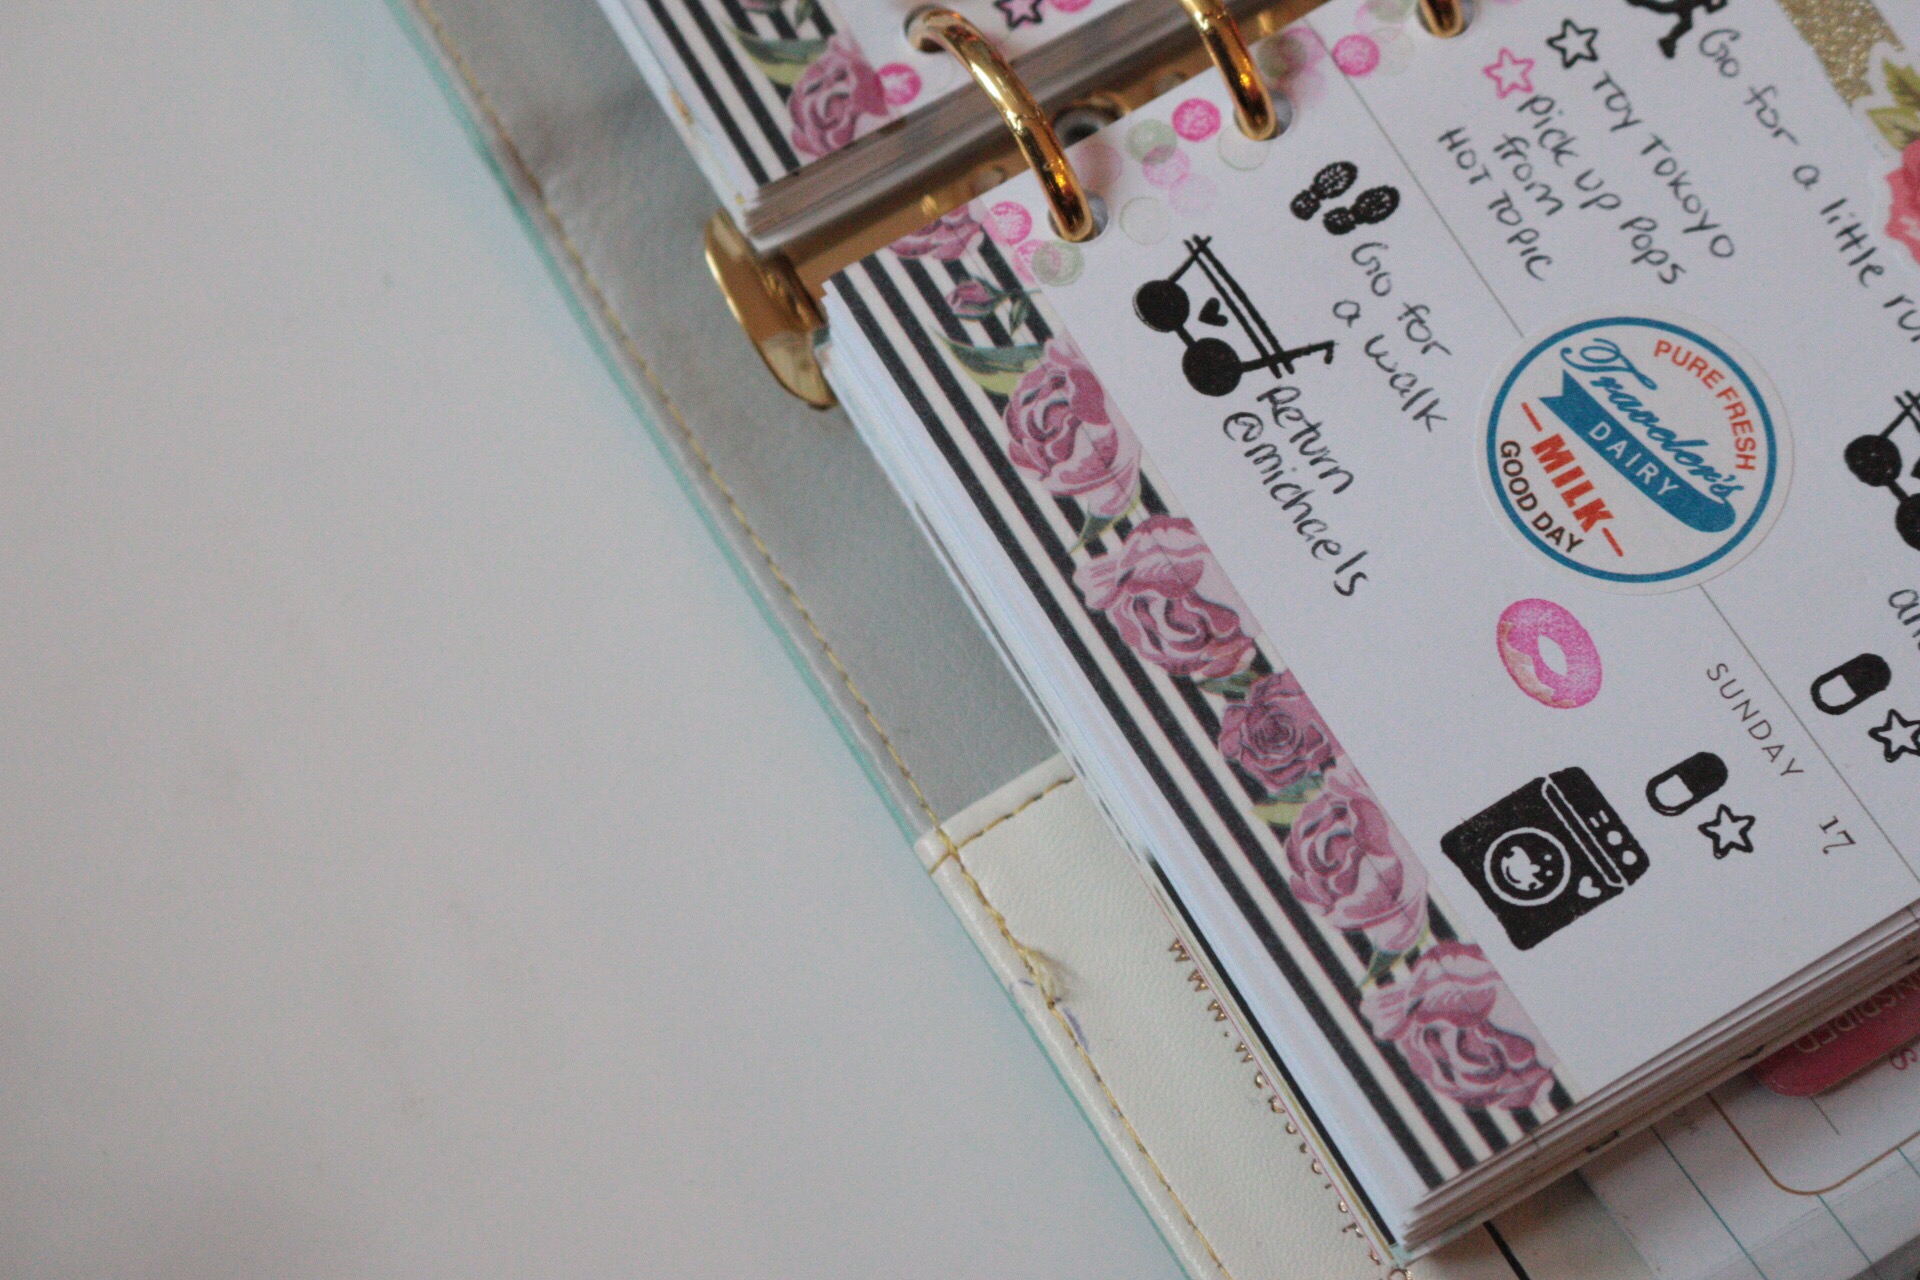
Now, let me just talk a little about Mommylhey’s washi tape and pen. I love the washi tape because its the perfect amount of adhesive. I also like that it is not as thin as some of the washi tapes I have used before. Her designs are super cute but the black and white stripes with the flowers is my fave.

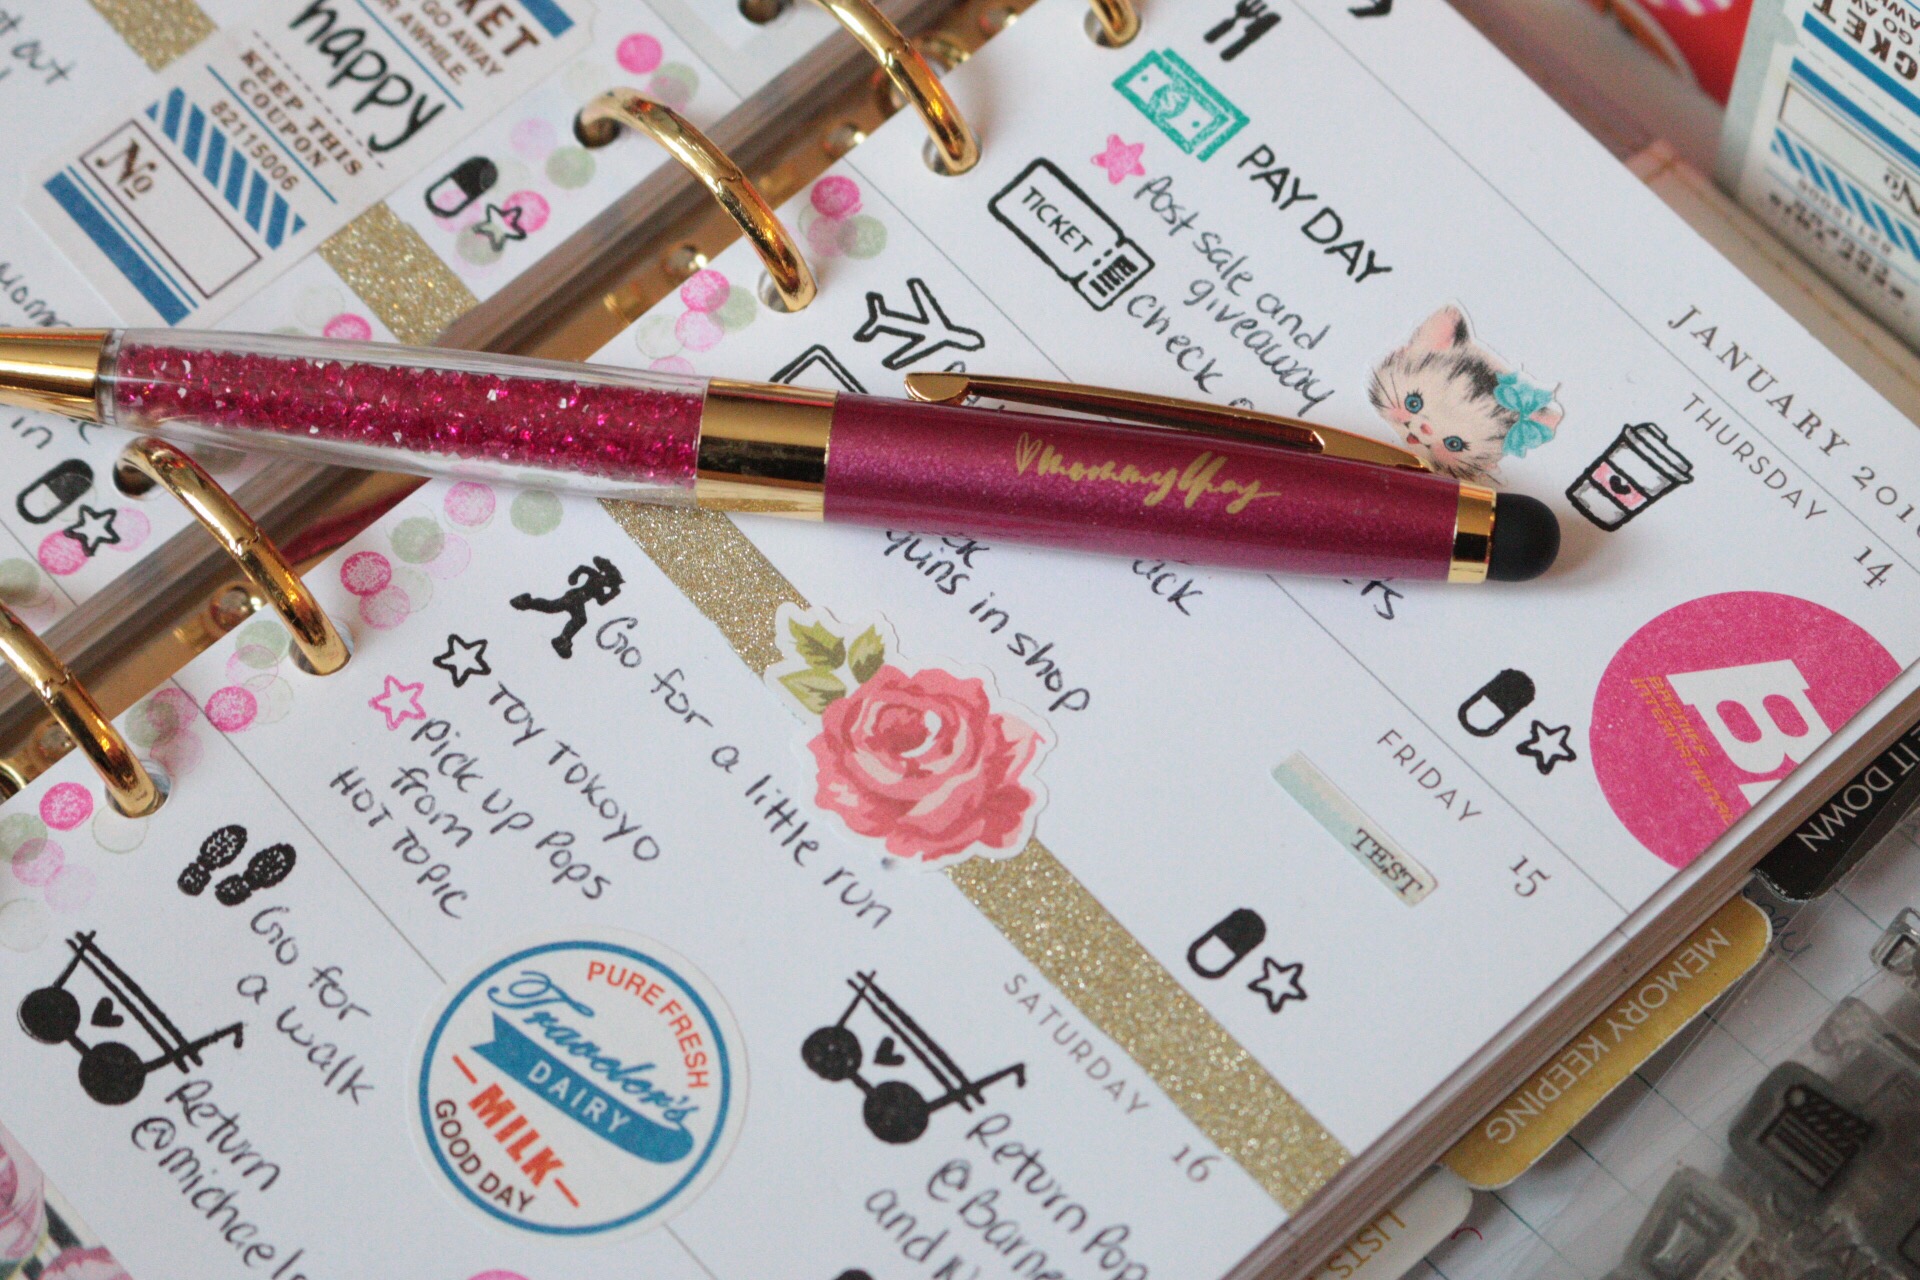
I just love the pens. I believe it is the standard point size but I will double check with Lhey. It writes smoothly and I just love the vibrant colors it comes in.

Here are some photos of this weeks decorated pages using some vintage stickers that I created, Mommlhey washi tape and some stickers from the vintage rolls that I have available in the shop.

Below you will find Mommylhey’s link as well as my online shop’s link.

My blog recently went through some behind the scene changes and one of those changes might have deleted subscribers. I have added a few things and have a new subscribe button. So please, if you didn’t receive this new post in an email and you were a subscriber then you will need to subscribe again on the right side.

I will be doing a giveaway so make sure you are a subscriber so that you can receive notification by email. Thanks for stopping by and Happy planning!

Mommylhey Link

V’s Sweet Ideas Shop Link

Facebook logo

“Non-trad Christmas colors” VSC #41

Good evening crafters! We have a new challenge going on. I know we are late but it’s just been so busy.

For this challenge we created cards not using the traditional Christmas colors. I hope this inspires you to think outside the box. Link up your projects on our challenge blog for a chance to win $10 gift certificate to our online shop.


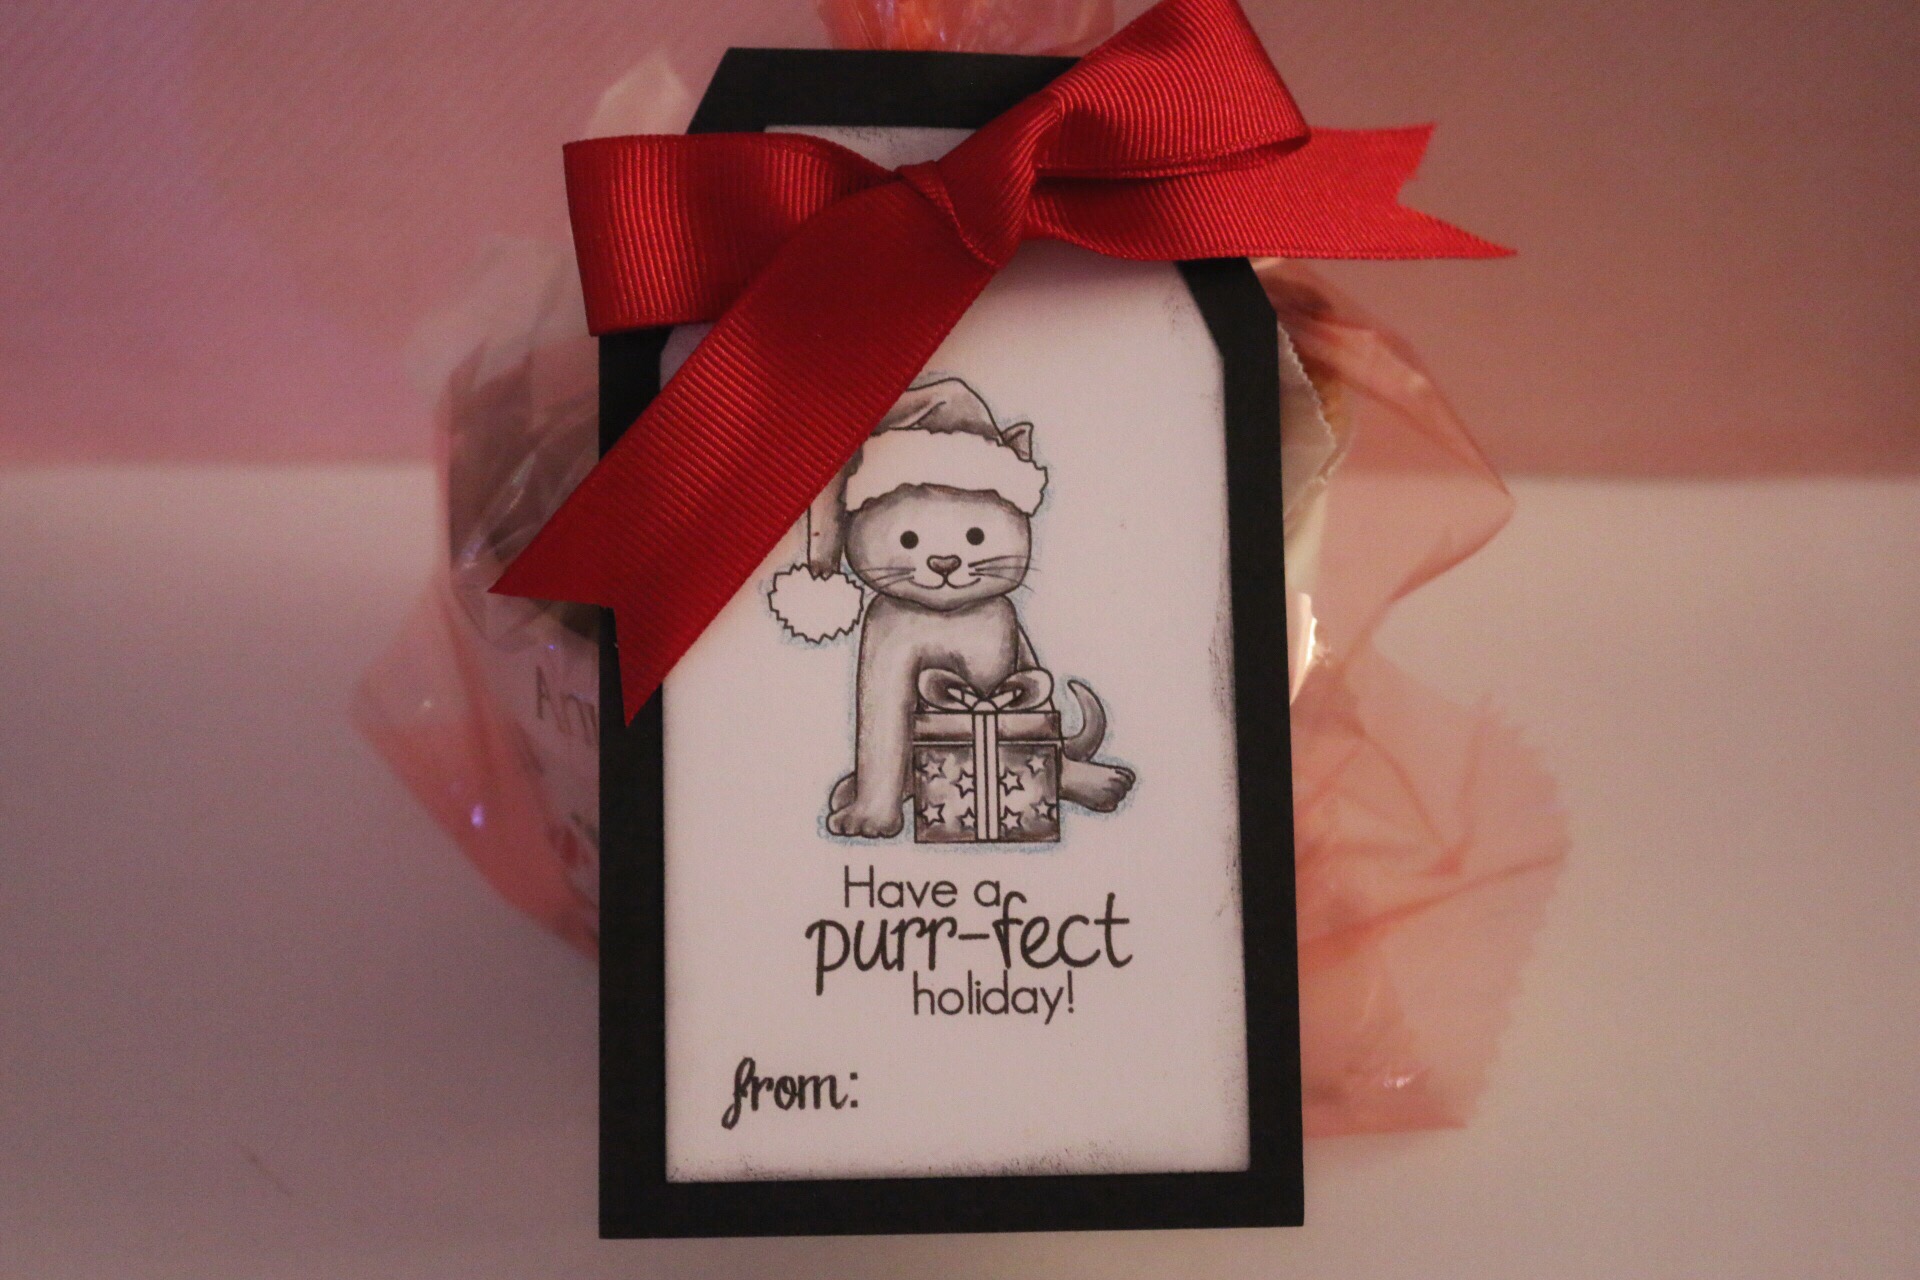
I created tags using a new V’s sweet image and colored it in with my prisma color pencils. I wanted a monochromatic look. I added a “to: and from: on the tag and attached it to black card stock. I can’t show you what it’s attached too since it is a gift I will be gifting for the holidays. The ribbon I used can be purchased in our shop. It is a May arts ribbon and sold by the yard.

Thanks for stopping by and happy crafting!