Warm Socks

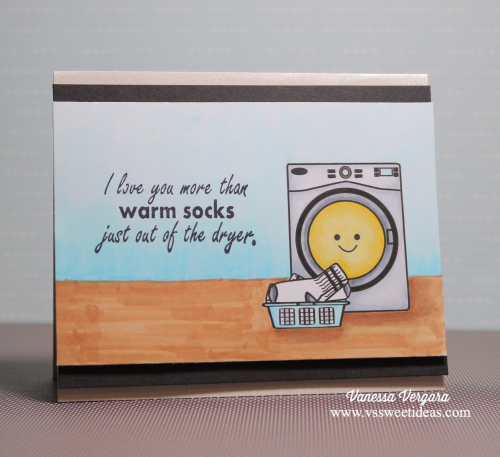
Good evening crafters! Just stopping by to show you a card I made using my new So Suzy Stamp sentiment I just received today. The stamp is called Warm Socks.  I created a cute dryer with socks to go with this sentiment. I then colored it in with copics. I just love how it turned out. These two go together like peanut butter and jelly lol. Well I hope you like my card and don’t forget to leave some love. Oh and sorry about the lighting. I took the picture at night so I had to substitute natural lighting with my lamp but tomorrow I will have a better picture. I was just too excited to finish this card and show you all. Thanks for stopping by and Happy Crafting!!

IMG_1743

Christmas Cheer Stamp set

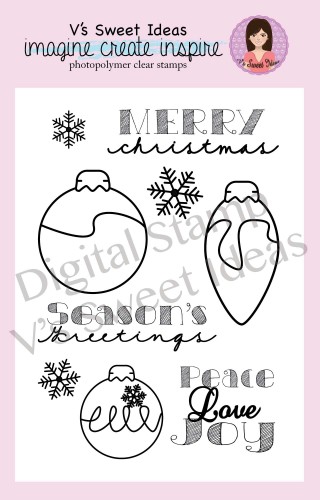
Hello crafters!!! Ok so I am a little late on this posting but hey better late than never .So if you do not follow me on my other social media accounts like Instagram and Facebook,  then you might not have seen my new digital stamp release and that is what I would like to talk to you about today. I recently put together a christmas stamp set but released it as digital format and plan to release it as a clear set also. (watch out for some exciting news about new stamps :insert super happy smiley emoji)

The new Christmas Cheer digital stamp set can be purchased here now and you will receive an email with a link where you can download the images.

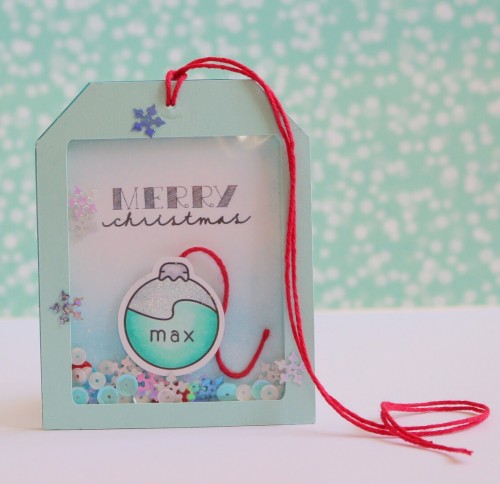
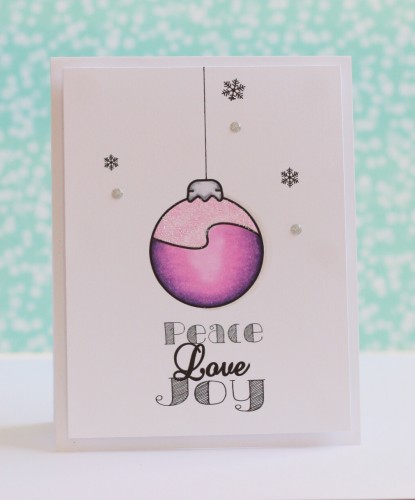
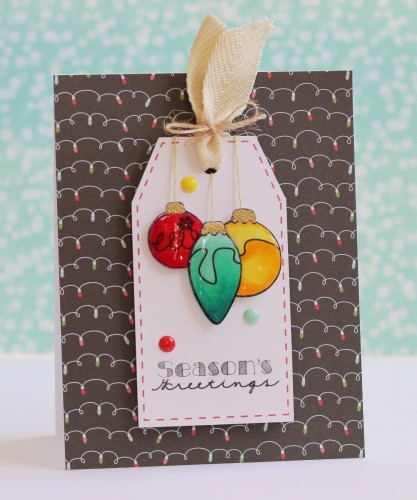
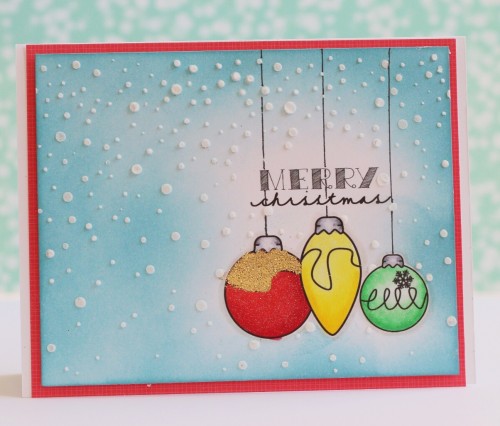
Now I want to share with you some cards and tag I made using the digital stamp.

Just some of the reasons I like digi: 1. You can size it anyway you like 2. You get the image right away so no waiting for snail mail. 3. And if you have a die cut machine like the Silhouette then you can cut them out and not have to fussy cut them. 🙂

Stock_20photo_20watermark_original

The sequins used in this tag is the new Snow mix sequins pack. Purchase yours here.IMG_1437 IMG_1191

The enamel dots used in the card below can also be purchased in my online shop. Click hereIMG_1190

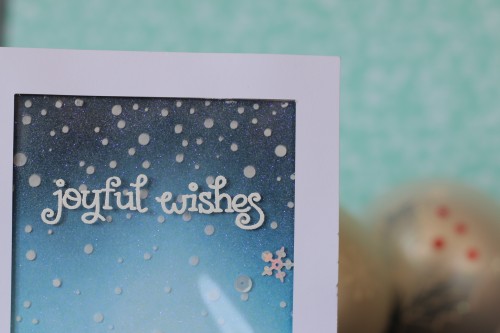
How awesome is that falling snow! Used a stencil I made using the silhouette and smeared some embossing paste.

IMG_1189

Thank you for stopping by and I hope that you will love this new digi. If you have any questions about digital stamps or just want to ask a question feel free to do so Vanessa@vssweetideas.com

Happy Crafting!!!

New VSC November Challenge “Anything Goes”

Good Morning crafters!!! We have a new challenge this month and the theme is “Anything Goes” We were on a break last month but we are back and we are looking for two Guest Designers for December’s challenge. Yay!!!

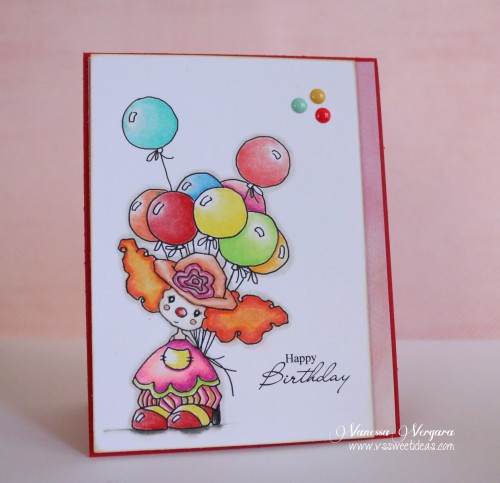
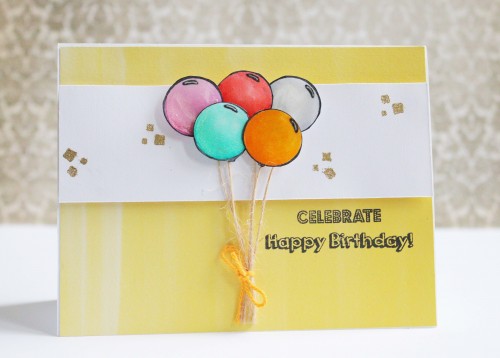
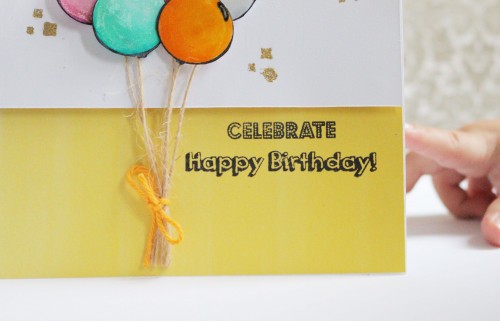
Ok so for my card I used my new ” Birthday Wish” stamp set. I just love how fun and versatile this stamp is. I stamp a few balloons on some copic paper and colored them in with copics. I then added some glitter with my wink of stella pen and topped it off with some glossy accent. I then added some natural twine ribbon for string. I used two of the sentiments from the same set and viola. An easy fun dimensional card. Now don’t forget to stop by our challenge blog for more inspiration. We will have more cards from our DT soon and don’t forget to apply for a spot as a Guest Designer for next month. Thanks for stopping by and happy crafting!

anything goes challenge

hehe you can see my little munchkin’s hand creeping up to take the card.

anything goes challenge2

Unique Blog Hop

Helli crafters! I am late on this posting as it was suppose to be up monday but life happenes. Well my good friend and DT member Lisa Lahiff, has chosen me to take part in the Unqie Blog hop. I never heard of it until now and I am honored that she has chosen me. Lisa is super talented and so creative. Lisa, after reading your post I realized how much we are so alike!  You should definitly check her out by clicking here.

What I love about this blog hop is the things you learn about the crafters you love and follow. It’s a great way to get inspired and support your fellow crafters.

Question part of the blog hop:

1.What projects are you currently working on? Well right now I’m working on holiday cards. I purchased two new holiday stsmp sets and can’t wait to use them. I am also working on coloring an image using my copics. I was reminded why Ibarely color any more and it’s cause it takes a long time especially if your like me and never satisfied with how your coloring comes out.

2.What inspires your designs? All the different crafters I have seen on Instagram and craft nlogs inspire my designs. When I get an idea I run to my craft table and get straight to work and I don’t stop till I’m done even if it’s the middle of the night.

2.If you had to define your design style, what would it be? My design style is everything and anything. Since I own an online craft store I tend to design all different types of design for my different customers. What I can tell you is the styles I do like. I have always loved shabby chic designs like Melissa’s from LilyBeanPaperie. I love her projects and everything about them. That is probably my fave style yet I have a hard time making that style project. I also love a CAS designs. I love the clean look.

A Shabby Chic card I attempted to create.
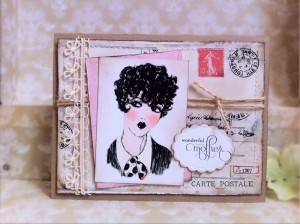
photo 4june

IMG_0800

3.What does your craft area look like?

my craft area is in the baby room/Evan’s craft room/ hubby’s excerise room. Hehe. I have a tiny corner and piles and piles of supplies all over the place. My tabletop is also overflowing but I try to mantain it so that I have space to work on. I also use the table for my sewing projects so it can get a bit messy.

4.How does your writing /creative process work?

Well instagram and Pinterest definitly help with the creative process. Also watching YouTube videos of all the new techniques also helps. For example. I have a new stamp set I received and I am dying to use it but I just can’t think of what I want to do with it so I will usually watch a few videos until my creative mojo decides to join me. Then I do a mental check of whether I have the supplies to create the project I want to do and get started right away before my mojo decides to leave.

5.What three crafty products can you not live without? Hmmm this is tough. Well I definitly need my paper trimmer because I can’t cut a straight line if my life depended on it. I would definitely need my glue tape runner and it’s hard to choose my last product but I would have to say it would be my copic markers.

Well hope you enjoyed reading alittle about me and I thank you for stopping by. I really enjoyed sharing and I thank Lisa for choosing me.
Holiday Card Series with Lawn Fawn

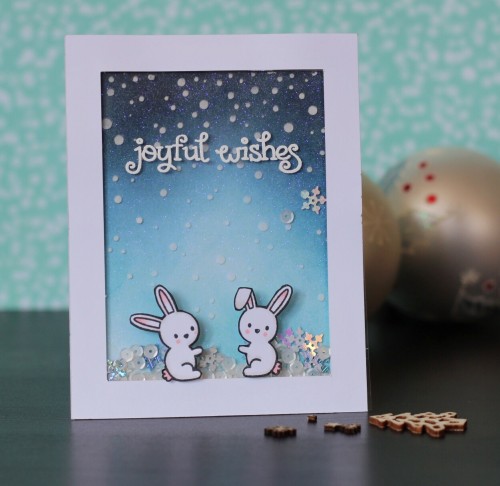
I’m back! Here is my second post of the day. I  would like to try out a Holiday Card series. This will be my first one in the series and I will try to  have a video up soon on how I created this card.

Well if you haven’t heard Lawnscapping Challenges has a DT call for their Facebook Inspiration team so I decided to give it a try.

For this card I used a few techniques that I have learned from Jennifer McGuire. She is truly an inspiration and an amazing and kind person.

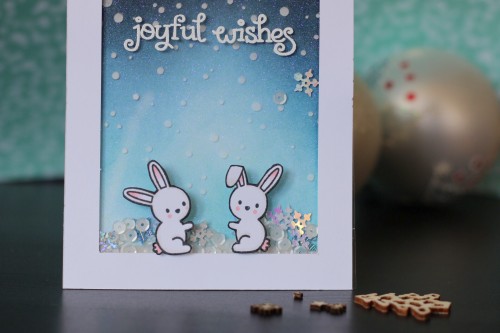
So I first started out with a white piece of cardstock which I distressed to look like a winter night sky. I then embossed it with some glitter and then I used a snow stencil that I created on my silhouette program and used some embossing paste. While I let that dry I copic colored some bunnies from the “Snow Day” stamp set and then fussy cut them out. I then adhered some acetate paper onto another piece of white cardstock (which I cut out a window to) and then embossed the sentiment from the “Joy to the woods” stamp set onto the acetate sheet. I added some of my new  holiday sequins (available soon) onto the cardstock with the night sky and adhered the window cardstock to the sky cardstock with some foam adhesive. I really love how the glitter and falling snow look on this card and I see myself using this for a lot of my christmas cards and tags.

IMG_0874IMG_0875IMG_0873 Well thanks for stopping by and Happy crafting!

Birthday Robot Girl Stamp Inspiration

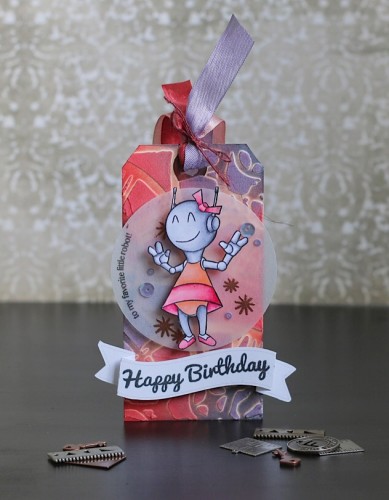
Good afternoon everyone! Today I have two post for you. The first one is a tag I made using my new “Robot Girl” stamp set. I was inspired my Kreative Kymona’s robot.

For this project I used a tag which I used embossing paste and one of tim holtz’s stencil. After I let that dry I then added some distress inks. I cut a piece of vellum using my circle die from spellbinders and added a sentiment to the side. To add the sentiment I had to first mask the Happy Birthday part of the stamp so as to not ink it. I then copic colored the Robot girl and fussy cut it (that was not easy). I then used a banner which I had cut using my silhouette and added the Happy Birthday part of the stamp. I also heat embossed some starburst onto the vellum and added some sequins.

IMG_0800 IMG_0801

Thank you for stopping by and Happy Crafting!